PortSwigger's "DOM XSS in jQuery selector sink using a hashchange event" Walkthrough
PortSwigger has added another Apprentice-level DOM-based XSS Labs from Portswigger. Before we get started, you’ll need a Portswigger Academy account. This blog post shows how to solve the lab manually.
After logging in, head over to the lab, located at https://portswigger.net/web-security/cross-site-scripting/dom-based/lab-jquery-selector-hash-change-event. You can find this through the Academy learning path list, or linked within the DOM-based XSS blog post.
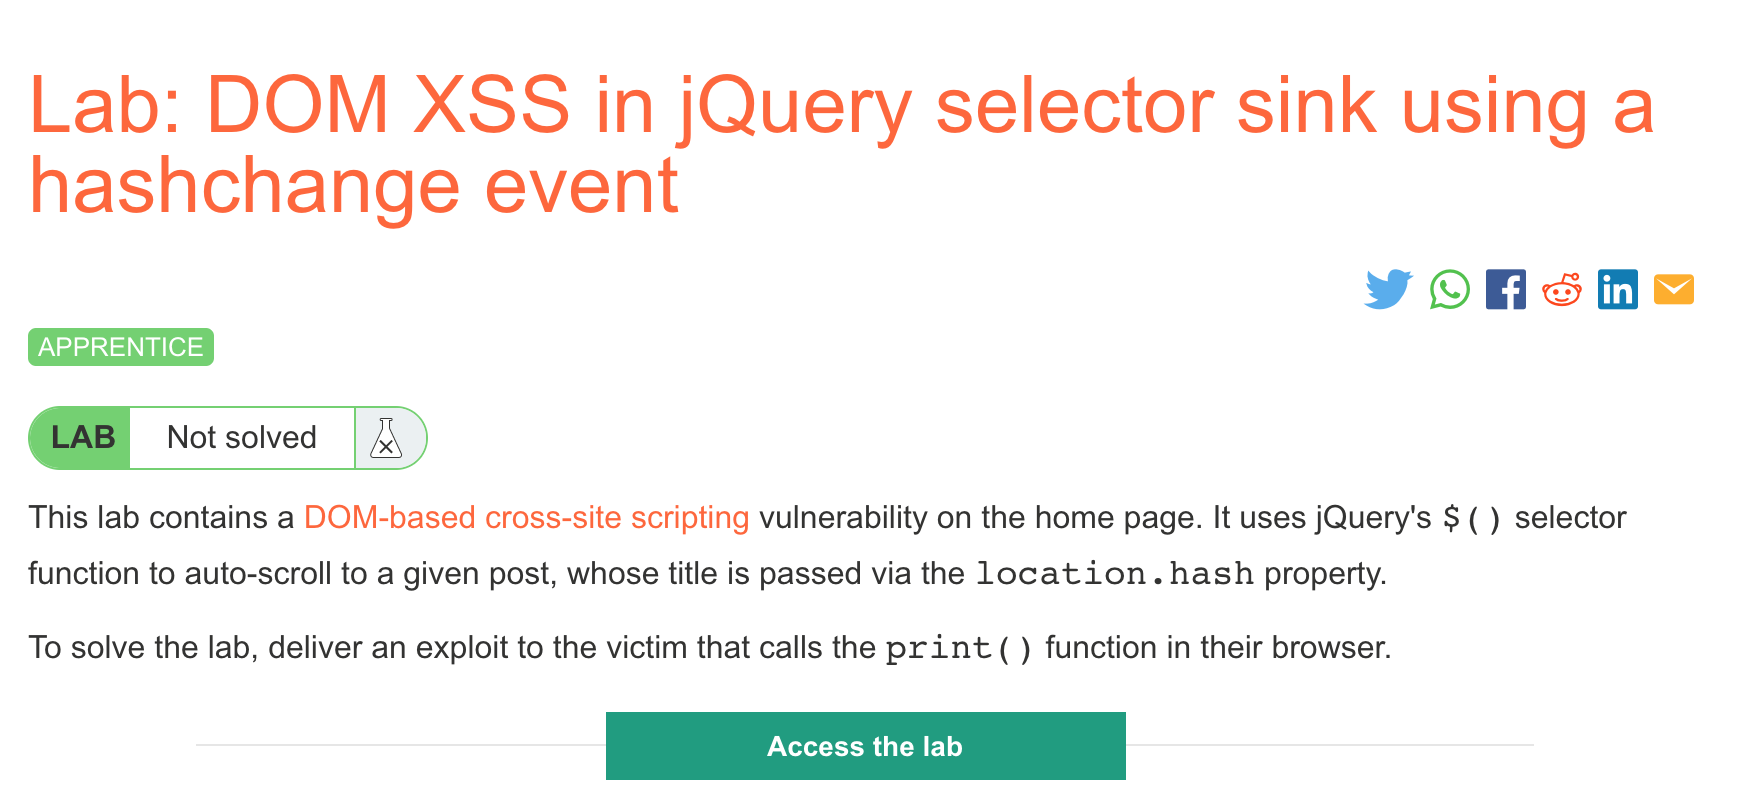
Challenge Information
Click the “Access the Lab” button and you will be taken to a temporary website that is created for your account. This will be in format https://<random string here>.web-security-academy.net/.
This lab is a DOM-based XSS attack. This means that our malicious input will be passed to a “sink” that supports dynamic code execution through (in this case) JQuery.
We’re told that the website has an autoscroll implemented, and we’ll need to abuse that to make the browser execute the print() function.
Let’s find how the autoscroll is used.
Autoscroll
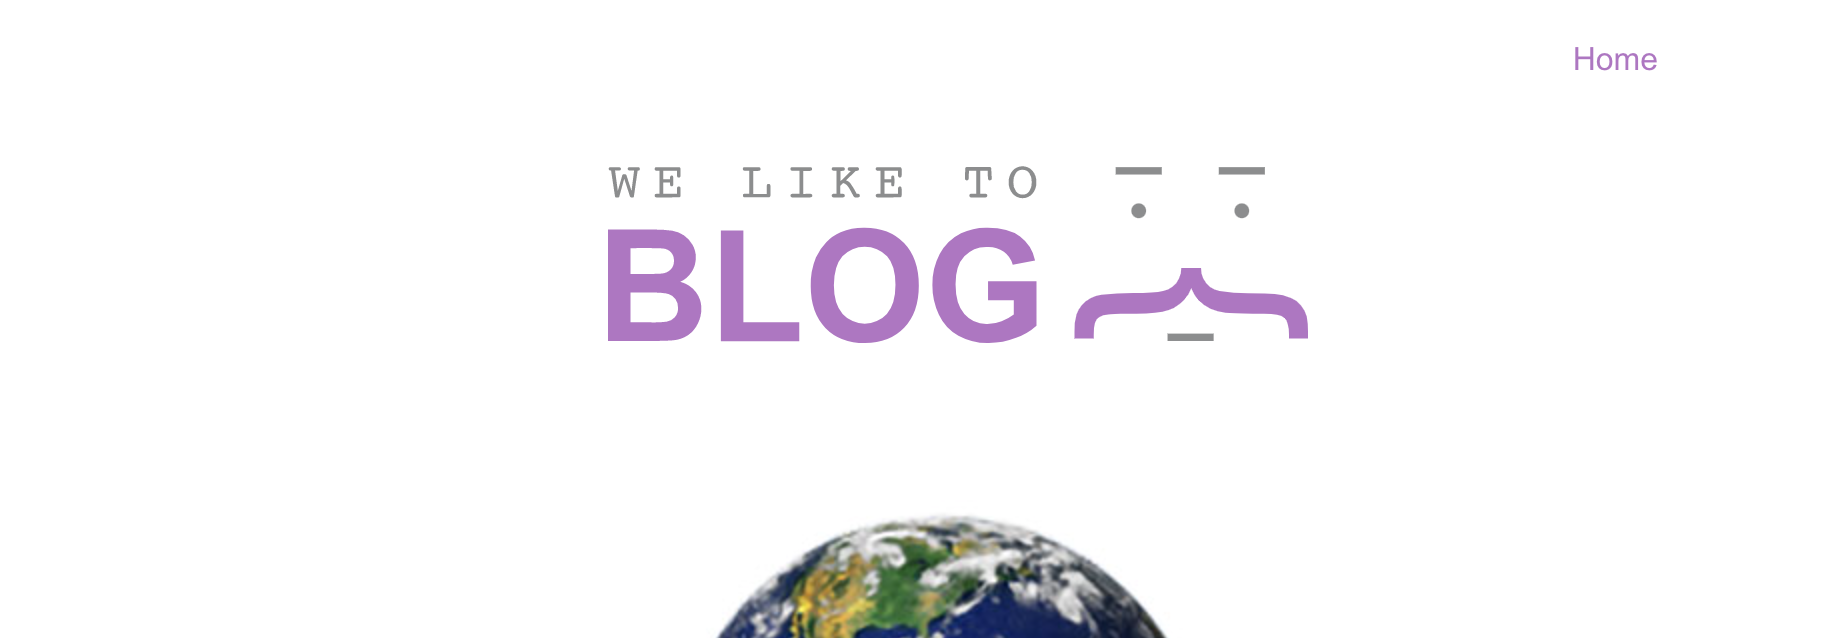
After opening up the website, we see it’s a blog:
I did not see an obvious autoscroll feature so I opened up Dev Tools and looked for the included Javascript files. You can also view this with View Page Source.
The relevant Javascript code is in the HTML file:
<script>
$(window).on('hashchange', function(){
var post = $('section.blog-list h2:contains(' + decodeURIComponent(window.location.hash.slice(1)) + ')');
if (post) post.get(0).scrollIntoView();
});
</script>
A Jquery hashchange event tracks URL history changes.
If a change happens, decodeURIComponent will be called on the window.location.hash (specifically the 2nd item within this value). If that part of the page exists, the browser will scroll to it.
For example, if the URL is https://<random-string.web-security-academy.net/#provided-value, then the output of decodeURIComponent(window.location.hash.slice(1)) will be provided-value.
Lab Solution
The example exploit code from the blog post is as follows:
<iframe src="https://vulnerable-website.com#" onload="this.src+='<img src=1 onerror=alert(1)>'">The idea is that the exploit code is sent to a victim somehow (the lab’s exploit server takes care of this for us). The initial src has an empty hash (# followed by nothing). Then the src is updated with a new hash using the onload function.
This triggers the hashchange listener shown earlier. As a result, the website calls decdoeURIComponent on the new value (which is an XSS) and the alert() function is triggered.
We need to make two updates:
- Change the URL to be our lab’s URL,
https://<random-string.web-security-academy.net/# - Change
alert()toprint(), per the lab instructions
This gives us an exploit like:
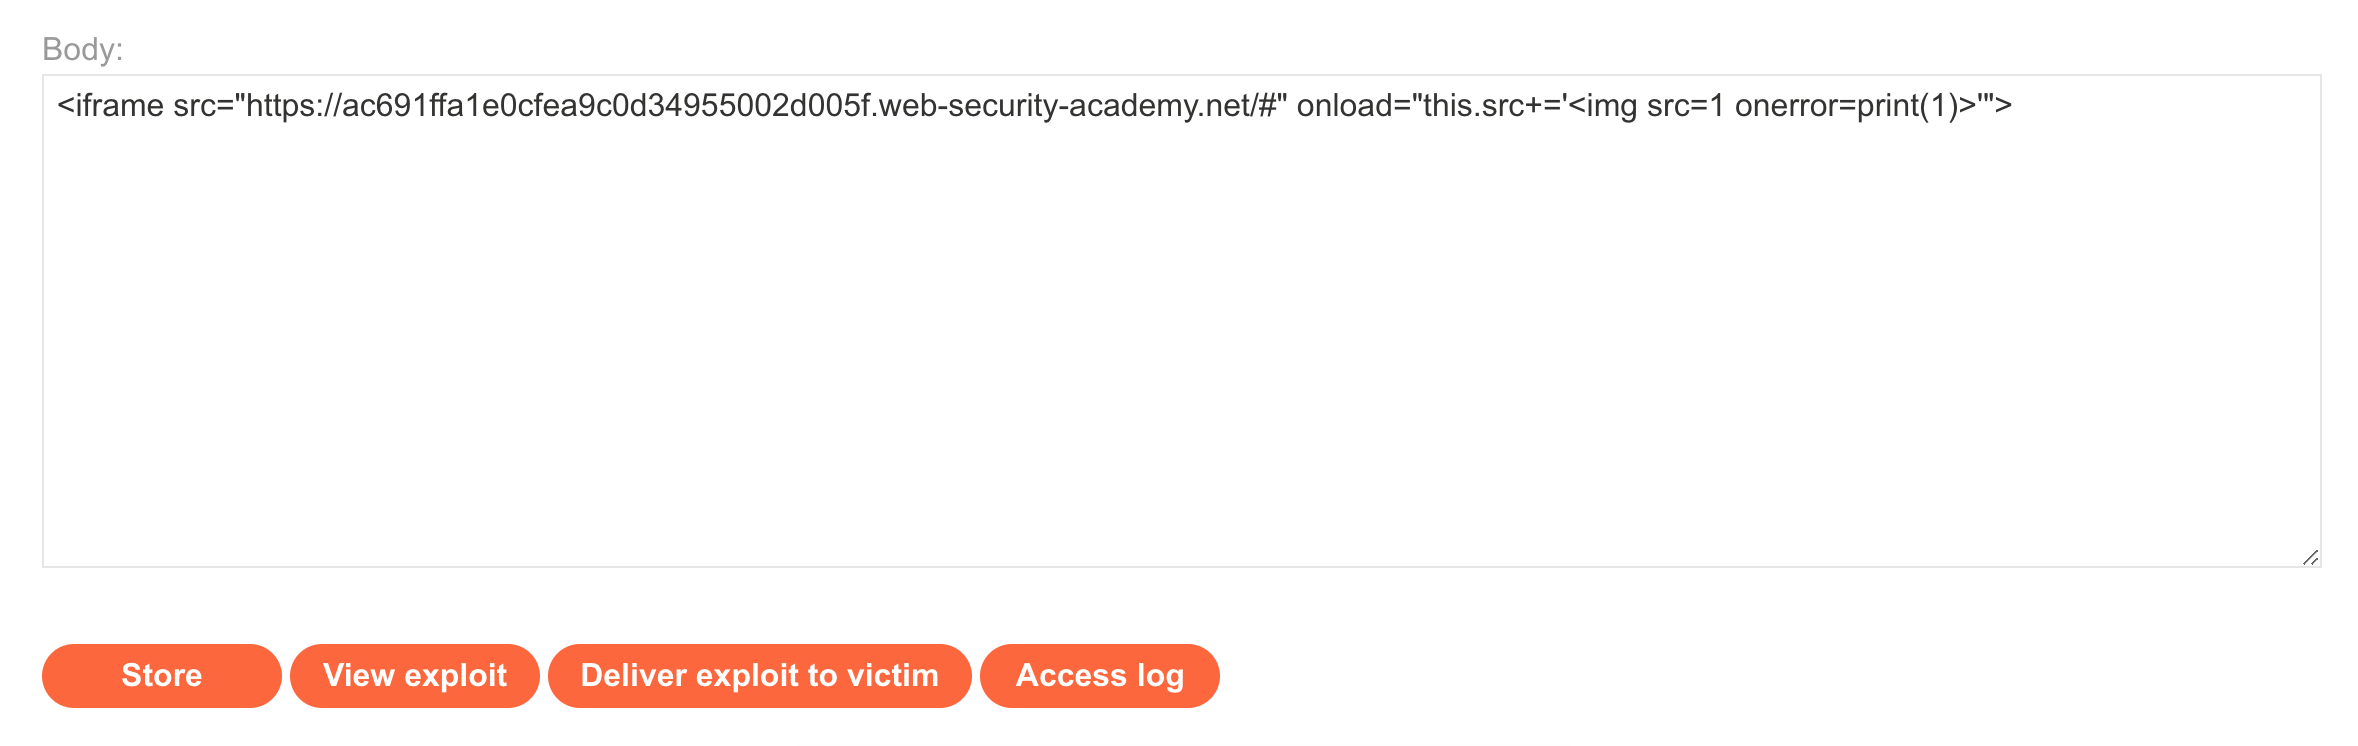
<iframe src="https://<random-string>.web-security-academy.net/#" onload="this.src+='<img src=1 onerror=print(1)>'">Go to the Exploit Server and enter this value in as the body of the exploit. Store the changes.
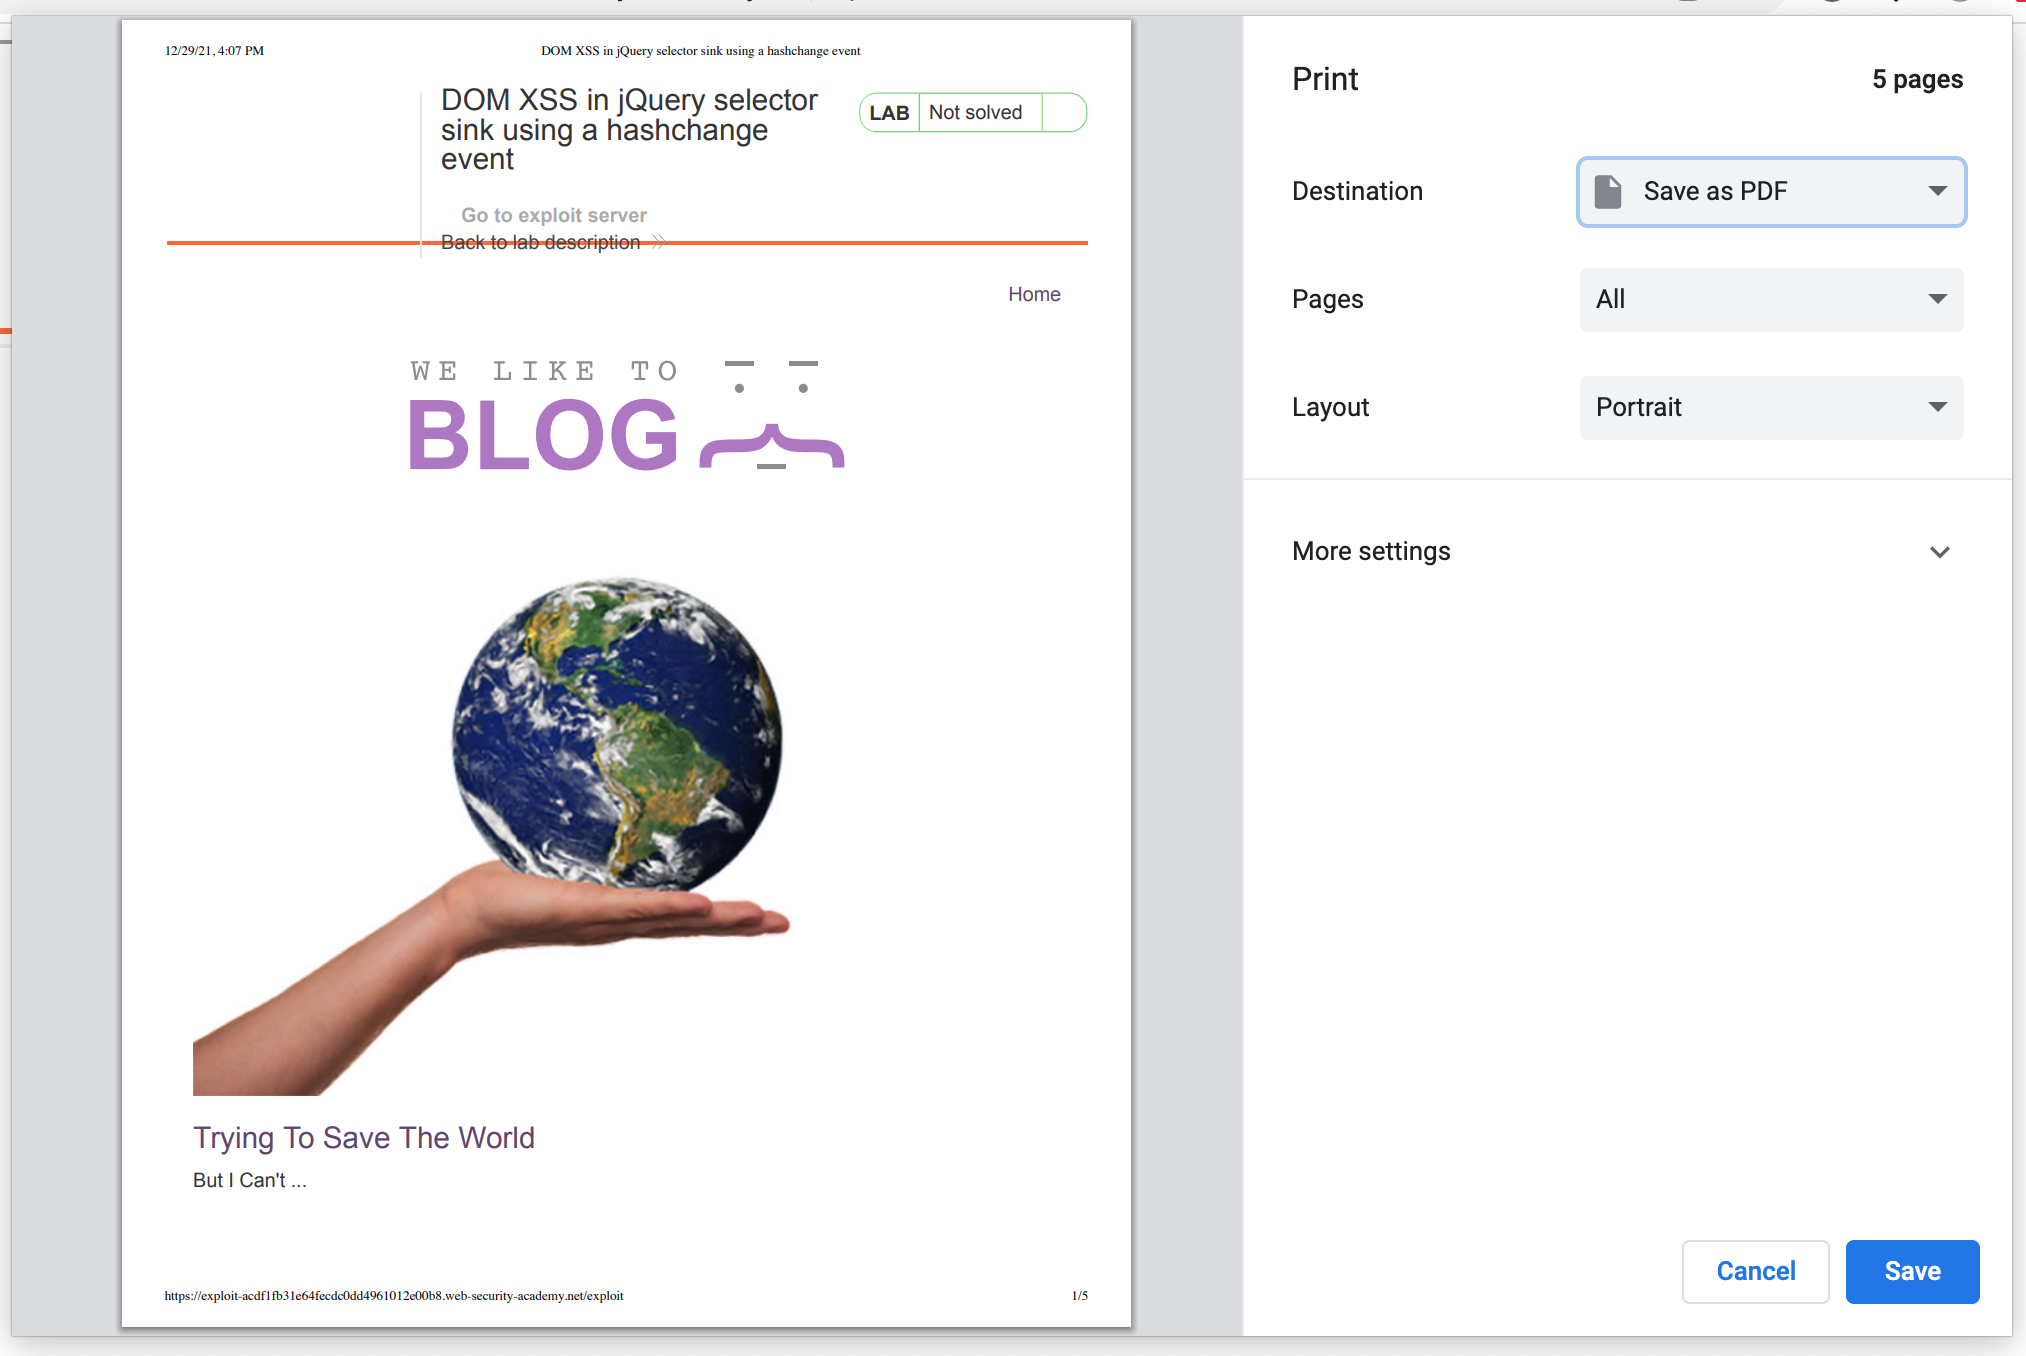
Then click View Exploit to try it out on yourself. You should see a print dialog:
If that worked, then hit Send Exploit to Victim, and you should see the lab marked as solved!
