PortSwigger's "OS command injection, simple case" Walkthrough
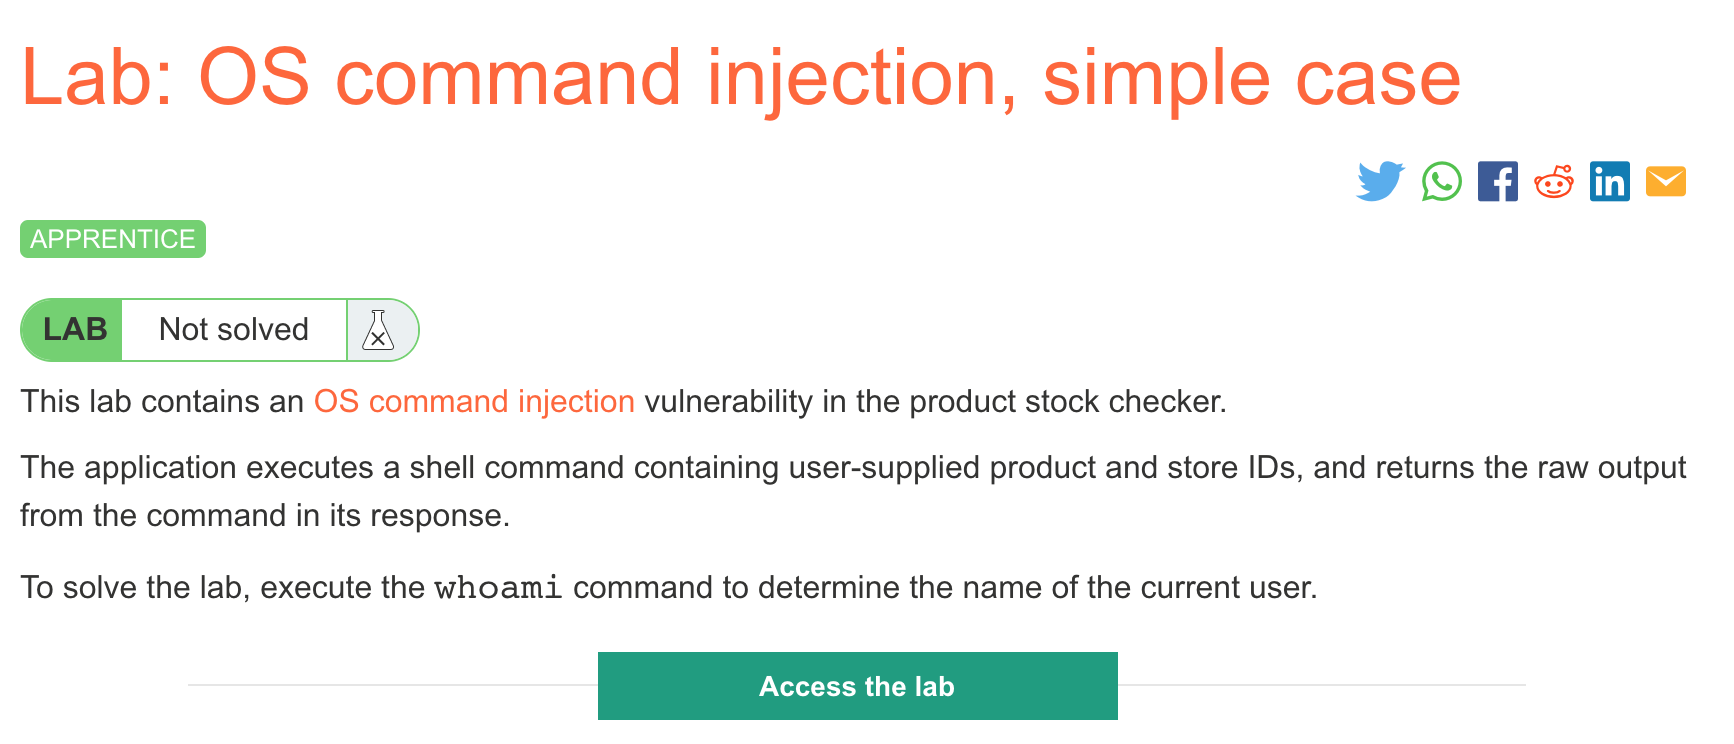
This post covers the “simple case” OS command injection lab from PortSwigger. This lab is the only Apprentice-level lab within the OS command injection category. Before we get started, you’ll need a Portswigger Academy account.
Log in and then view the lab at https://portswigger.net/web-security/os-command-injection/lab-simple. You can find this through the Academy learning path list, or linked from the OS command injection post.
Challenge Information

Click the “Access the Lab” button and you will be taken to a temporary website that is created for your account. This will be in format https://<random string here>.web-security-academy.net/.
This is a OS command injection attack, meaning that our malicious input will be included in a bash command (or similar), in a way that lets us append additional commands onto the end of the intended input.
Finding the vulnerability
The website looks like this:

If we click on one of the products, there’s a dropdown that lets us discover the stock available in different locations:

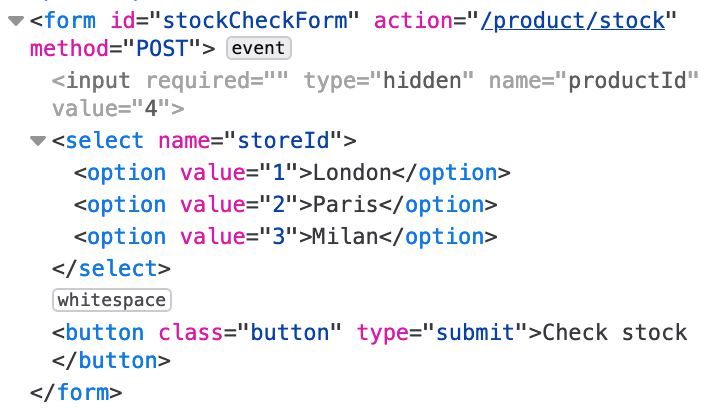
The HTML looks like this:

This form is sending a POST request to an endpoint that we don’t have insight into, but the request itself is pretty simple: there’s a productId value that’s hidden to the user, and then the storeId that’s user controllable (and maps to a city).
Setting up Burp Suite
If you don’t have Burp Suite installed, check out this blog post for setup instructions.
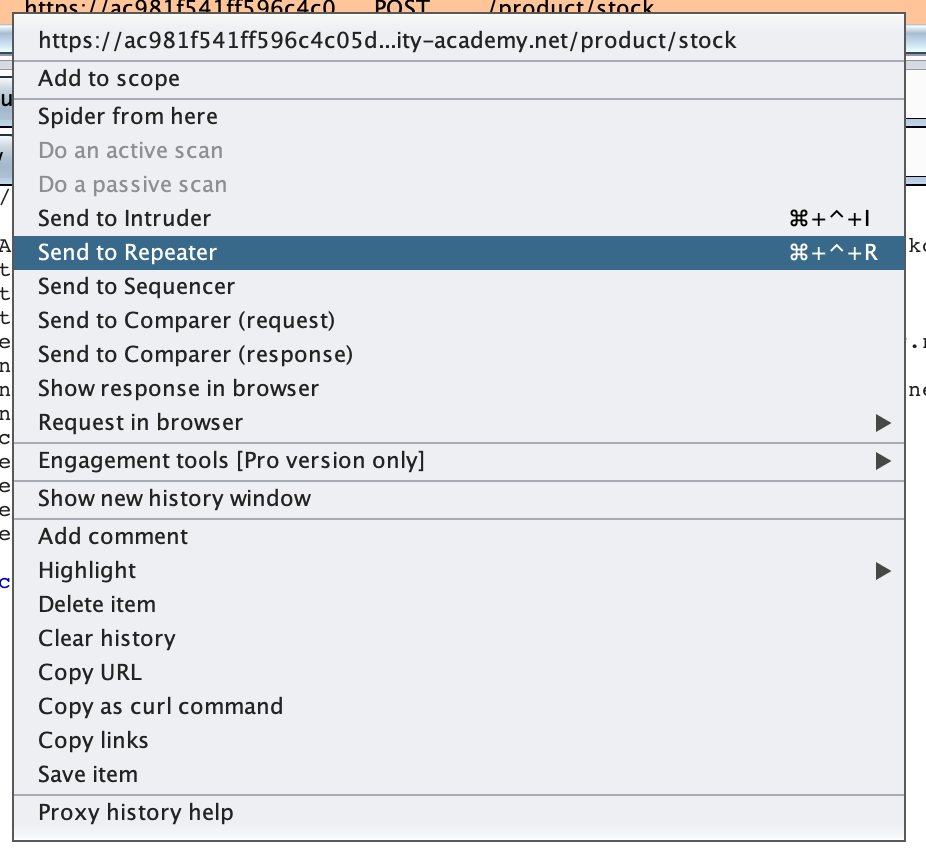
With Burp Suite open and your proxy running, click the “Check Stock” button. Then find the request in the Proxy > HTTP History tab within Burp Suite. Right-click the request and click Send to Repeater:

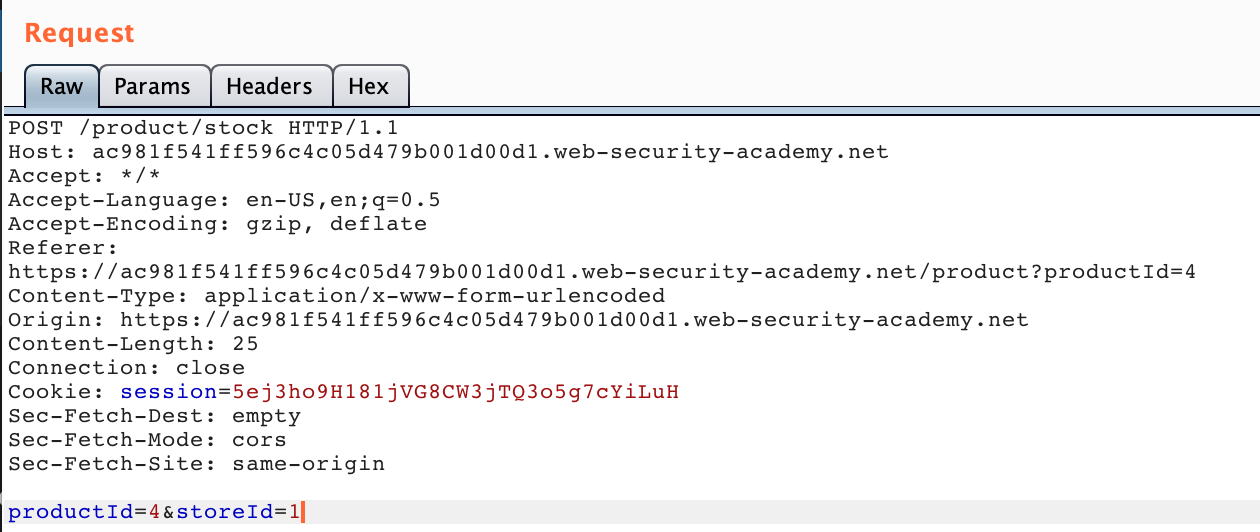
The repeater tab should look like this:

The productId and storeId are at the bottom of the request.
Lab Solution
We don’t know what program the backend API is written in, but the OS command injection post and other cheatsheets typically include | and & as common injection characters.
If we append |ls to the end of the request (remember that storeId is the user-supplied input), here’s the result:

The result on the right-hand side lists the bash script, meaning that our injection worked. If you were not able to guess this on the first try, you could try various options from the cheatsheet, or try to trigger an error:

We need to run whoami to complete the lab, so let’s update the end of the request to |whoami:

And we’ve solved the lab!
